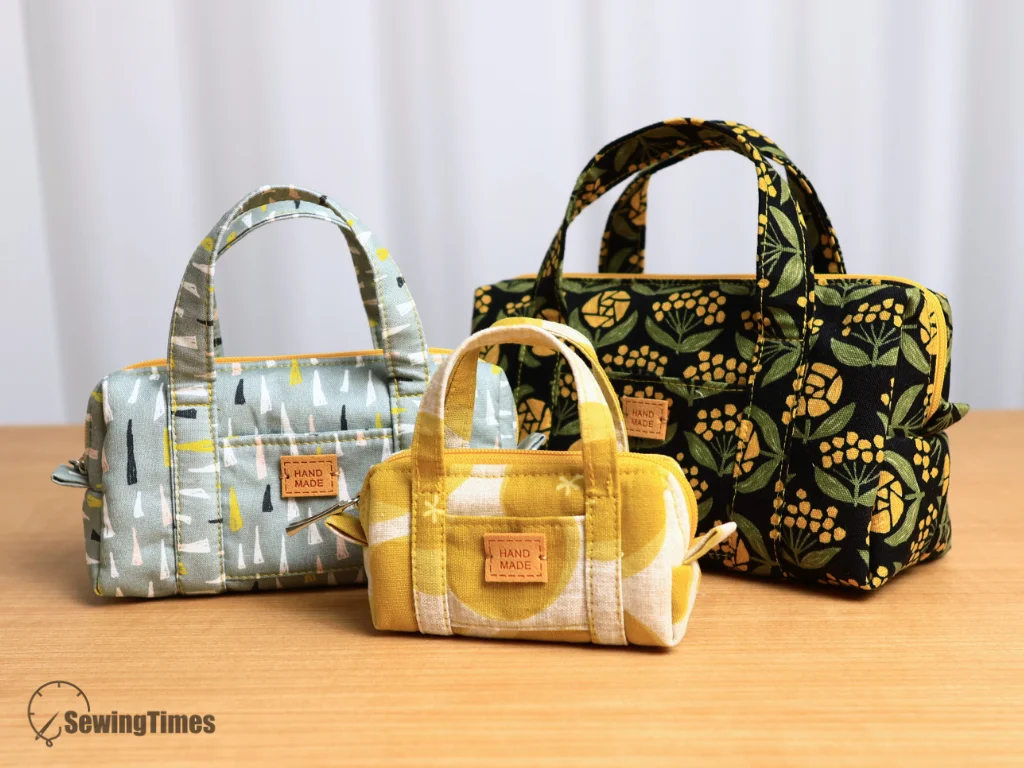
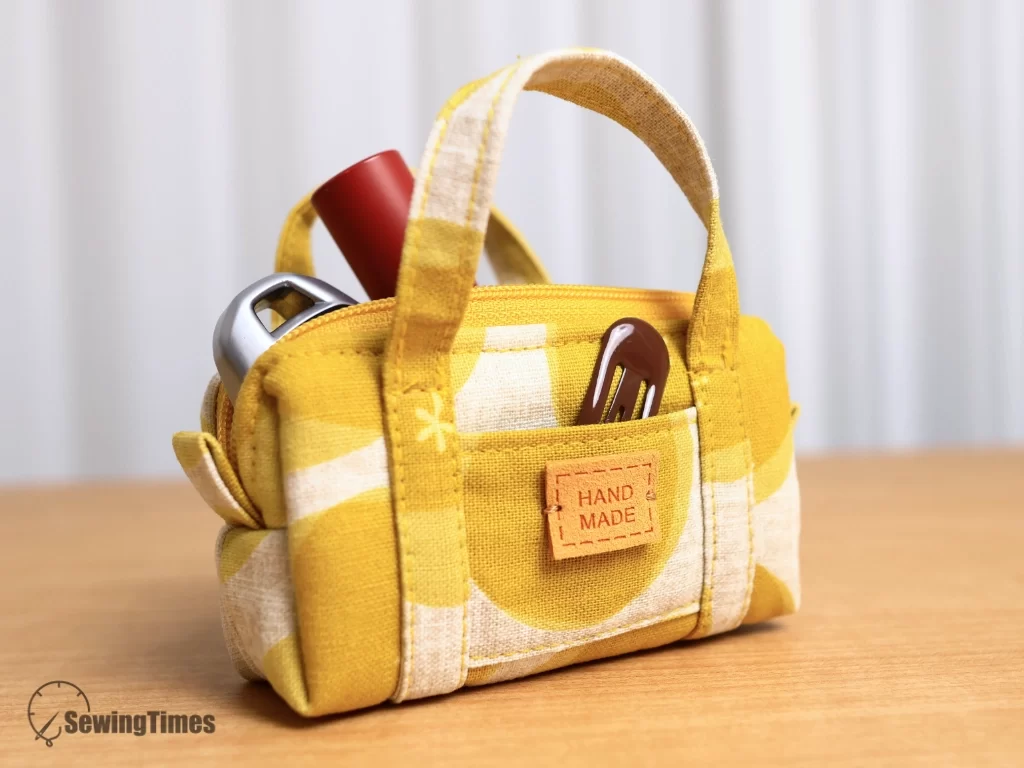
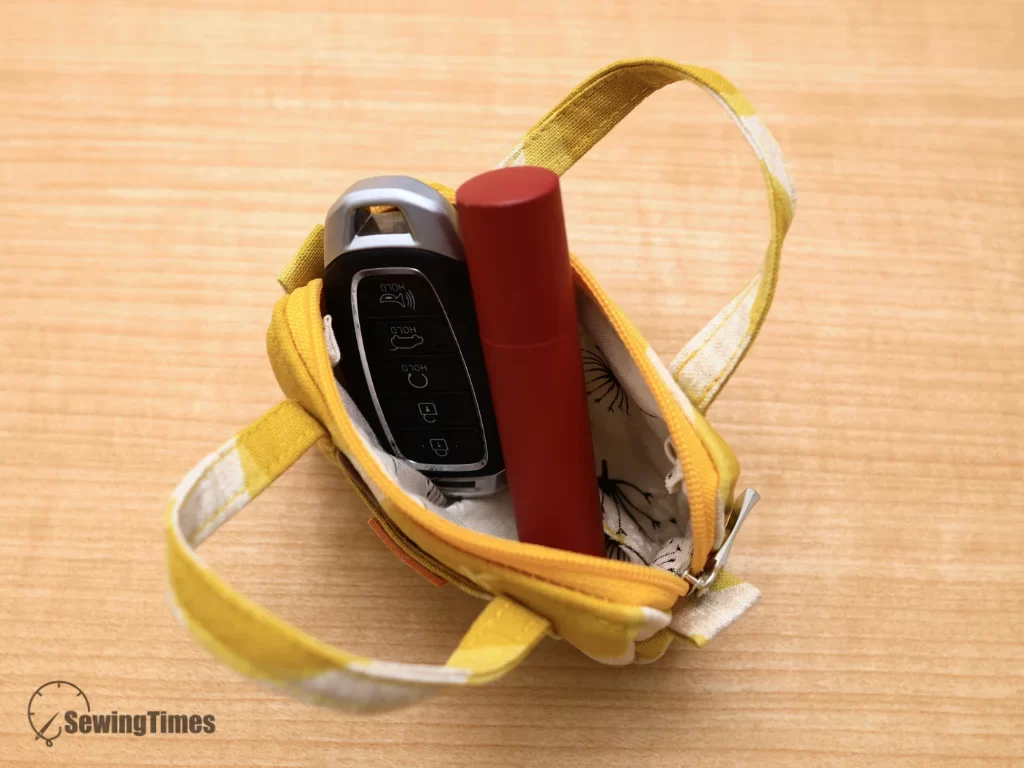
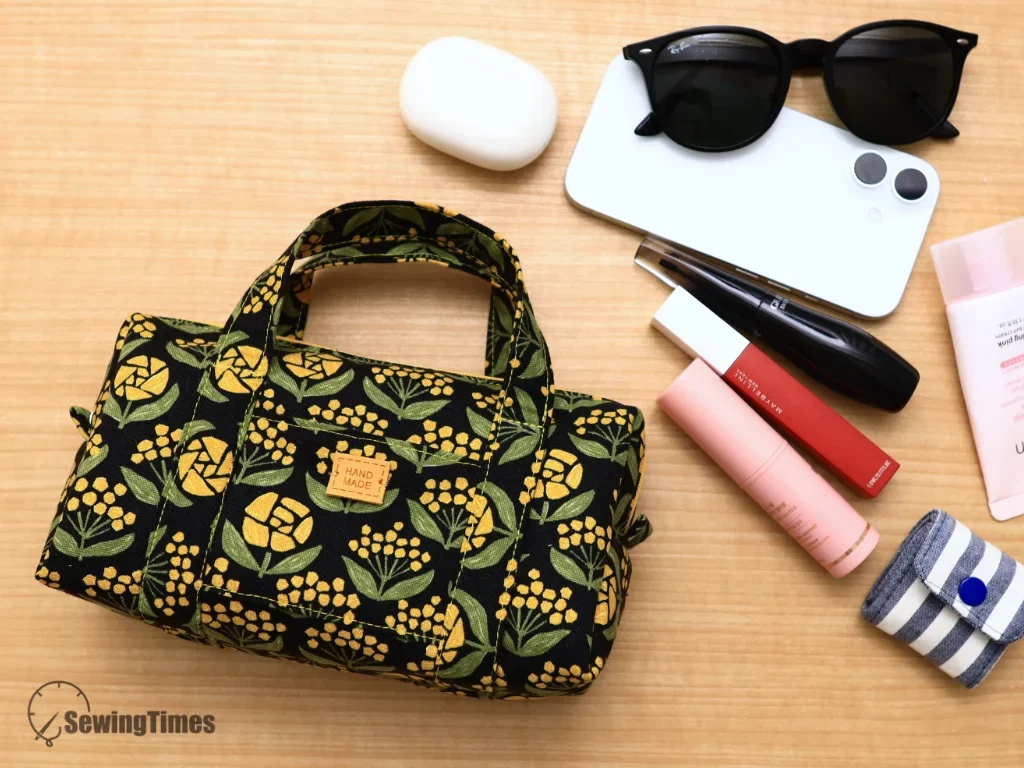
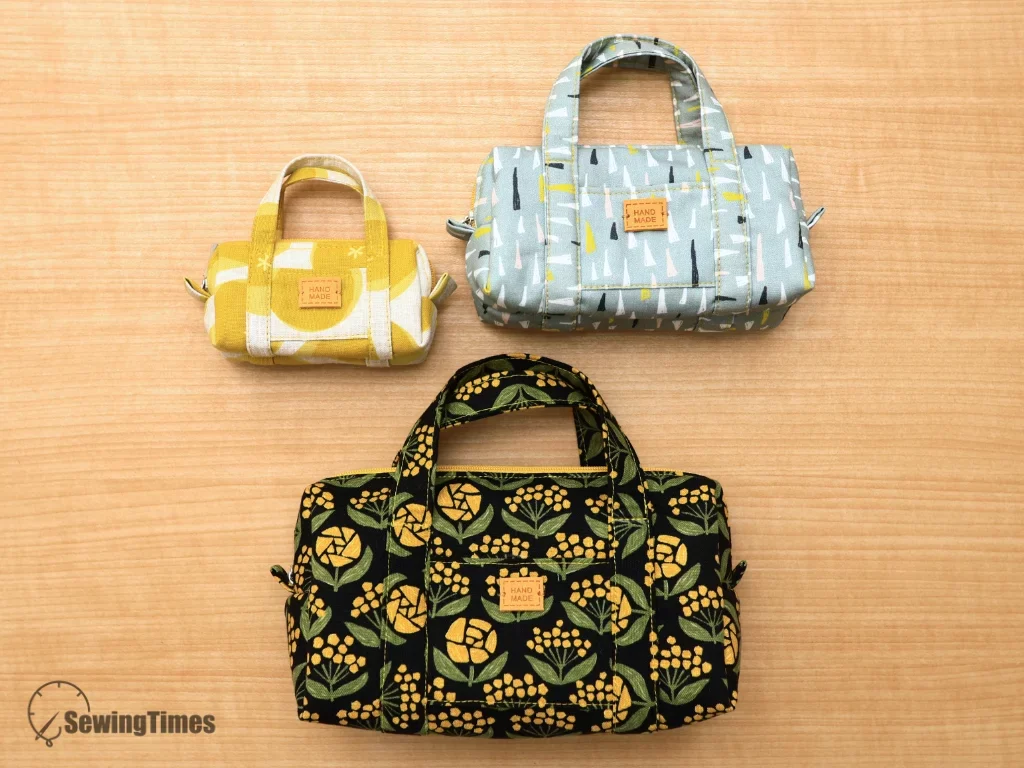
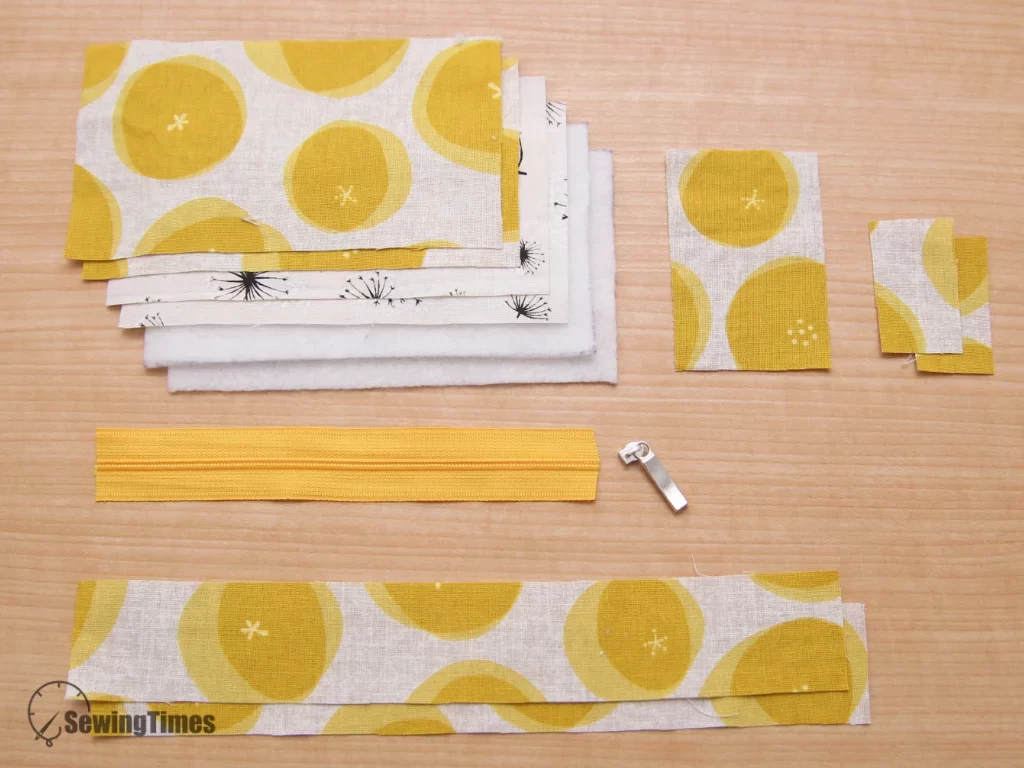
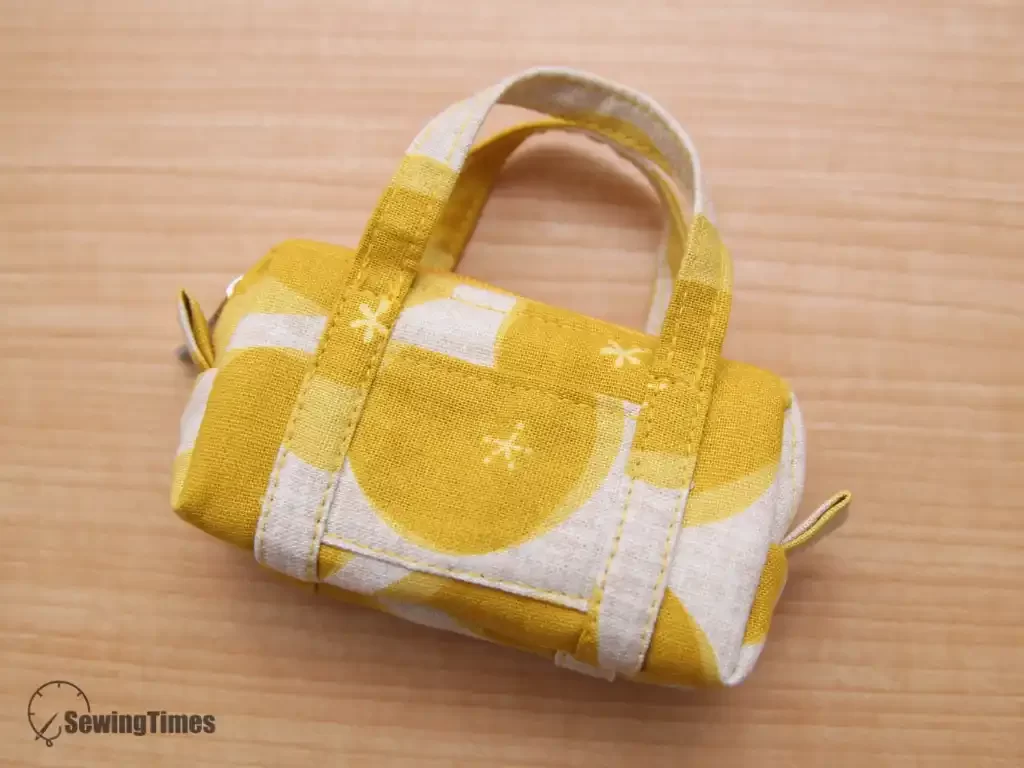
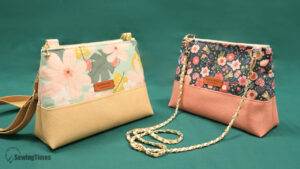
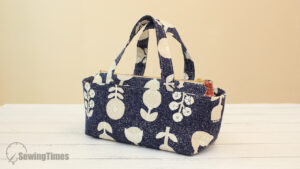
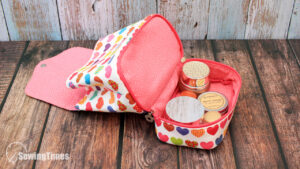
Looking for a fun, quick scrap-busting sewing project? In this tutorial, I’ll show you how to sew an adorable mini duffle pouch with a unique trapezoid side profile and handy front pocket. Whether you want to make a tiny pouch for your car keys and lip tint or a cute mini bag, this project comes in three versatile sizes. Download the pattern and let’s get sewing together!
The finished measurements of this Bliss Mini Bag are approximately 4″(10cm) W × 2″(5cm) H × 1⅝”(4cm) D.
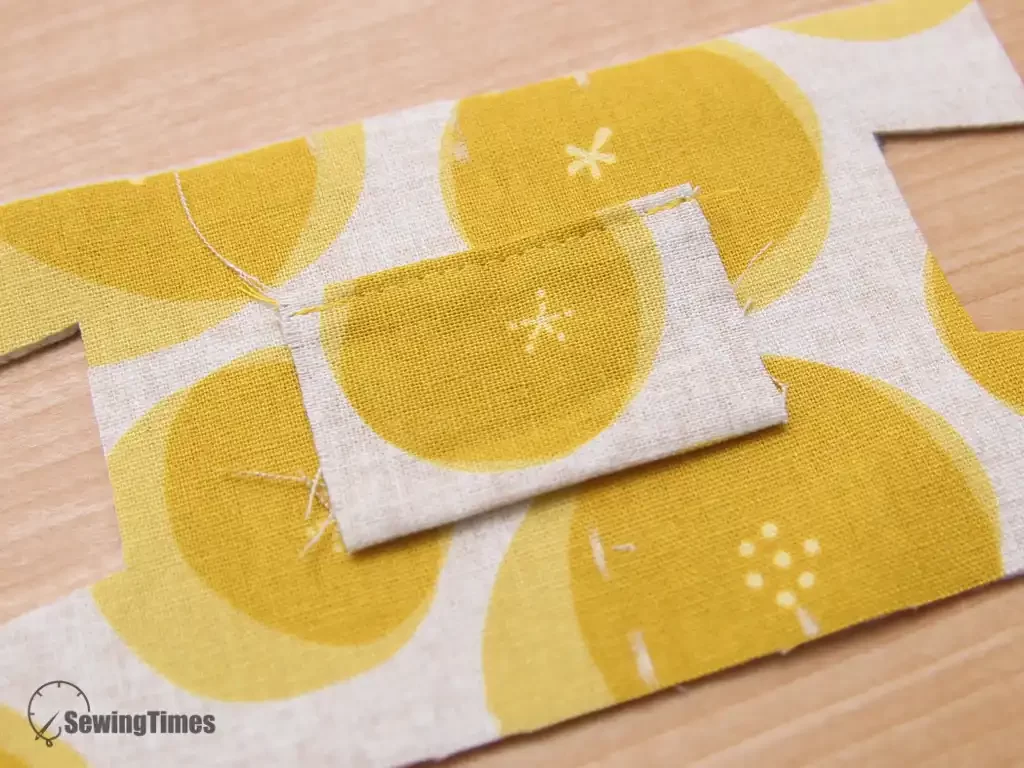
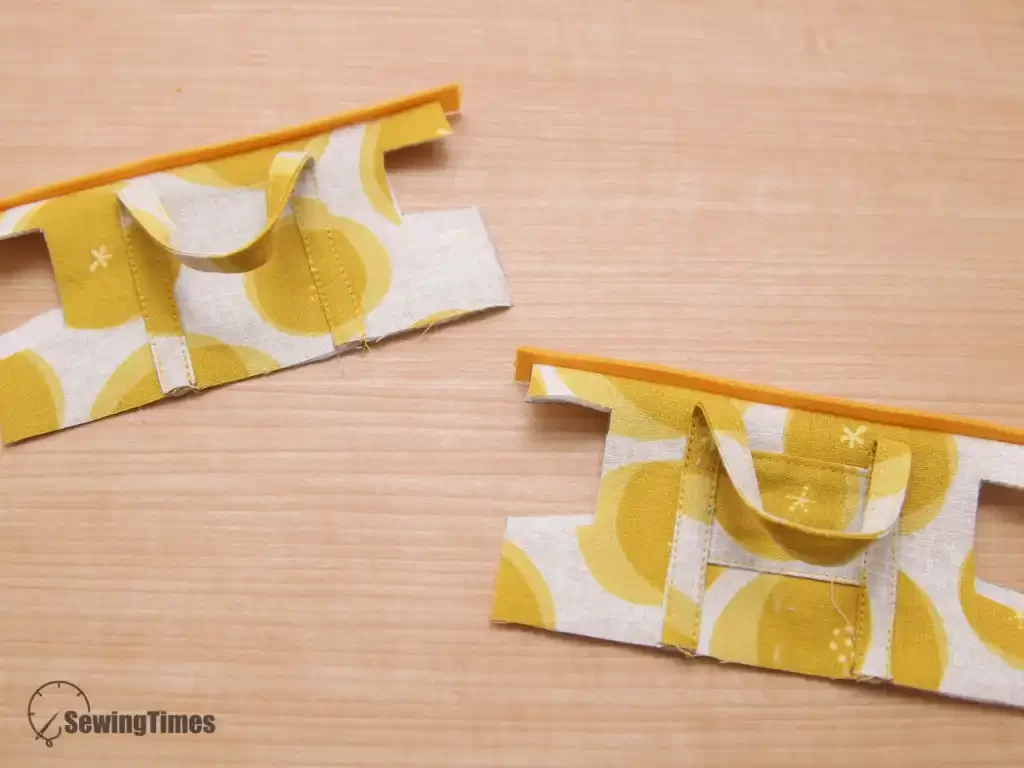
Fold the pocket piece in half lengthwise with right sides together and stitch along the top edge using a 1/4″ seam allowance. Turn the pocket right side out. Place the pocket onto the Exterior Main Panel.
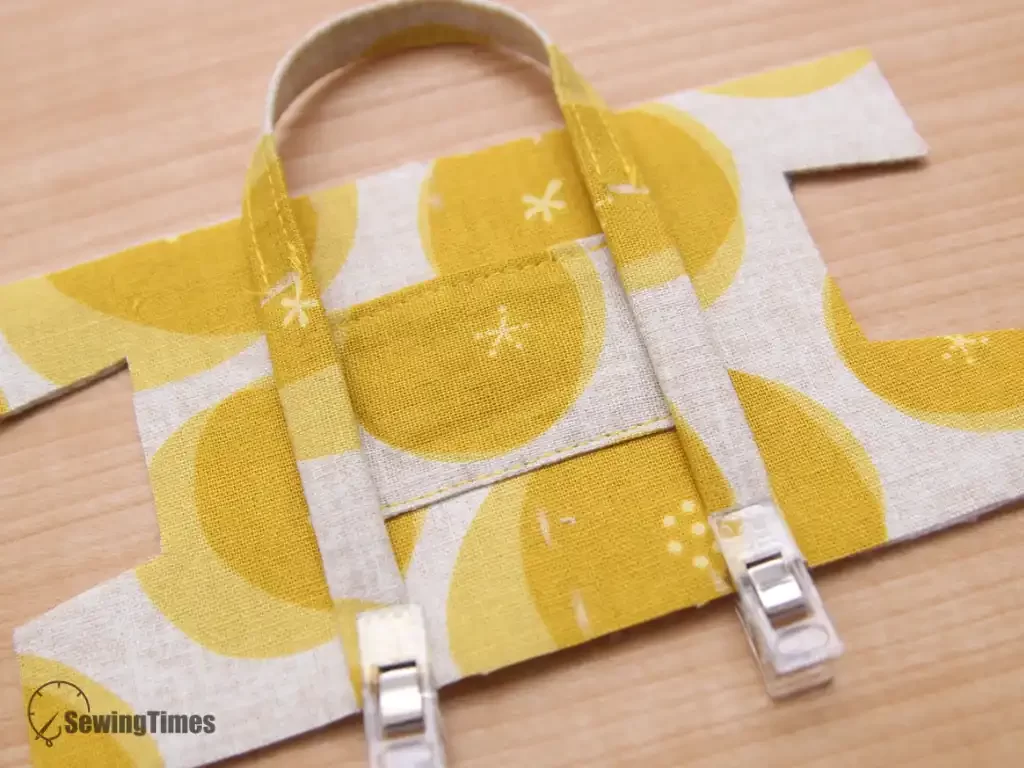
Place and sew the handles 1¾” apart.
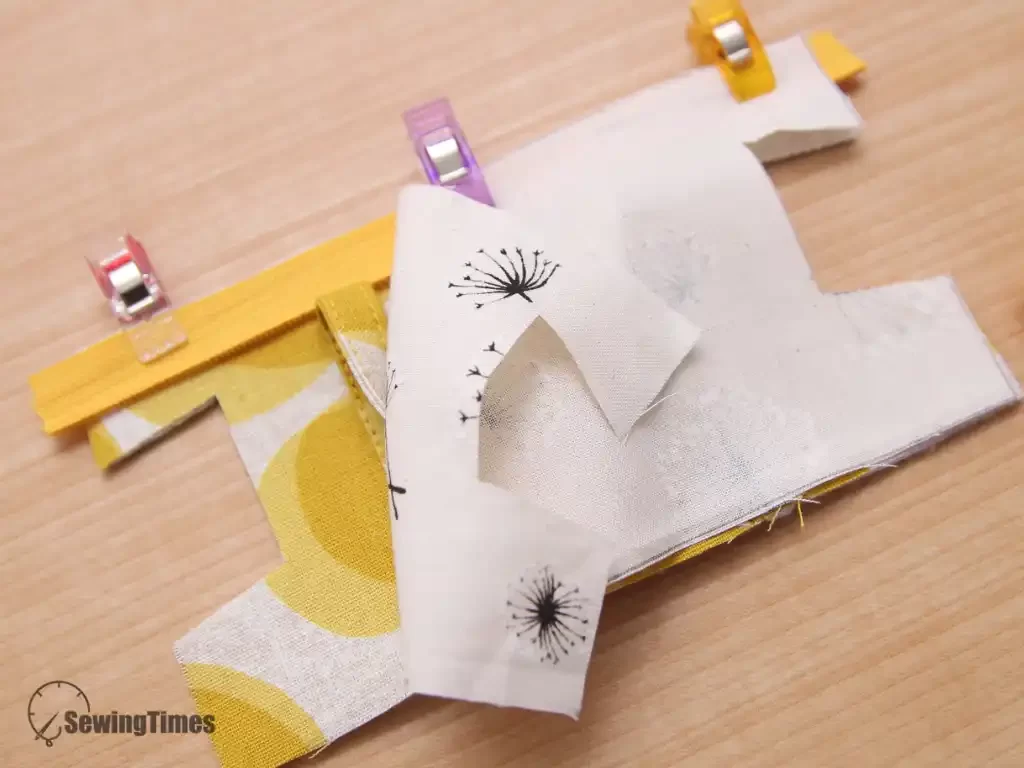
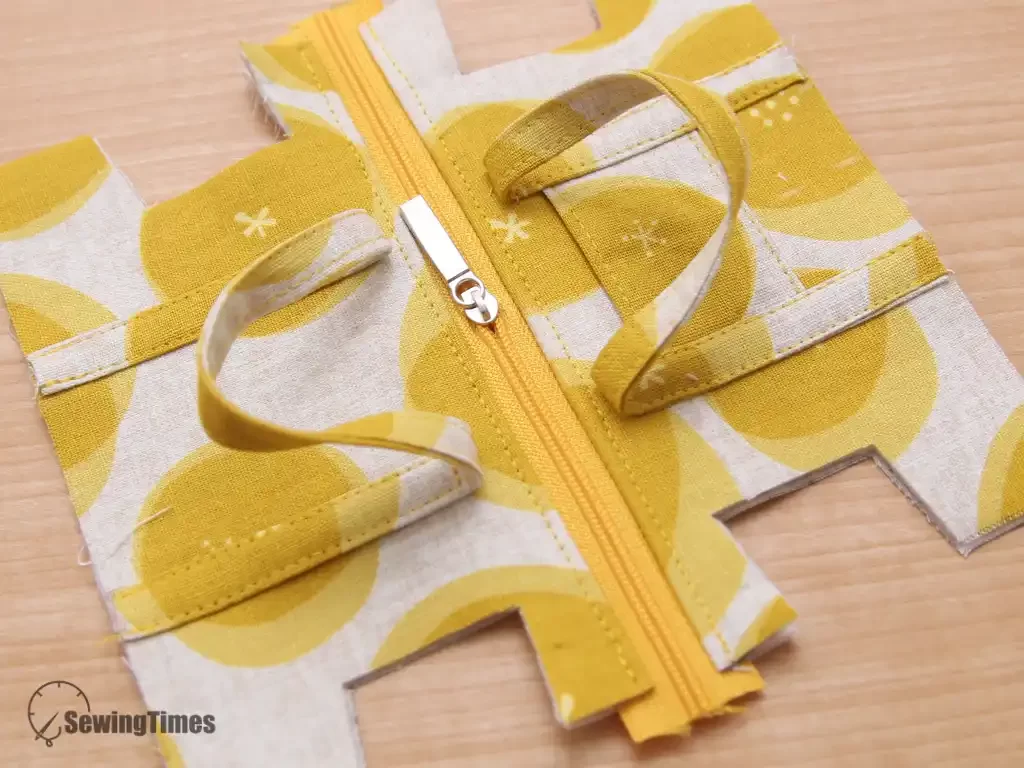
Layer the Exterior Panel right side up, the zipper track right side down, and the Lining Panel right side down, matching top raw edges. Stitch along the top edge using a 1/4″ seam allowance, press the layers away from the zipper, and topstitch along the seam line.
Install the zipper slider.
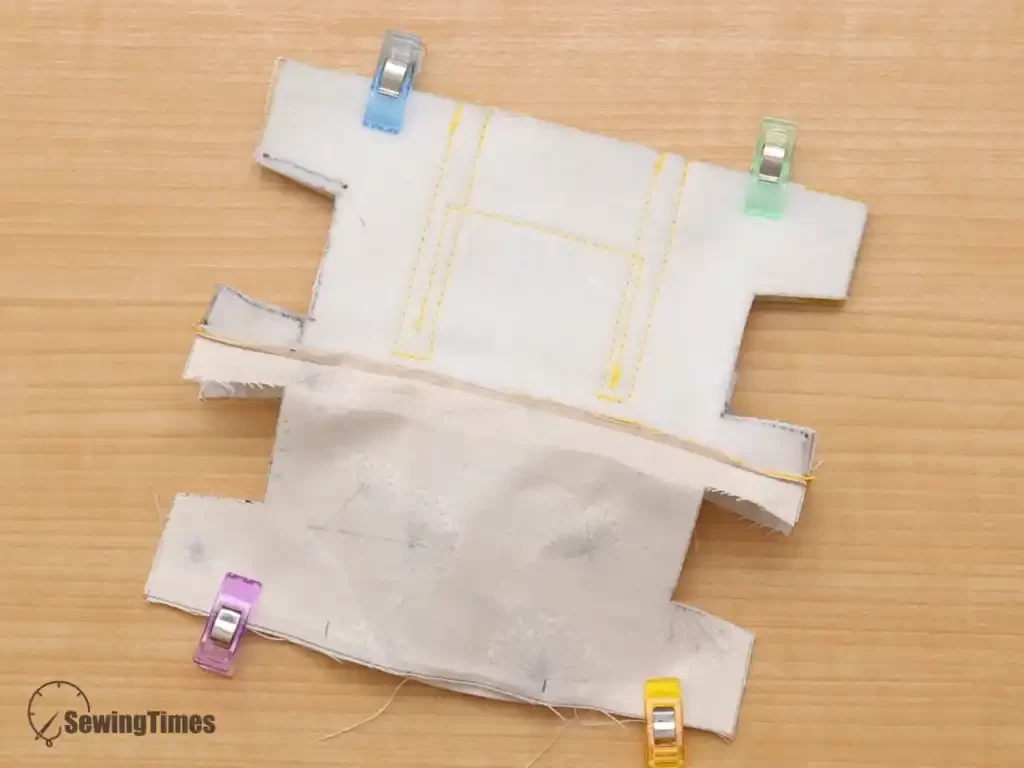
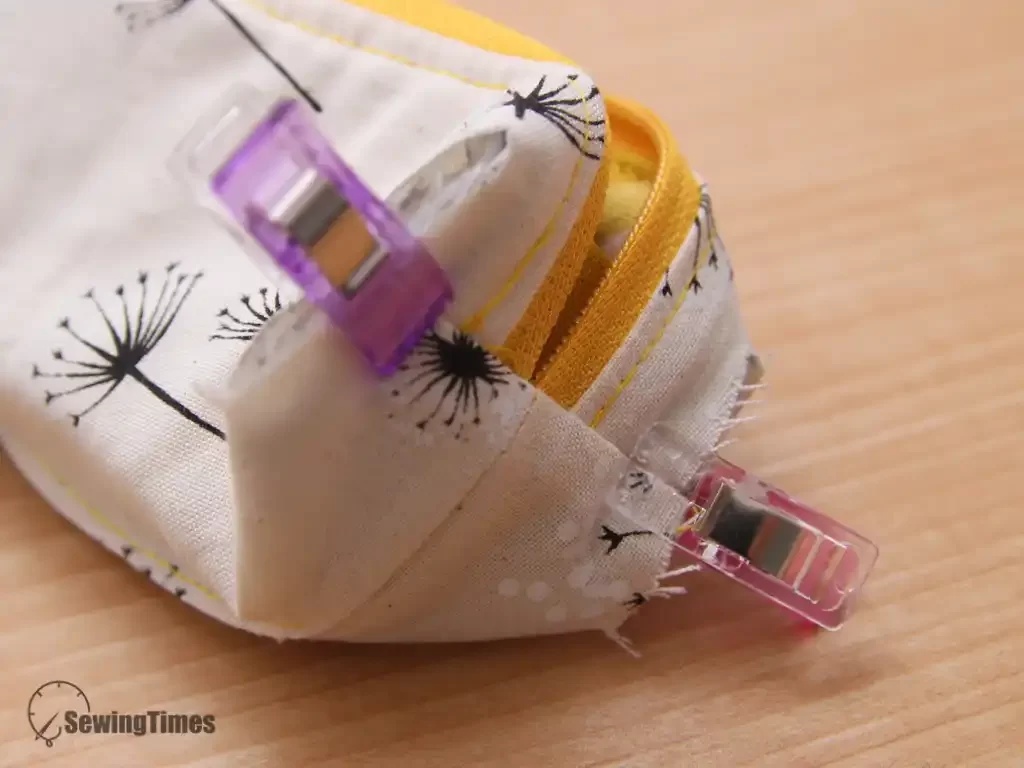
Align Exterior panels right sides together and Lining panels right sides together, then stitch both bottom edges with a 1/4″ seam allowance, leaving a turning opening on the lining.
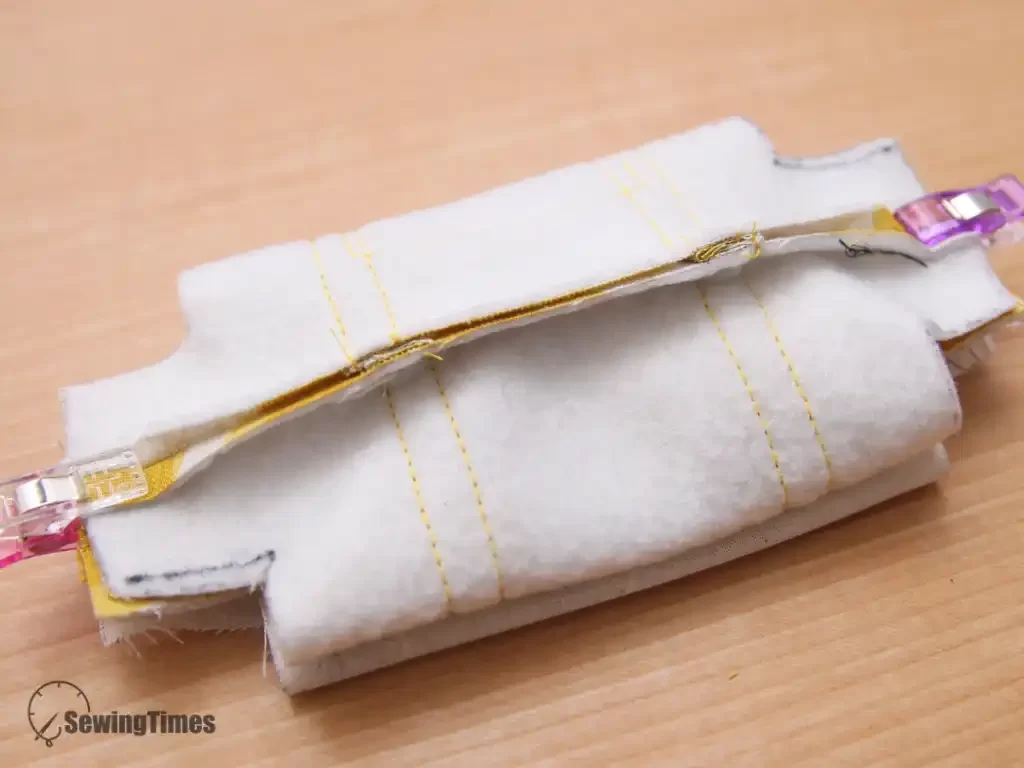
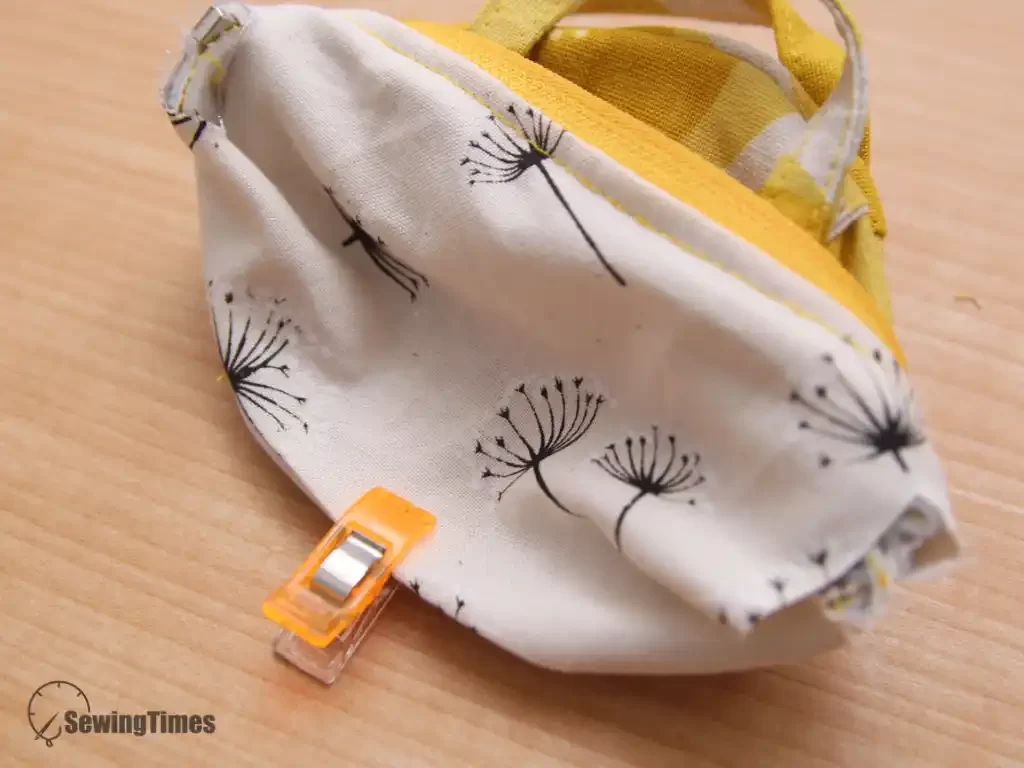
Open the zipper slider halfway, then fold the pouch flat with the zipper centered and zipper teeth facing toward the lining side.
Turn the entire pouch right side out through the turning opening left in the bottom lining. Fold the raw edges of the lining opening inward and edge-stitch it closed by machine or hand.
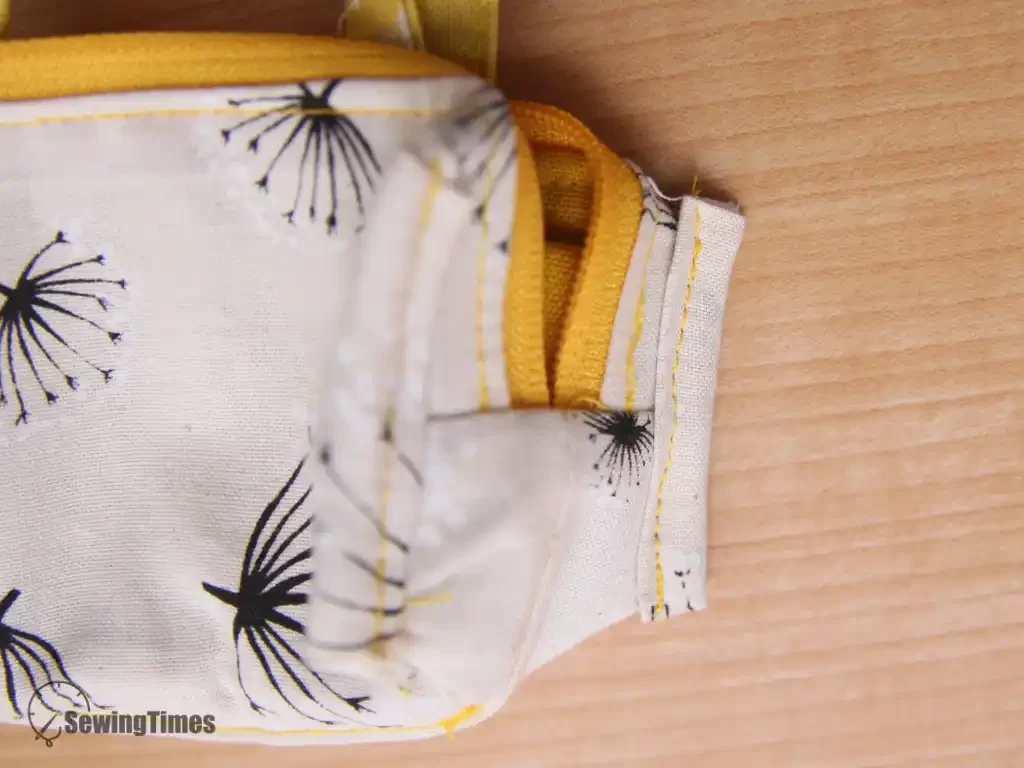
Wrap the side seam allowances with binding and sew to finish!!
All done! We hope you enjoy creating your own wonderful piece. And be sure to check out the [Sewingtimes YouTube channel] for more creative projects.