
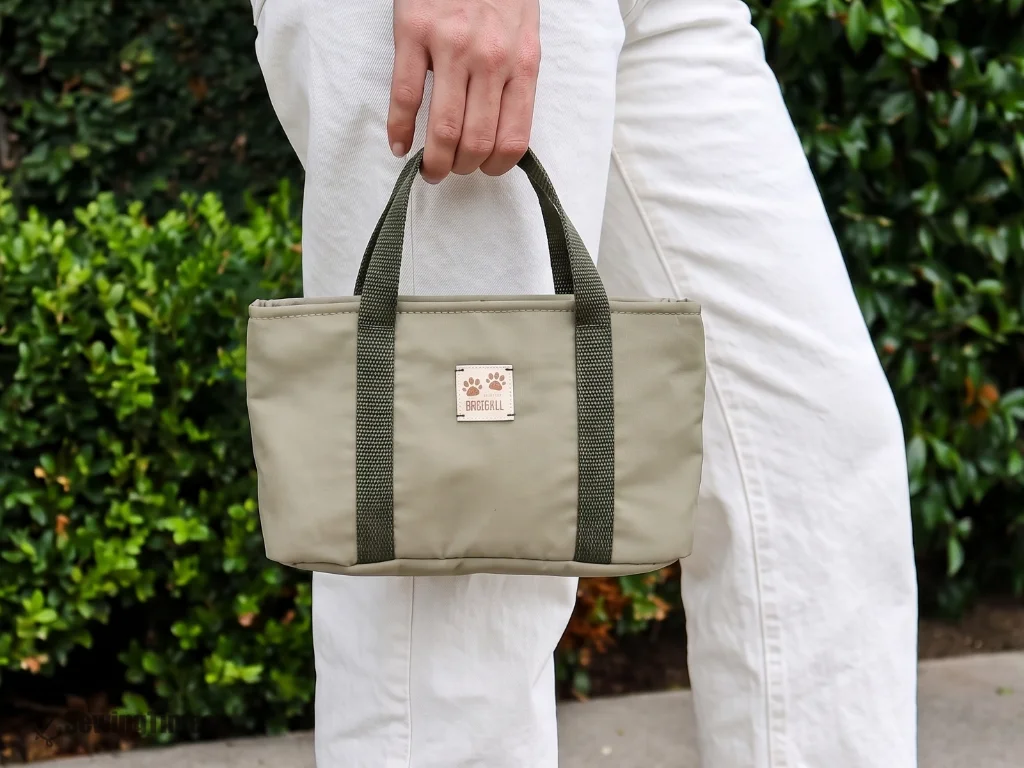
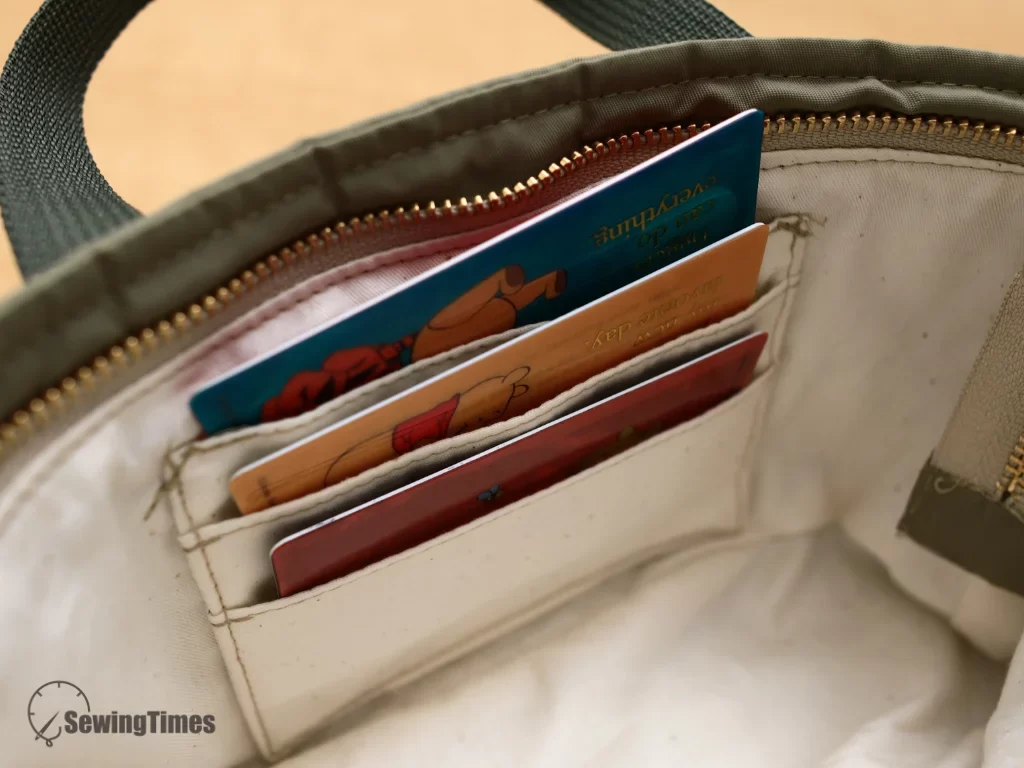
If you’re looking for a sewing project that actually looks store-bought but is simple enough for a fun weekend craft session, you are in the right place. Today, I’m sharing my absolute favorite everyday tote bag tutorial. The best part isn’t even the neat zipper closure—it’s the hidden 3-slot card holder tucked inside! I’ve put together a downloadable pattern with three size options to take all the guesswork out of your next project.
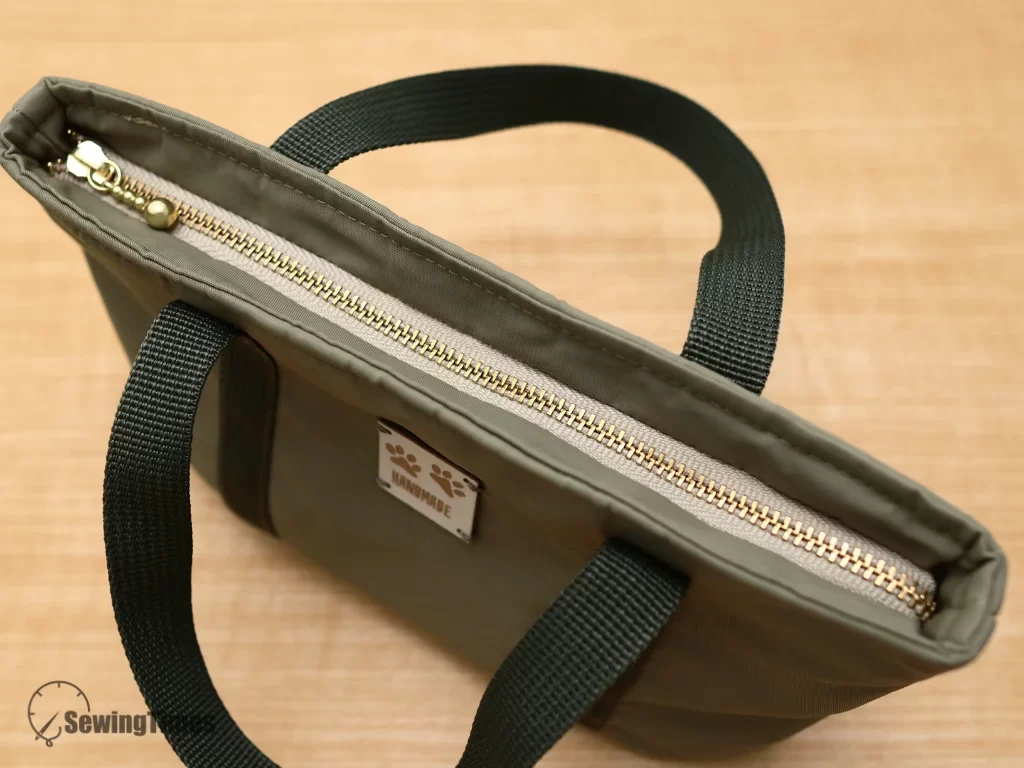
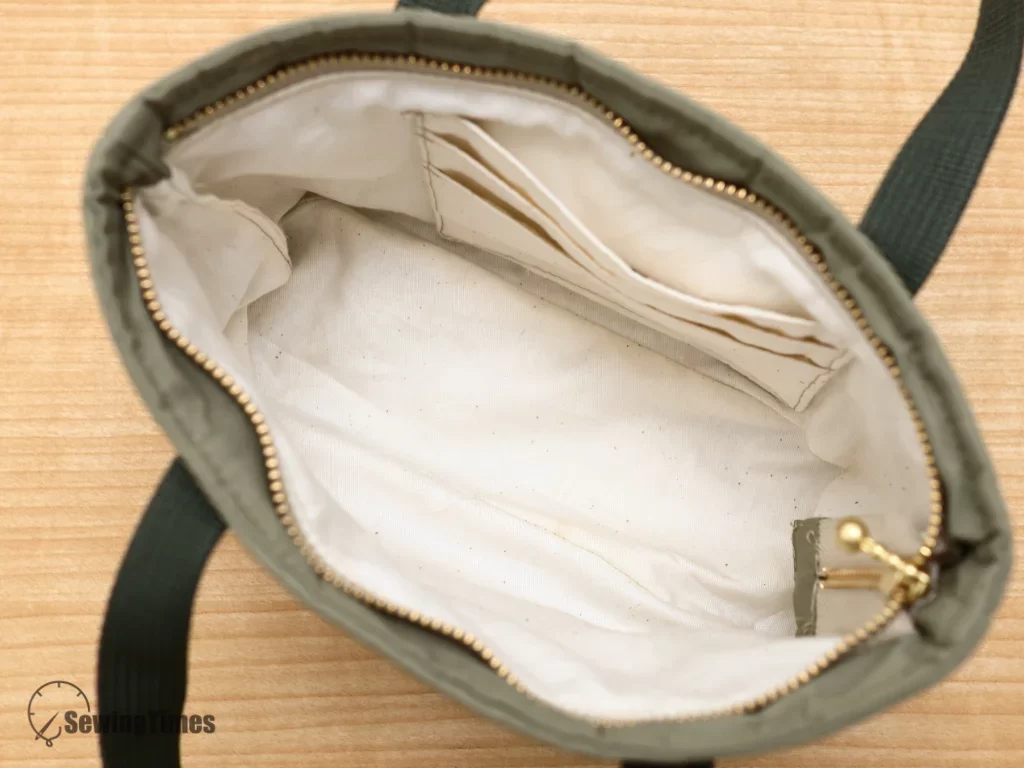
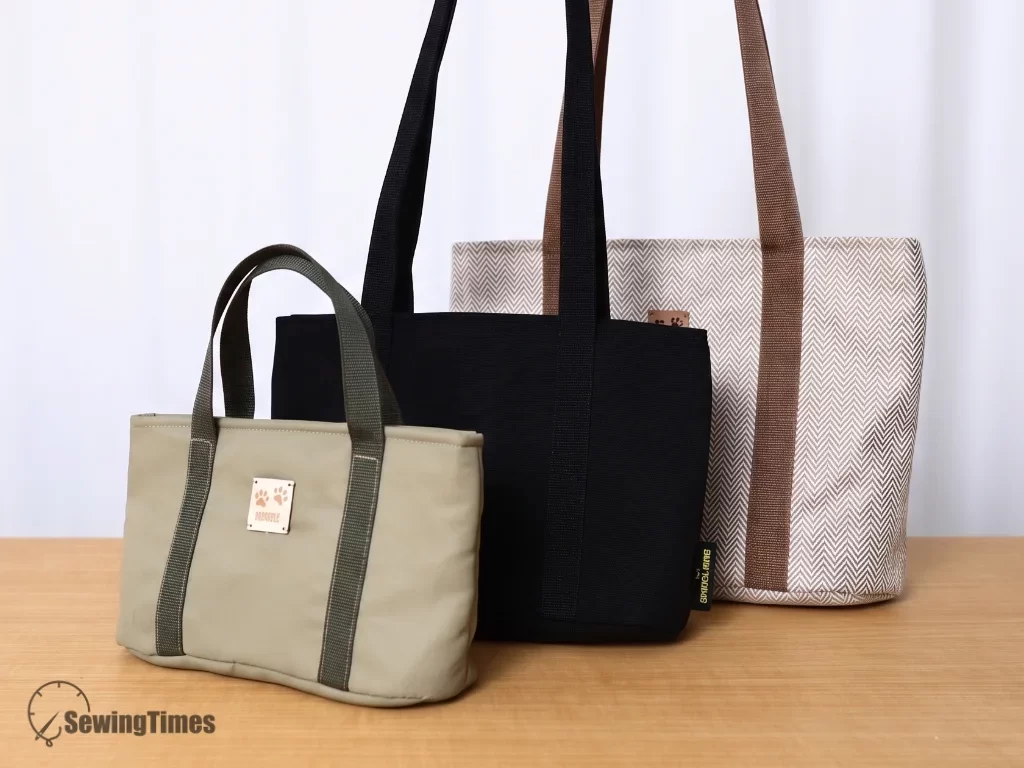
The finished measurements of this HAVEN EVERYDAY TOTE are approximately 8″(20cm) W × 5″(12.5cm) H × 3″(7.5cm) D.
You may watch the full video tutorial on my Youtube channel.
Share this video with a lot of people who need it.
Seam allowances are 3/8″ unless otherwise specified.
Let's get started!!
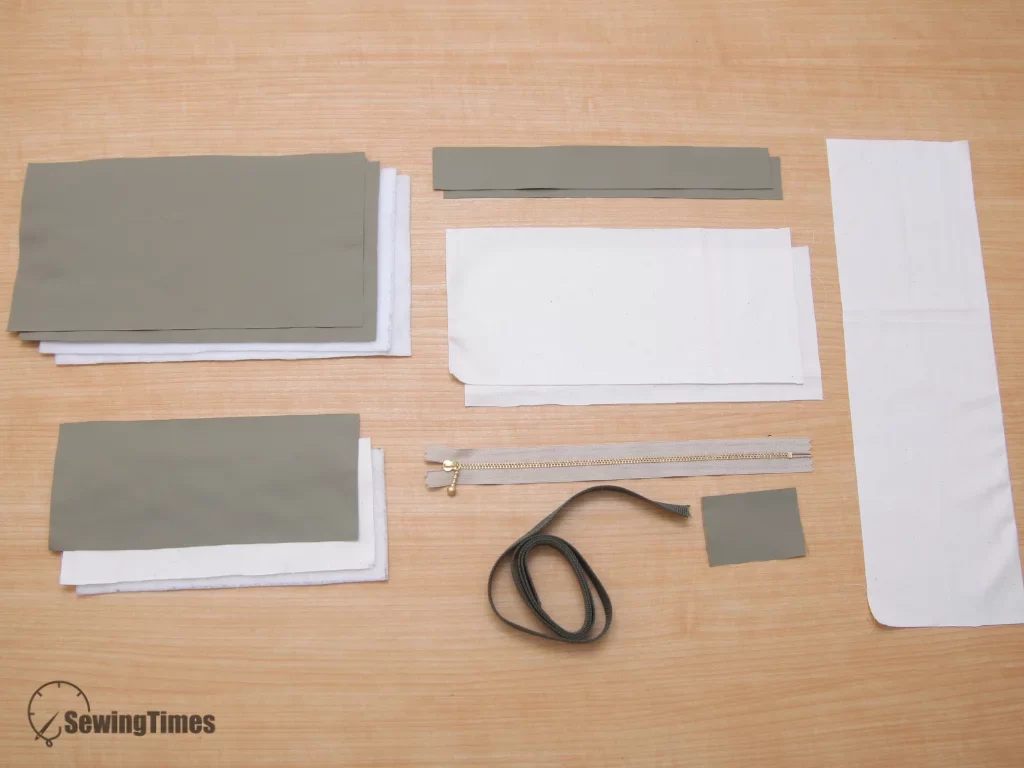
To make this you will need:
◆ Main panel
② 10¼” × 5⅝” (26cm × 14cm) Exterior
② 10¼” × 5⅝” (26cm × 14cm) Fusible fleece
② 10¼” × 1⅜” (26cm × 3.5cm) Exterior
② 10¼” × 4¾” (26cm × 12cm) Lining
◆ Bottom panel
① 8½” × 3⅝” (21.5cm × 9cm) Exterior
① 8½” × 3⅝” (21.5cm × 9cm) Lining
① 8½” × 3⅝” (21.5cm × 9cm) Fusible fleece
◆ Card holder
① 4¾” × 15″ (12cm × 38cm) Lining
◆ Zipper tab
① 2¾” × 2″ (7cm × 5cm) Exterior
◆ Others
① Zipper_seam allowance excluded 8″(20cm)
① 5/8″(1.5cm) Wide Webbing Strap 37″(94cm)
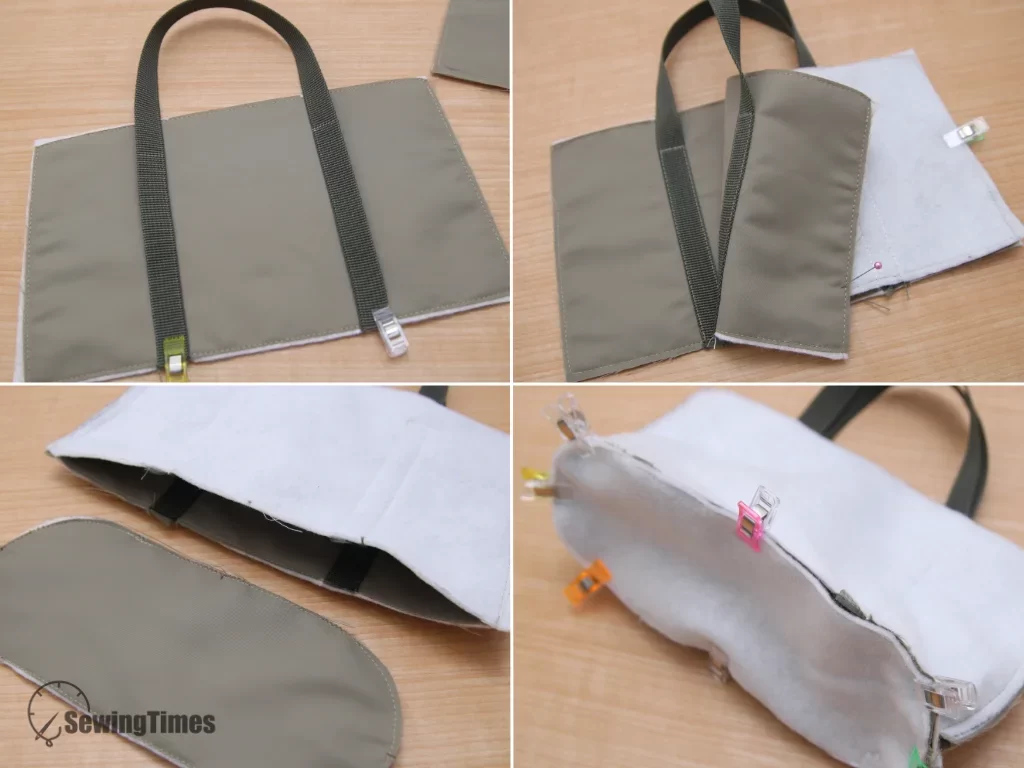
Align your chosen straps so they form an upward loop, and topstitch them securely to the panel. Don’t forget to reinforce the top stitched corners with an X-shaped stitch for extra durability.
Place the two exterior panels right sides together and sew the side seams with a 1/4″ seam allowance.
Mark the quarter points on both your assembled main body and the bottom panel to ensure perfect alignment. Carefully clip the seam allowance on the curves of the main panel, match the markings, and sew the bottom panel in place.
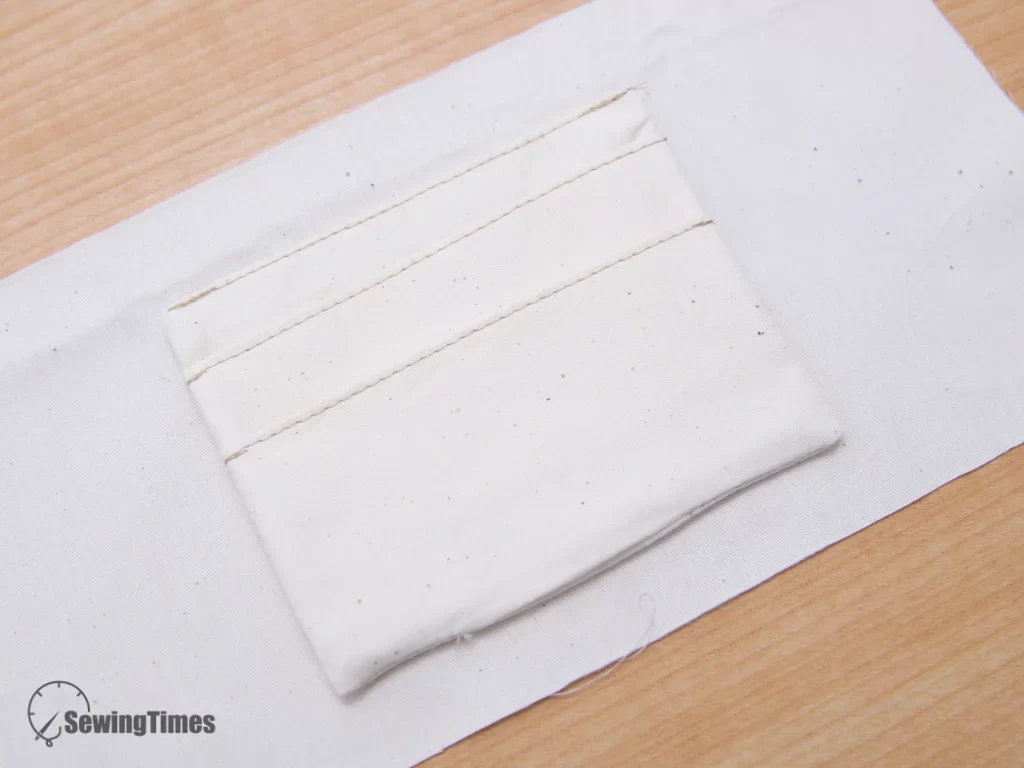
For the interior organization, we will create a clever accordion-fold card holder. Fold the fabric according to the provided measurements to form the pockets, and topstitch the folded mountain creases. Sew around the edges of the pocket piece leaving a small hole, turn it right side out, and press it flat. Position the card holder centered on your lining panel, stitch it down, and add tiny diagonal stitches at the top corners to prevent tearing.
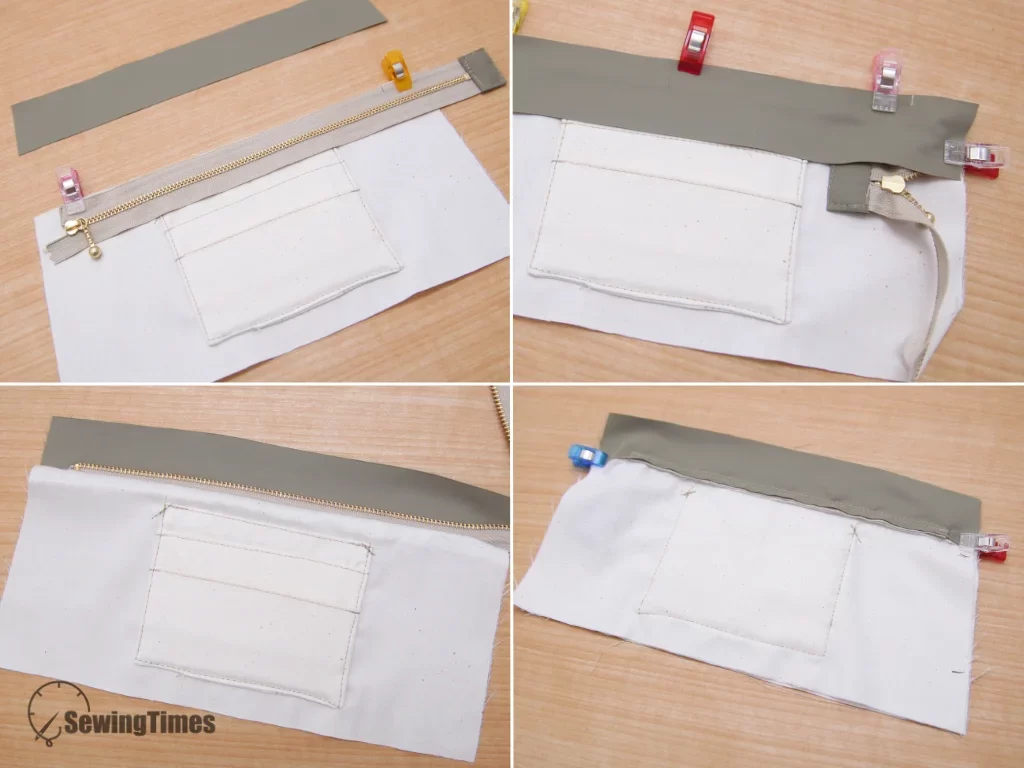
Now, let’s prepare the zipper closure by attaching a neat fabric tab to the end of your zipper tape. Center the prepared zipper on the top edge of the lining panel, basting it carefully in place. Place the top facing over it, sandwiching the zipper in between, and sew them together. Be sure to bend the zipper tail downwards before finishing the seam so it tucks away cleanly. Press the fabric open and topstitch along the lining, then repeat this entire process for the other half of the zipper.
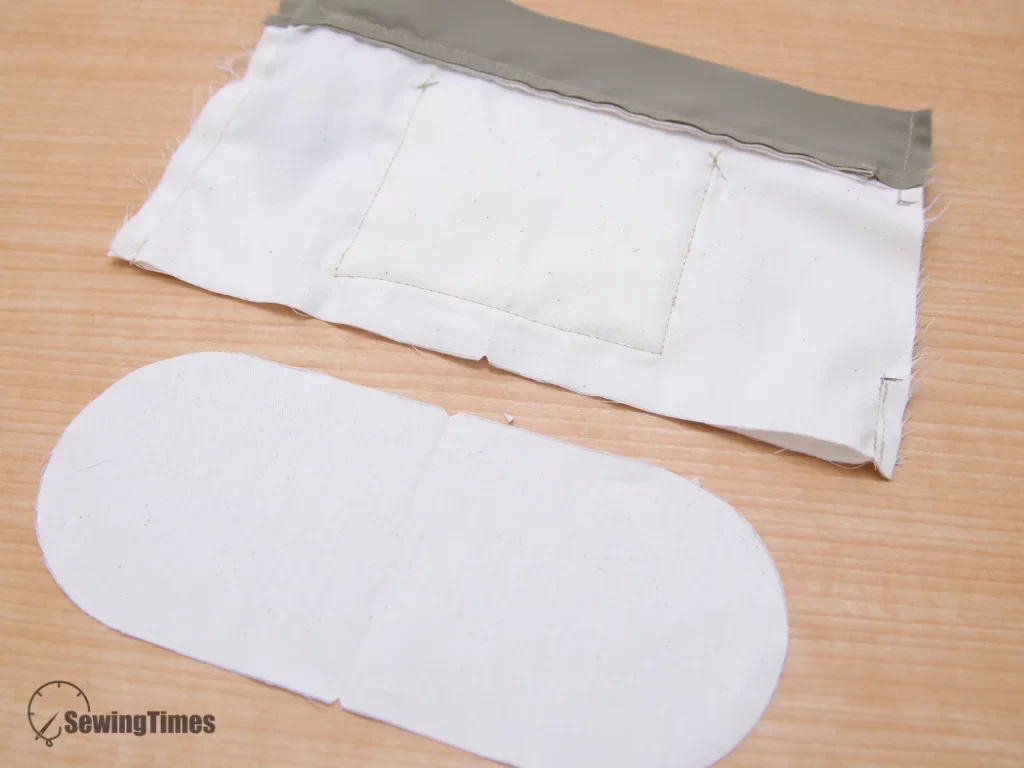
Assemble the lining bag just like the exterior, but remember to leave a generous turning hole in one of the side seams.
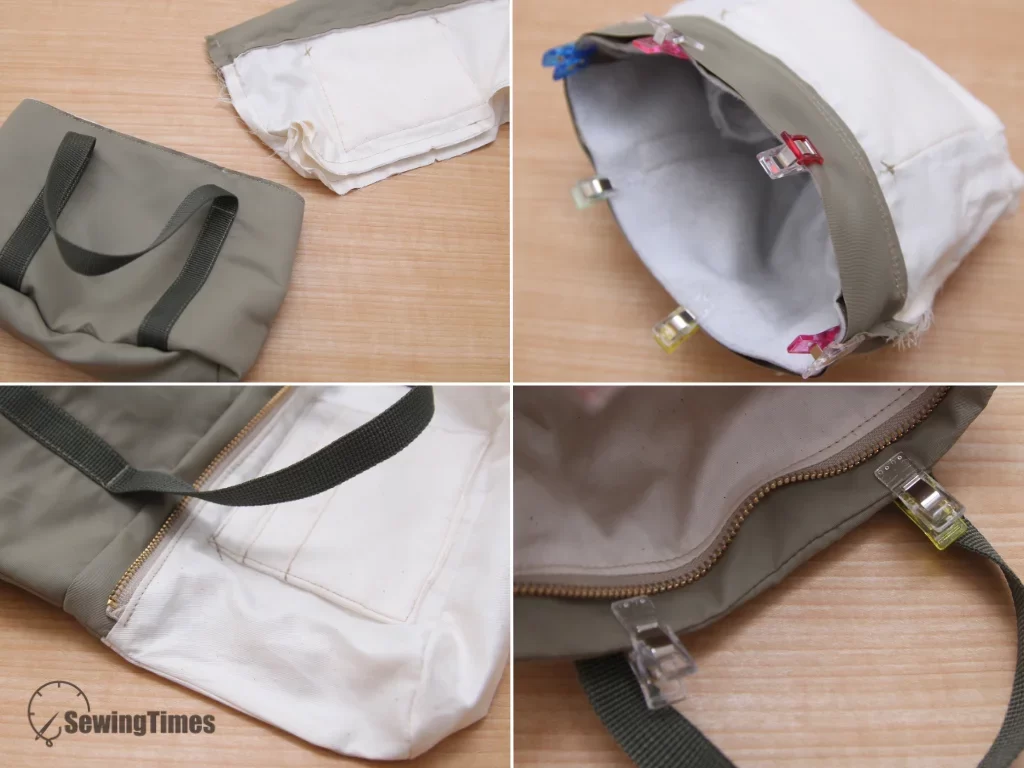
With the exterior bag turned right side out, slide it inside the lining so their right sides are facing together. Match the side seams perfectly and sew all the way around the top edge of the bag. Carefully pull the entire bag right side out through the hole in the lining, and then stitch that opening closed. Finally, push the lining neatly down into the bag, press the top edge thoroughly, and finish with a neat topstitch all around the rim.
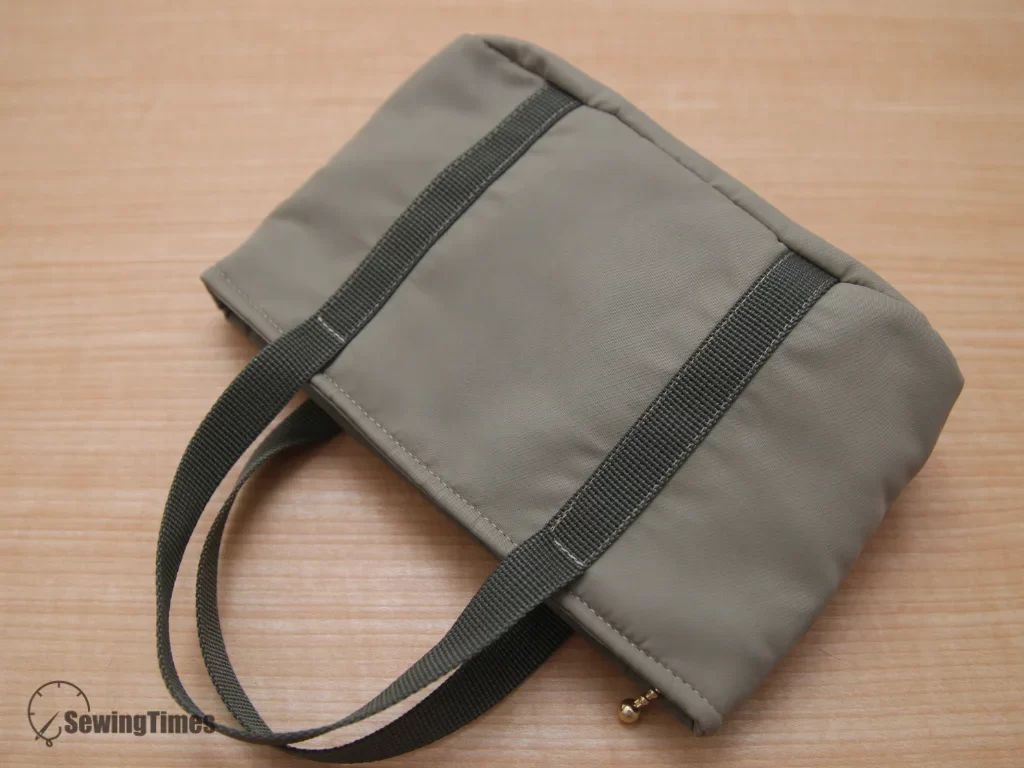
All done! We hope you enjoy creating your own wonderful piece.
And be sure to check out the [Sewingtimes YouTube channel] for more creative projects.