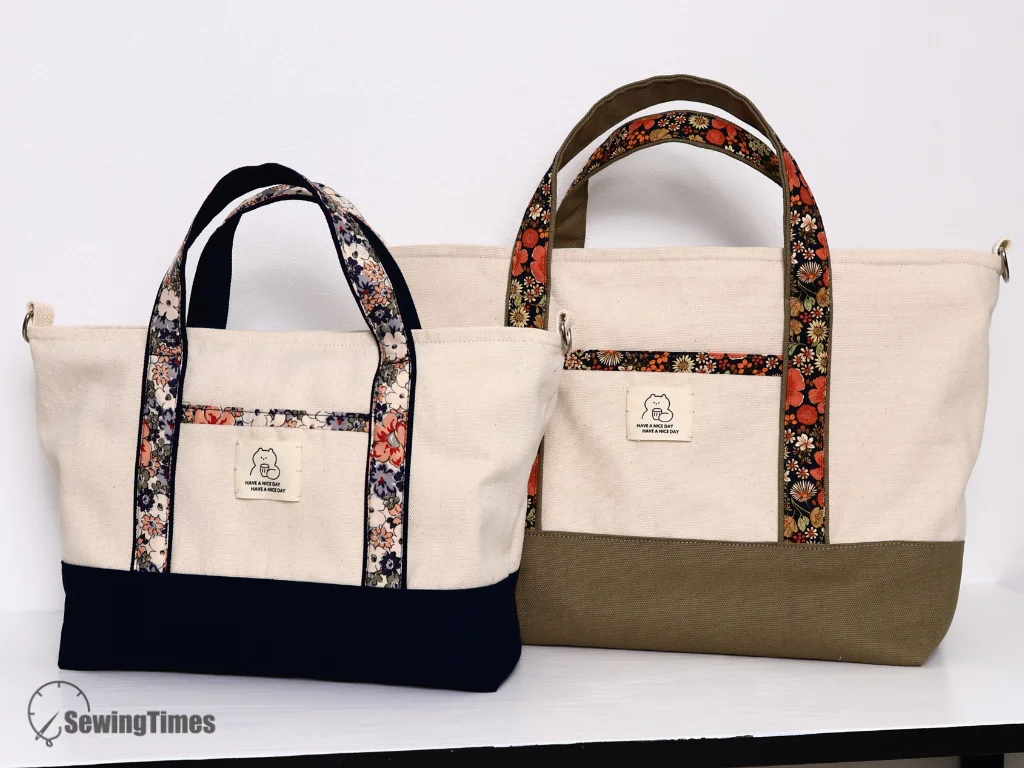
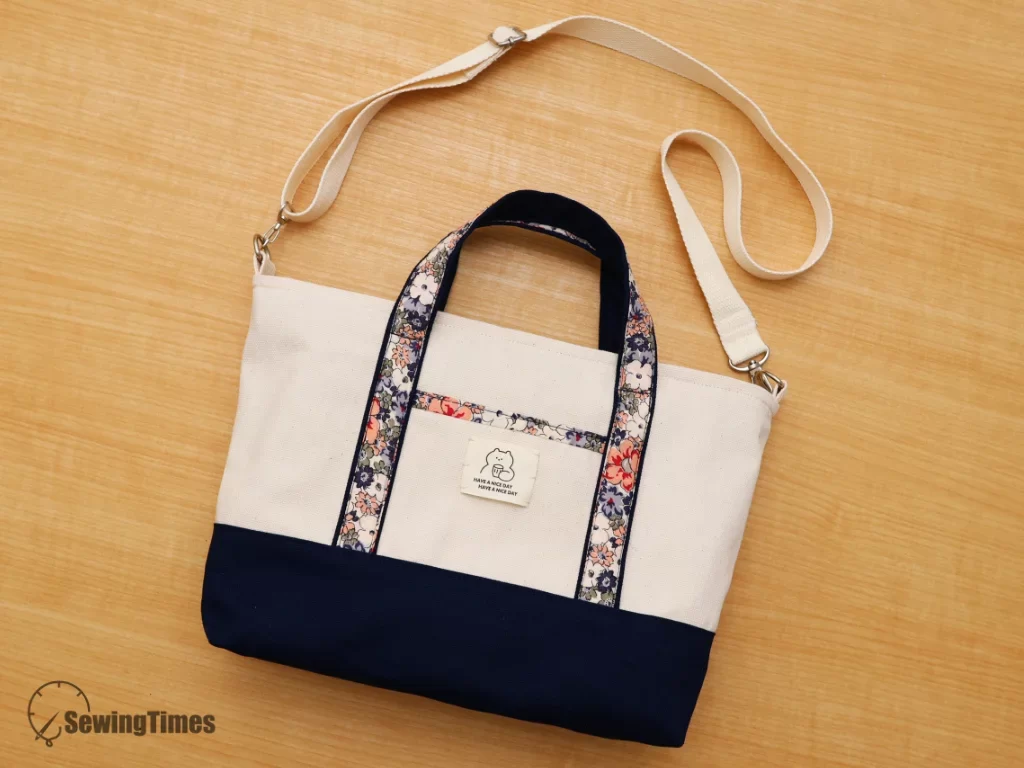
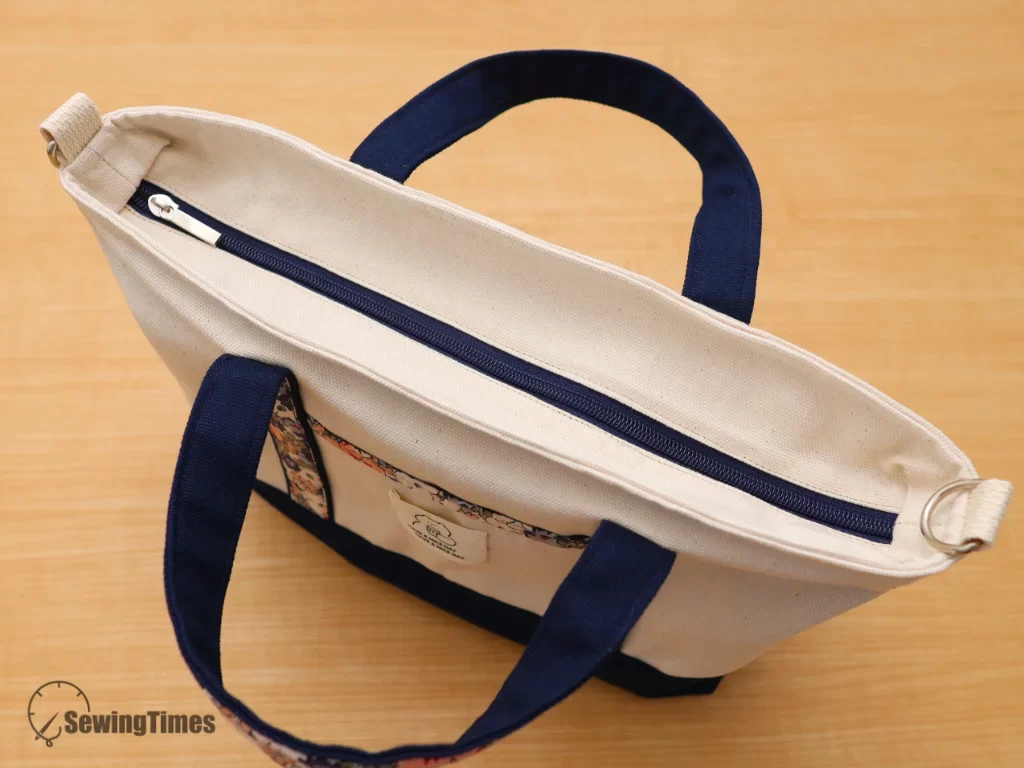
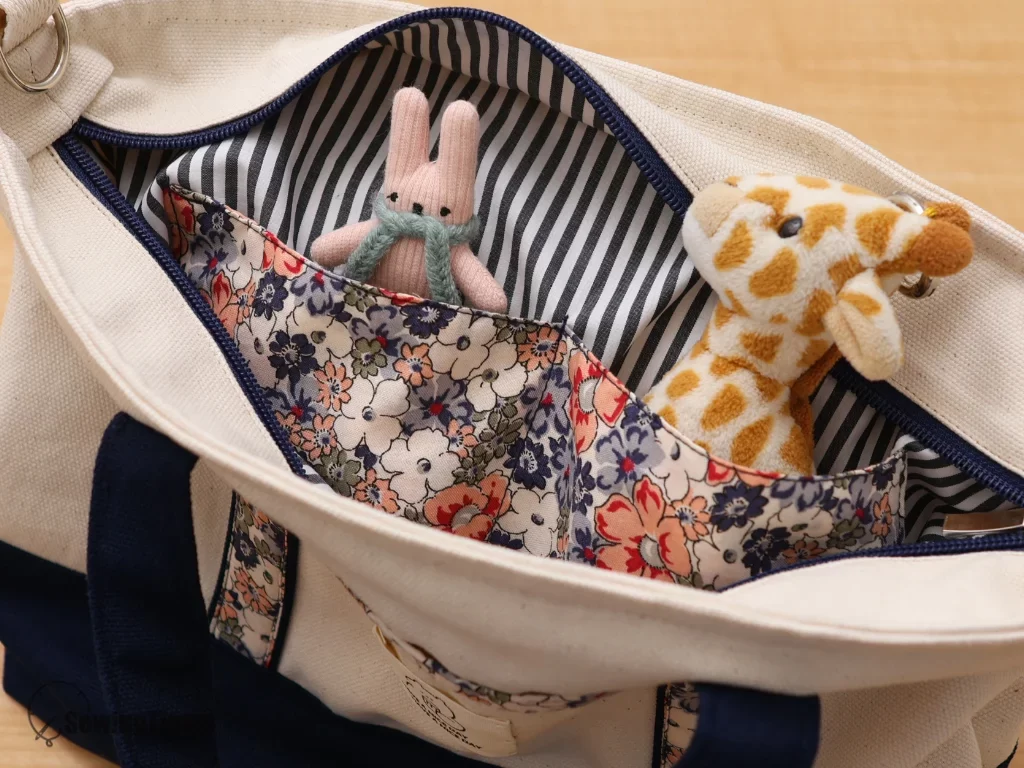
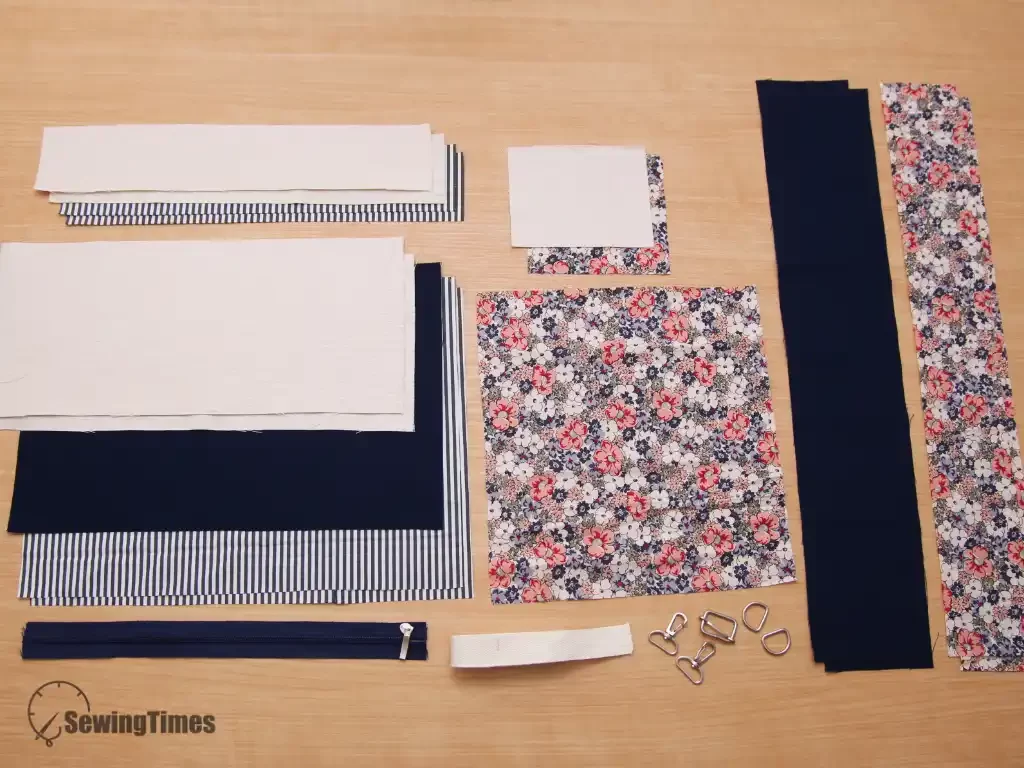
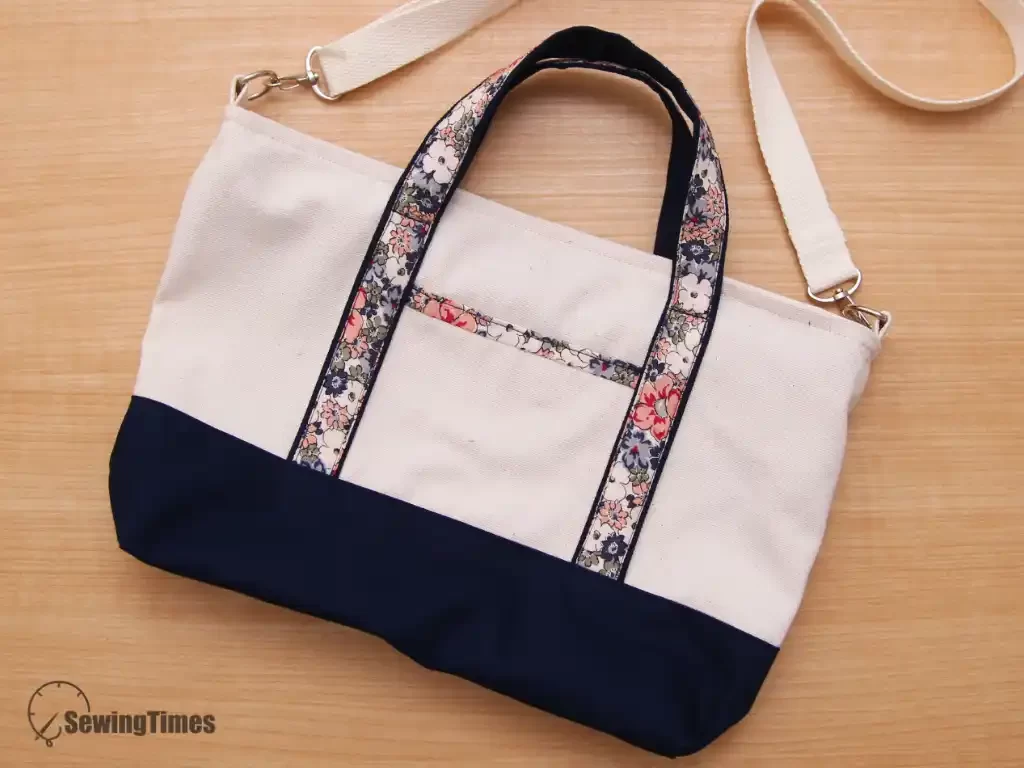
This multi-pocket tote features a flawless recessed zipper to keep your essentials safe, an adjustable strap for hands-free convenience, and a gorgeous floral handle accent that elevates the entire look. Whether you want a compact daily purse or a roomy weekend tote, I’ve got you covered with two different pattern sizes. Check out the tutorial and let’s bring some handmade joy into your wardrobe!
The finished measurements of this Serene Tote Bag are approximately 11⅛″(28㎝) W × 9⅛″(23㎝) H × 4″(10㎝) D.
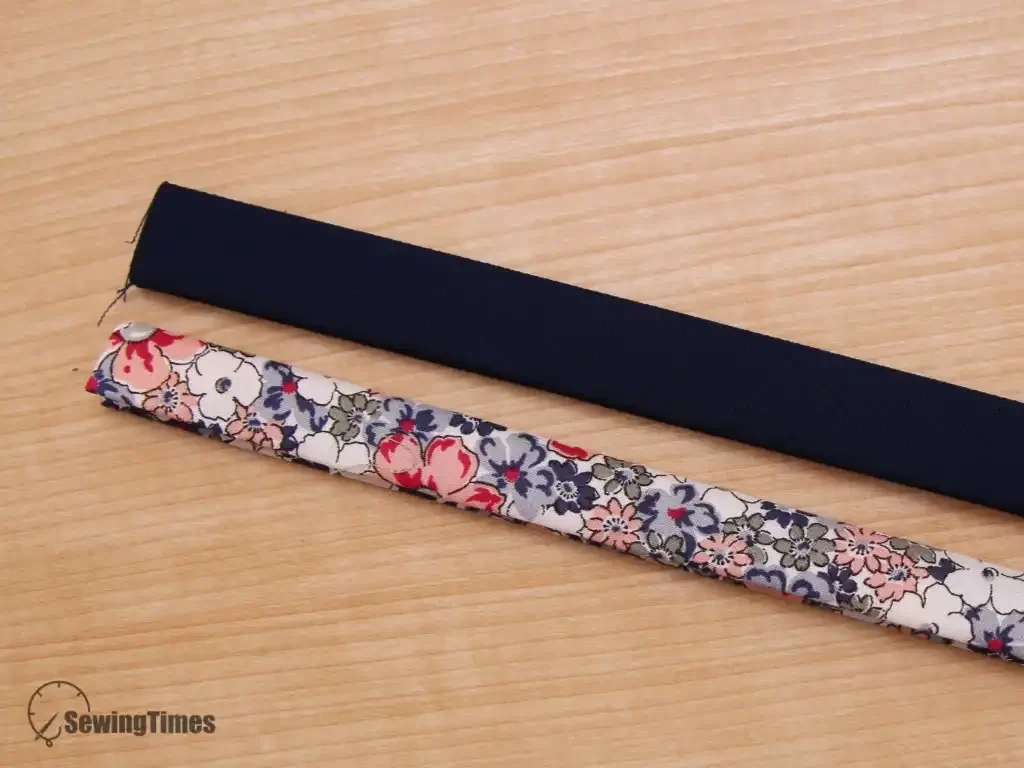
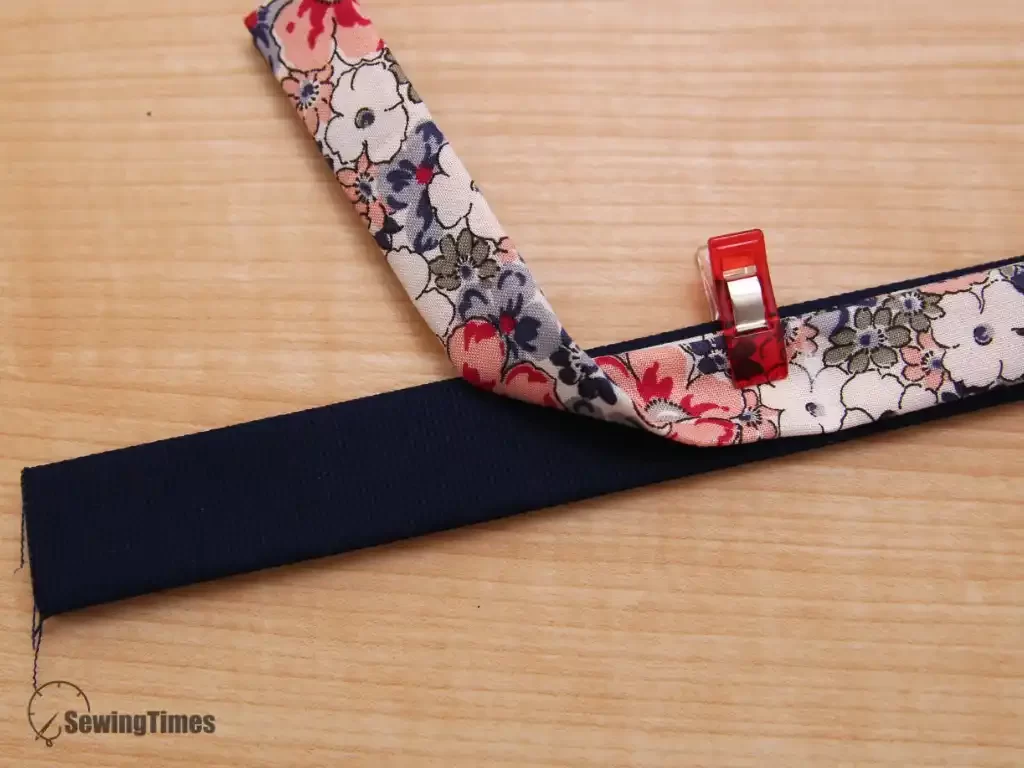
Press the handle straps using the four-fold method (also known as the “bias tape fold”).
Center the floral fabric strip on top of the accent fabric strip. Topstitch along both long edges, leaving 5⅝″ unstitched at each end.
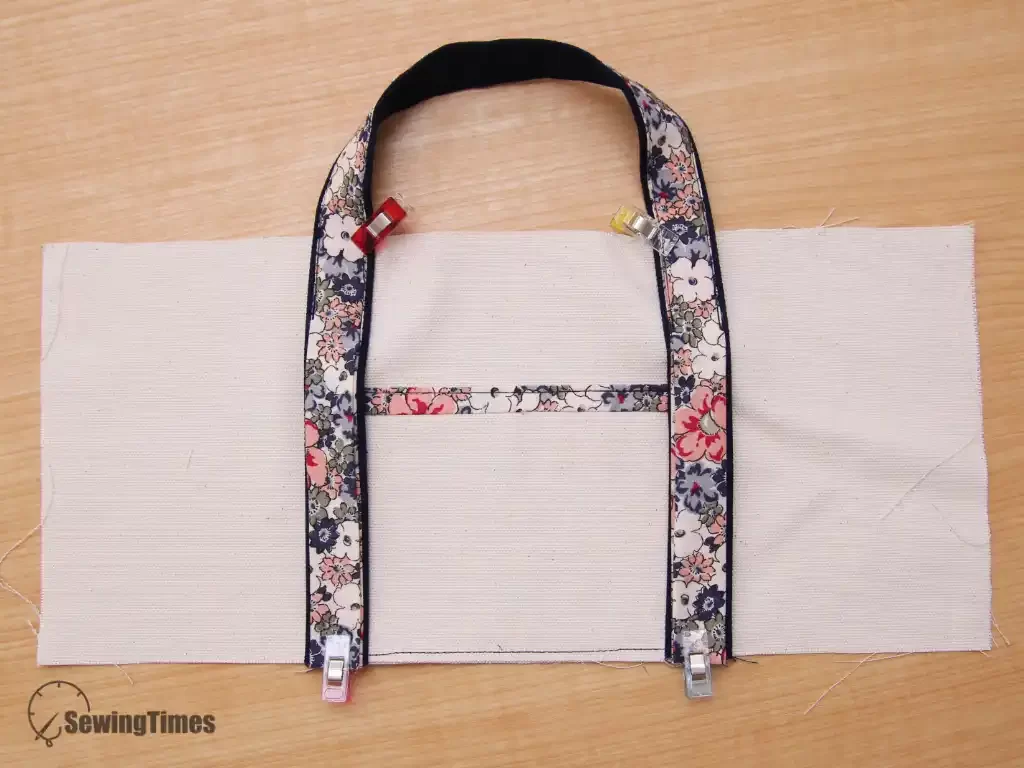
Position the handles on the Main Exterior panel, spacing them 4¾″apart. Stitch each handle to the panel, securing the lower 5⅝″ on both sides.
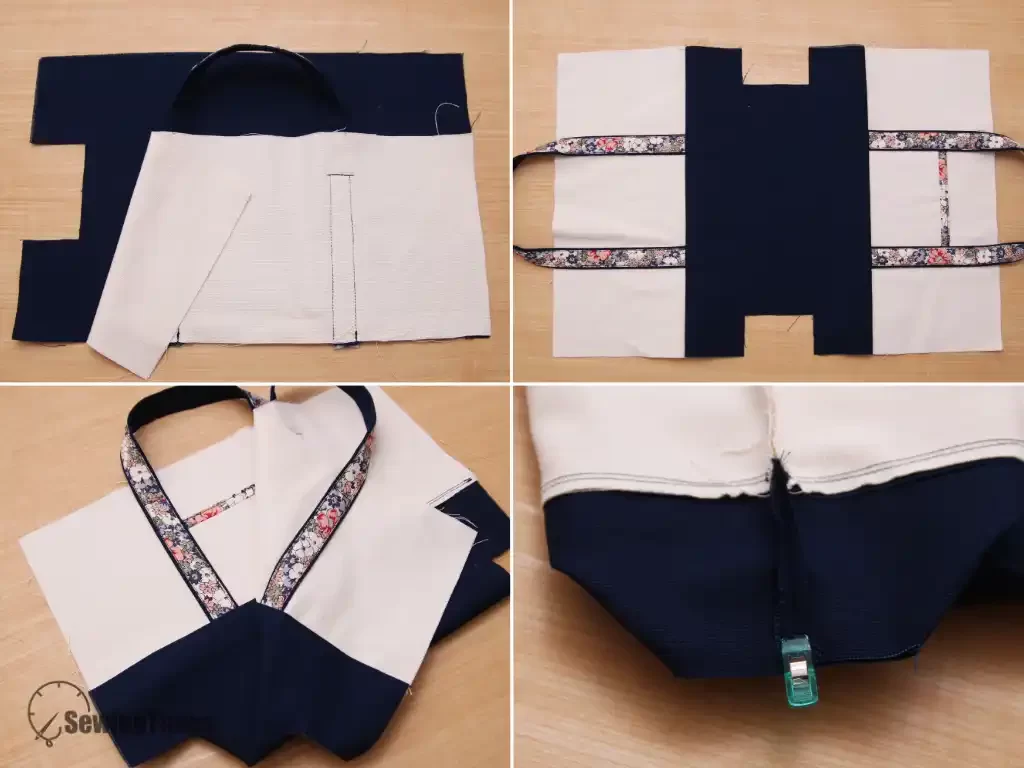
Place the Main Exterior panel and the Bottom Panel right sides together, aligning the lower edge of the Main Exterior with the upper edge of the Bottom Panel. Stitch to join. Open the panel flat and topstitch along both sides of the seam. Fold the assembled Exterior panel in half with right sides together. Stitch the side seams. Flatten each bottom corner by aligning the side seam with the bottom seam, then stitch across the corner to create a boxed bottom.
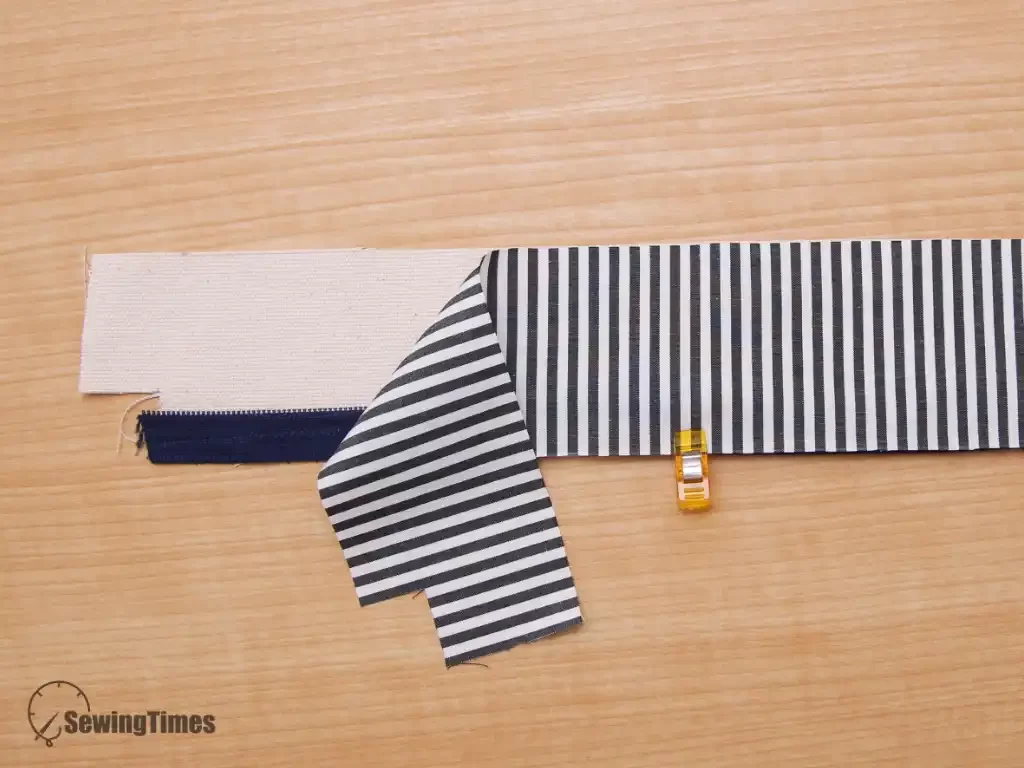
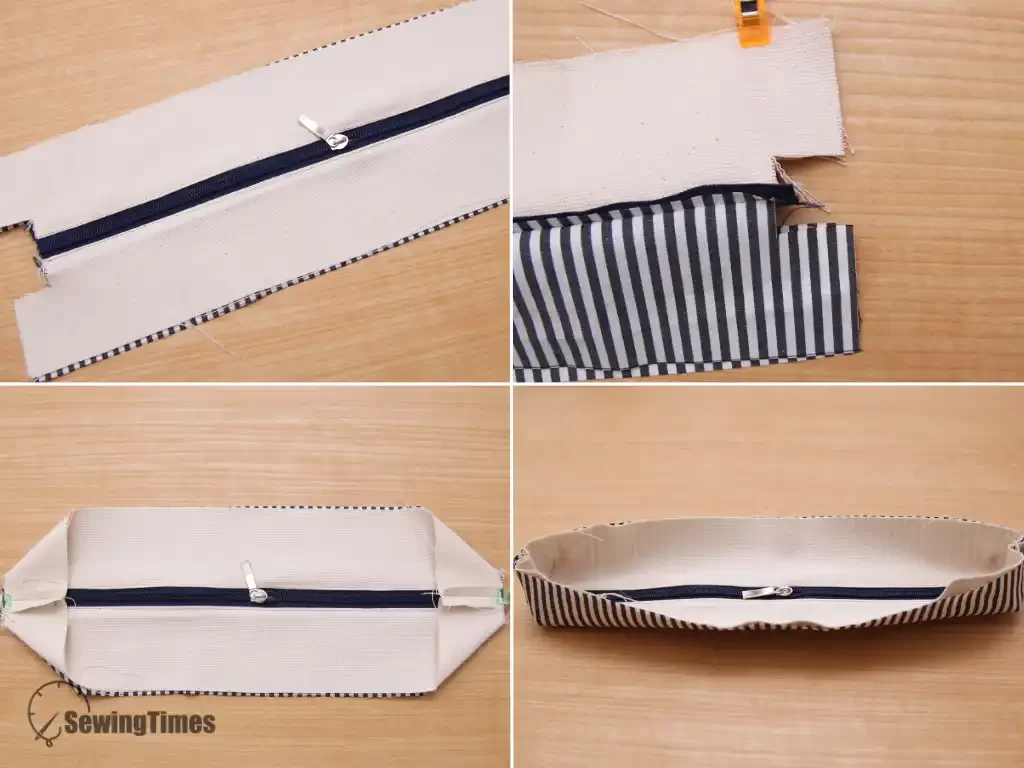
Place the zipper between the Exterior and Lining Zipper Panels with right sides together, then stitch along the top edge.
With right sides together, match the Exterior panels to each other and the Lining panels to each other. Stitch both short ends of the zipper panel. Flatten each end of the zipper panel and stitch across the corners to create the boxed ends.
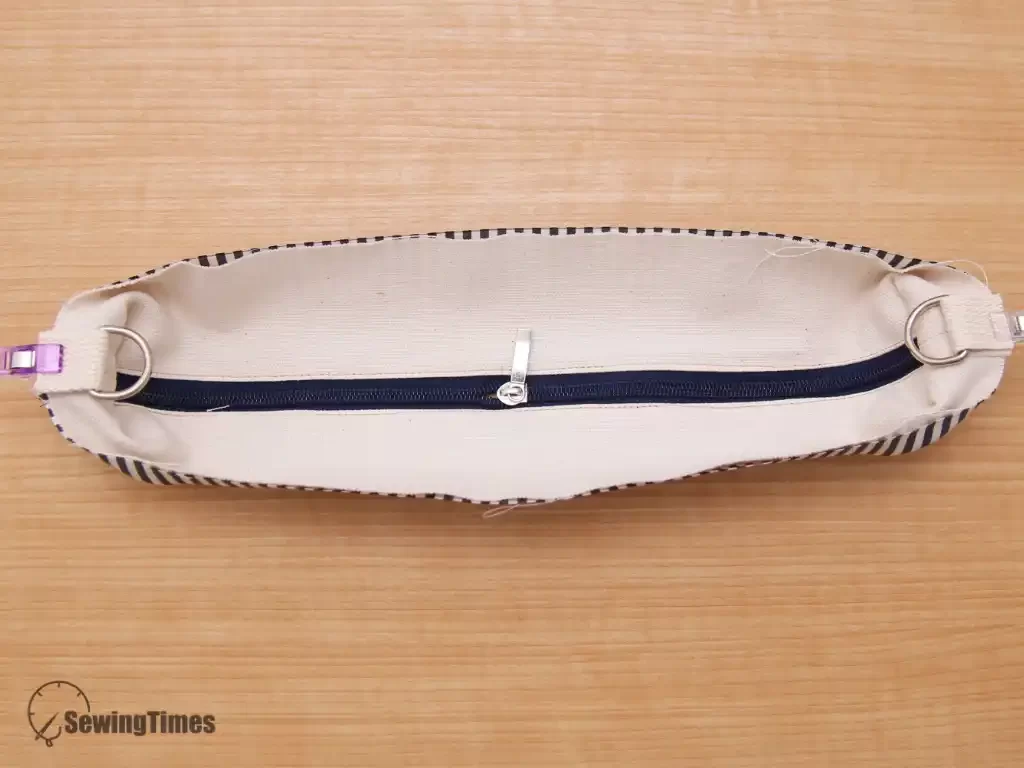
Baste a D-ring tab to each side of the zipper panel.
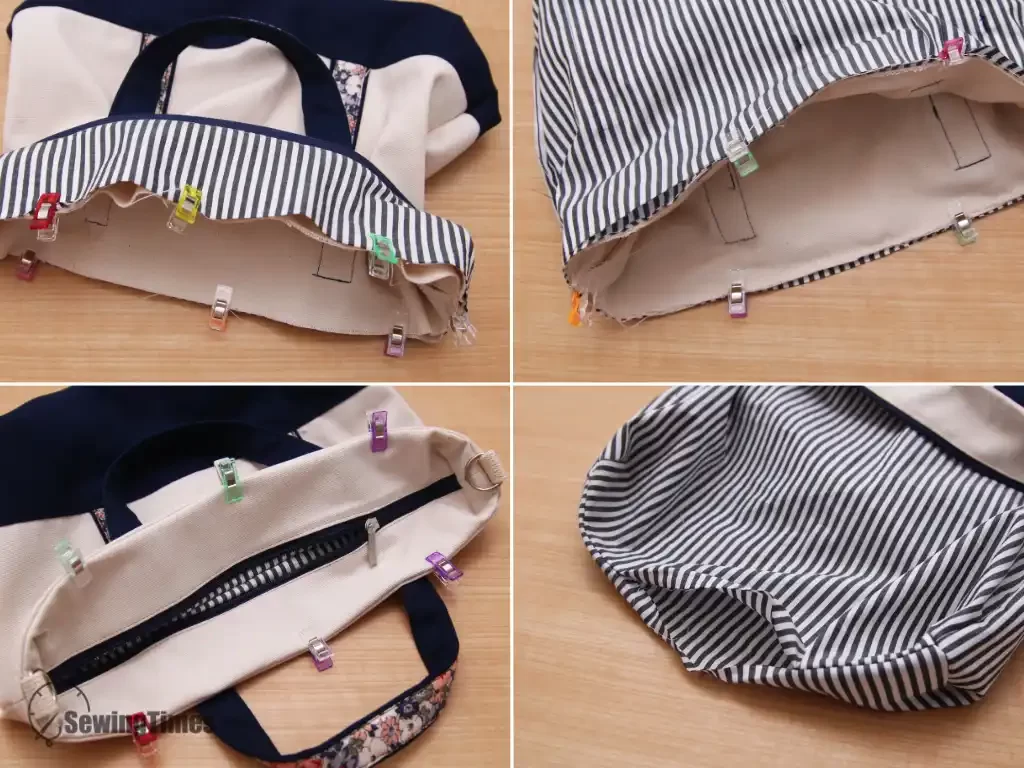
With right sides together, align the lower edge of the recessed zipper panel with the top edge of the Main Exterior. Place the Main Lining over the assembly with right sides together, align the top edges, and stitch all layers together. Turn the bag right side out through the opening in the lining. Push the recessed zipper down into the bag and topstitch around the top edge. Close the turning opening in the lining with an edge stitch to complete the bag.
All done! We hope you enjoy creating your own wonderful piece. 🎁 And be sure to check out the [Sewingtimes YouTube channel] for more creative projects.