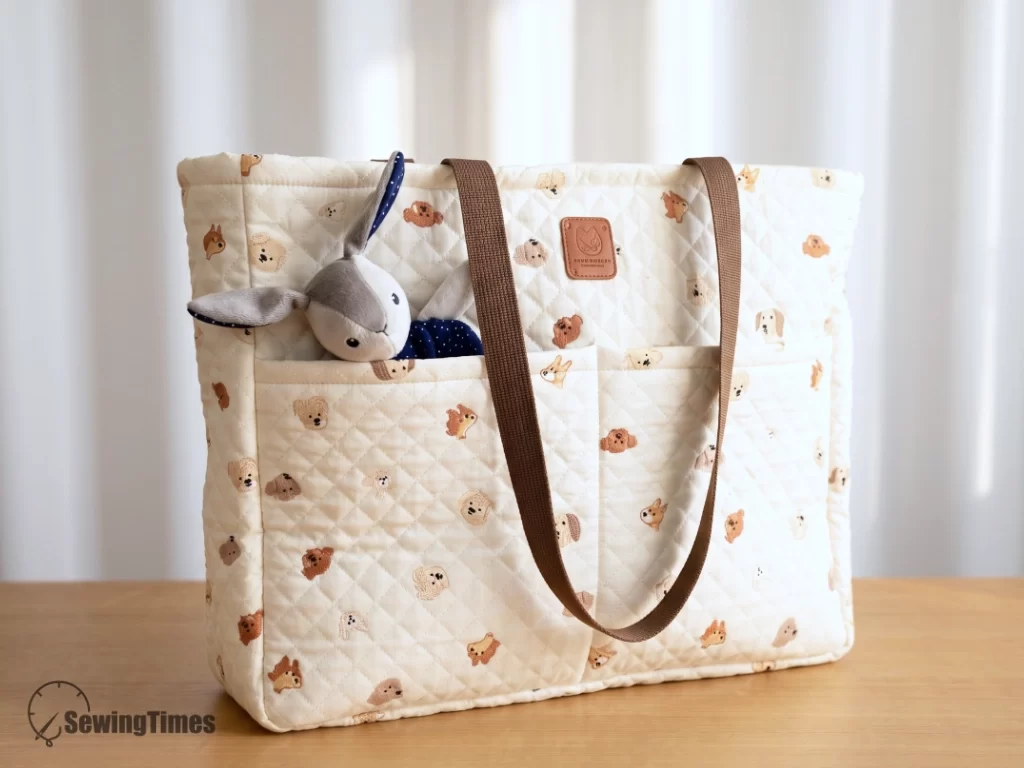
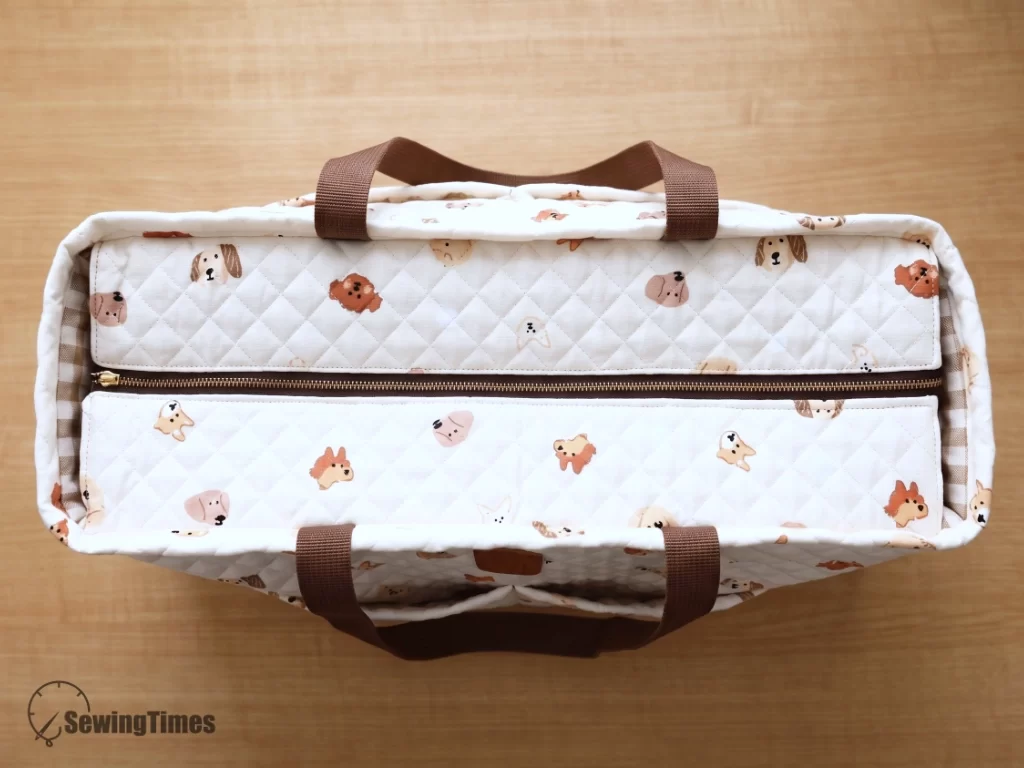
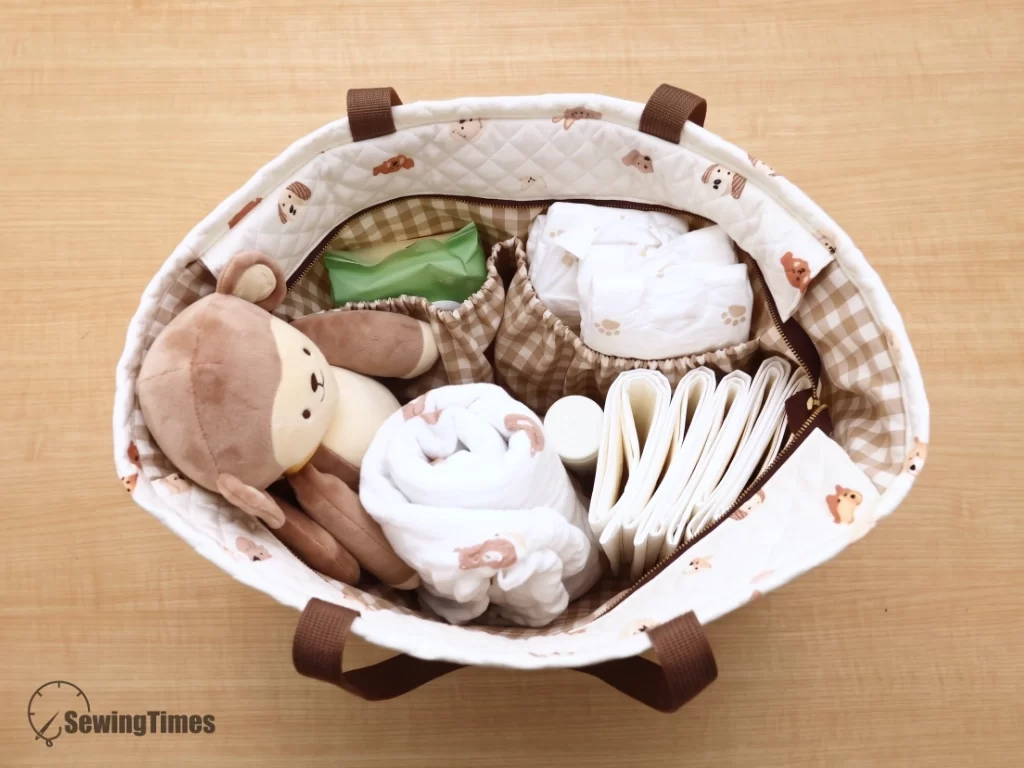
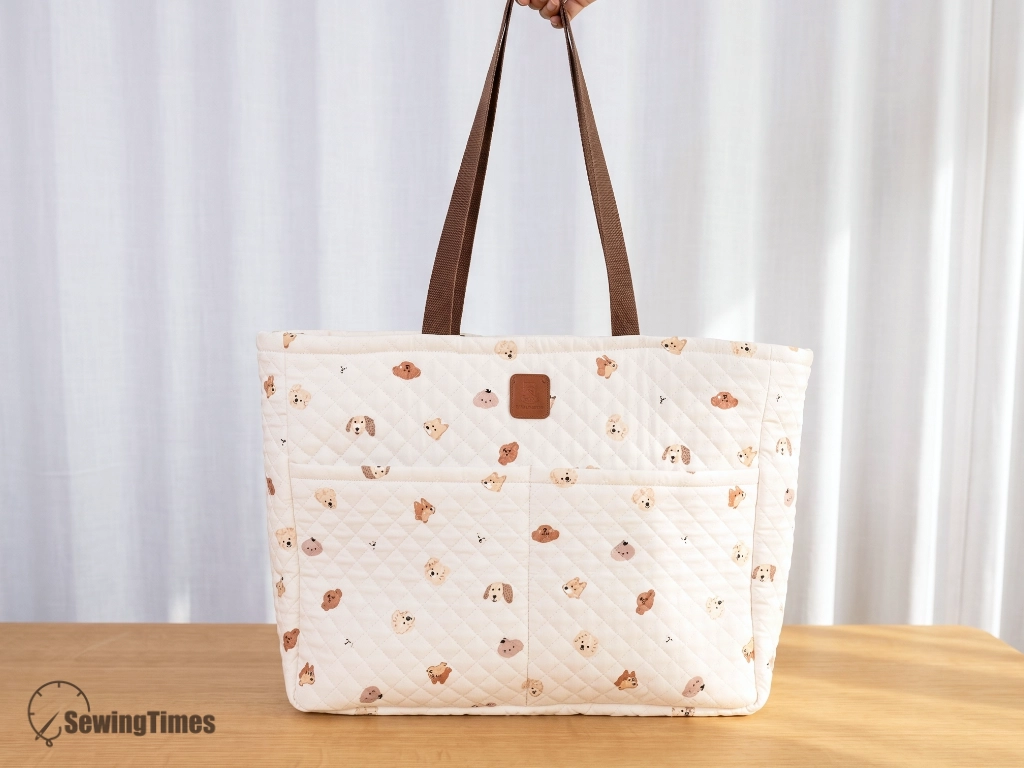
There’s nothing more satisfying than making a bag that gets used every single day. This large-capacity tote is designed for serious utility, making it the perfect travel companion or everyday diaper bag. If you’ve been intimidated by sewing zippers or handling thick side panels, don’t worry. I’ll walk you through every single step in my latest video so you can achieve that clean, store-bought finish right on your home sewing machine. Let’s tackle that recessed zipper together!
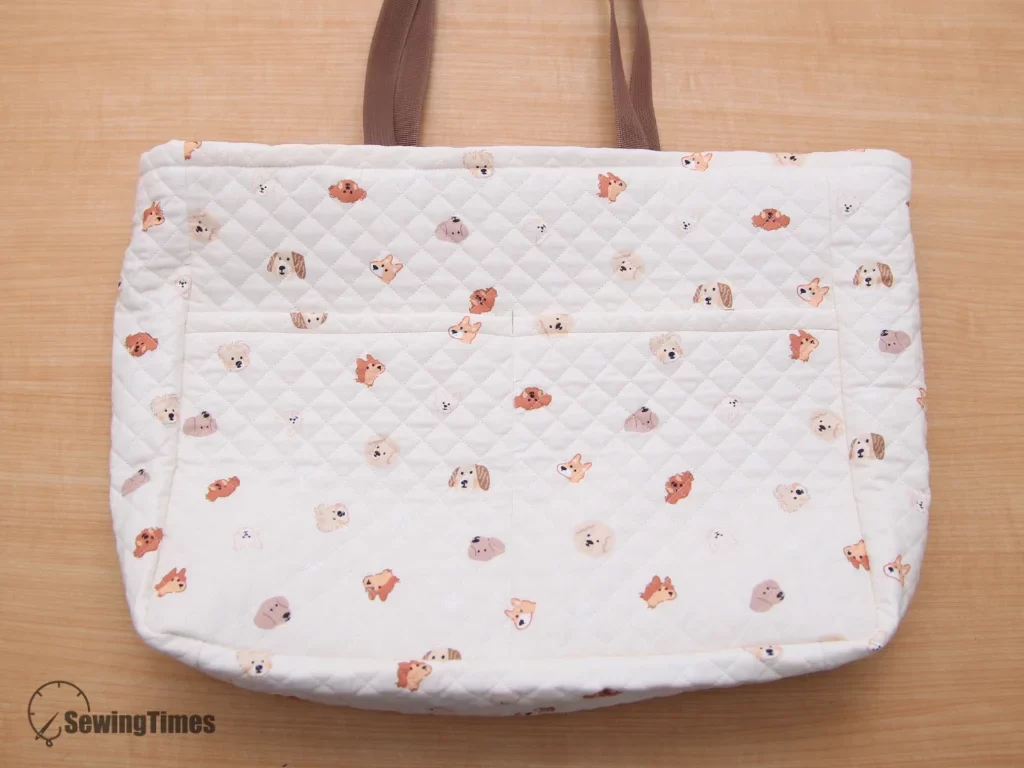
The finished measurements of this Rogue Diaper Bag are approximately 17″(43cm) W × 13¾”(35cm) H × 5⅜”(13.5cm) D.
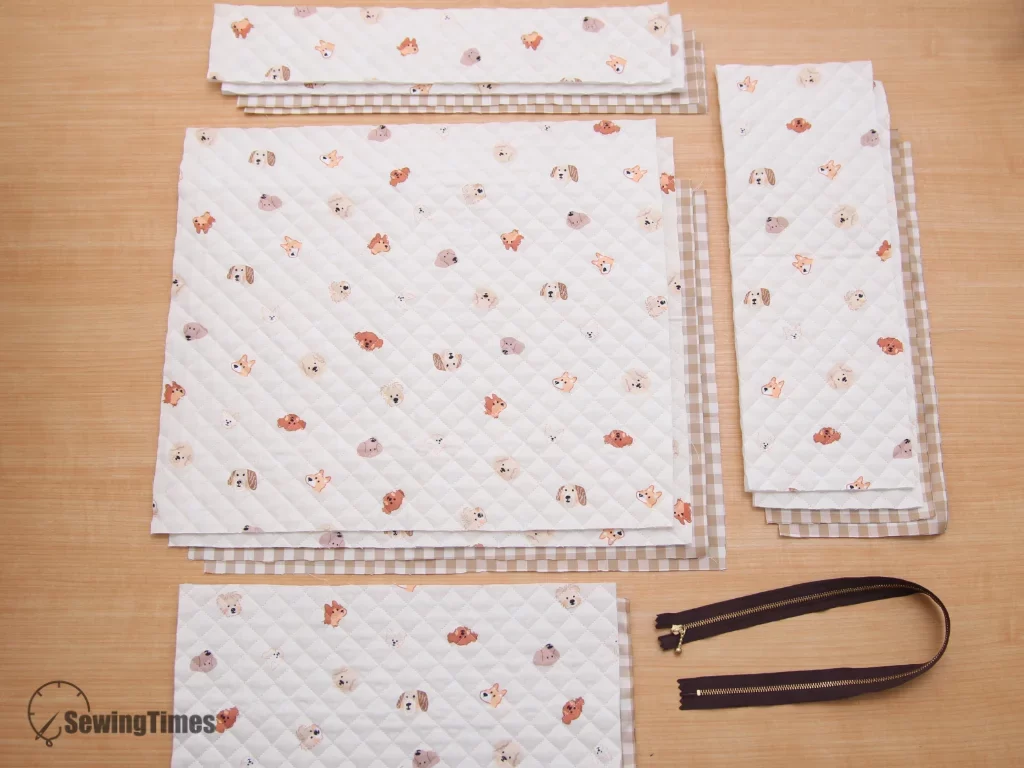
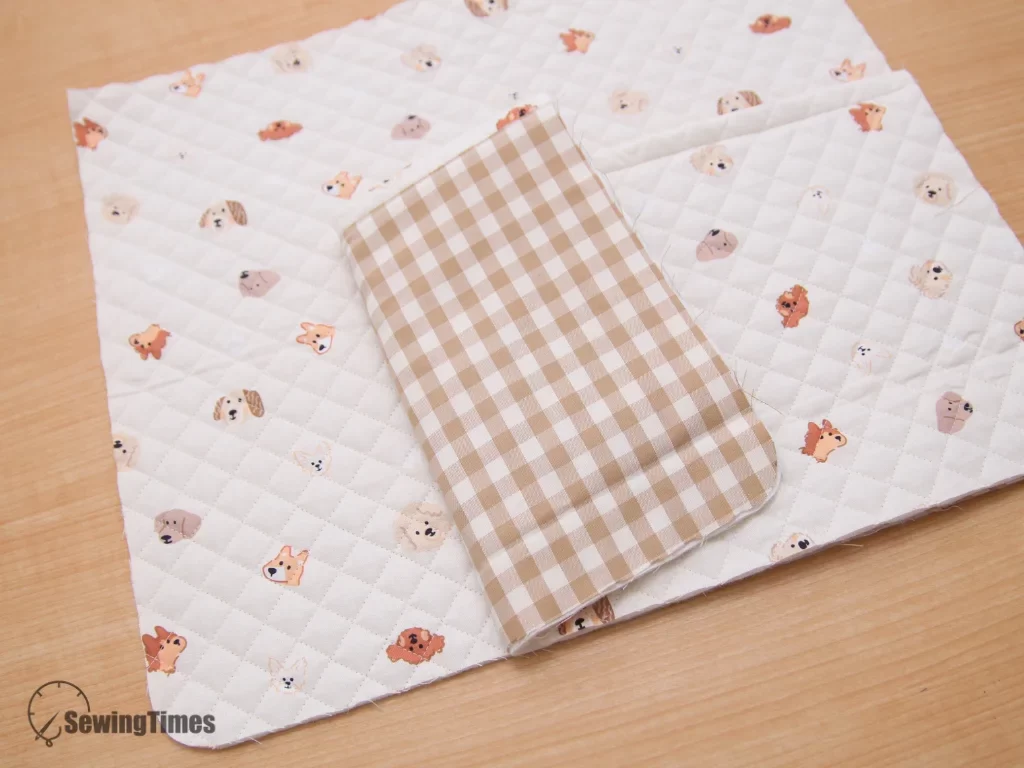
Place the front pocket exterior and lining right sides together, and sew along the top edge with a 1/4″ seam allowance. Turn the pocket right side out, press the seam flat, and topstitch 5/8″ from the finished top edge. Align the bottom center of the pocket with the front exterior panel, stitch down the center line to divide it, and baste the remaining three edges.
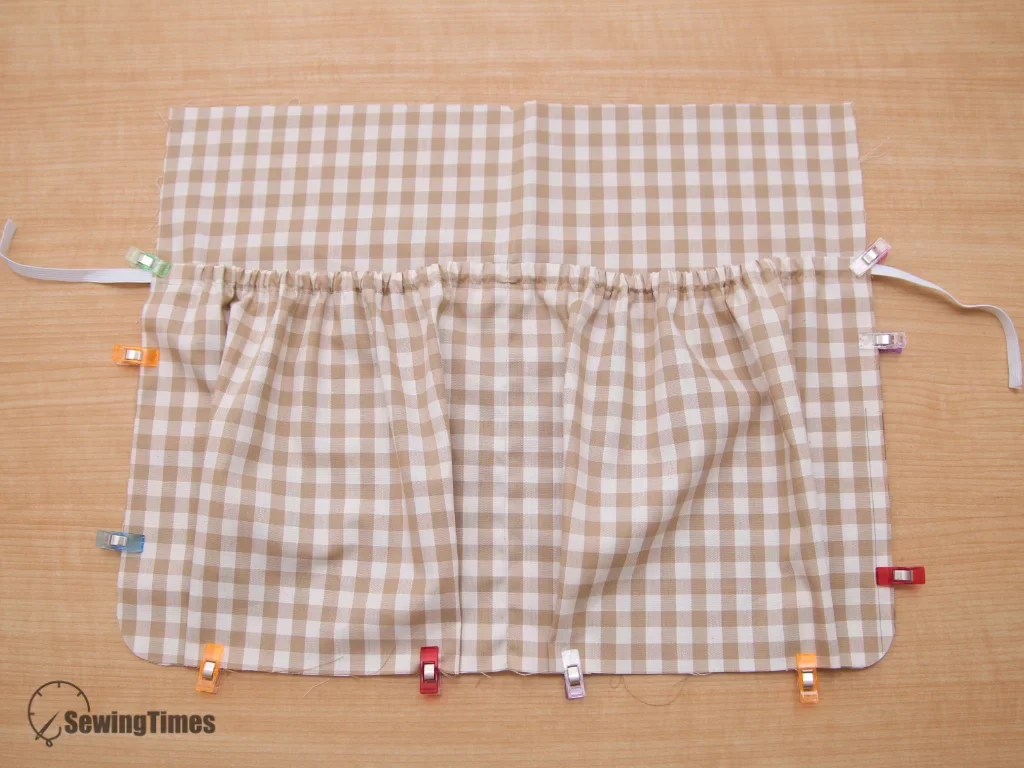
For the interior pocket, fold the top edge down twice, stitch to create a casing, and insert the elastic. Align the interior pocket with the back lining panel, stitch down the center, pleat the bottom edges to fit, and baste the sides and bottom.
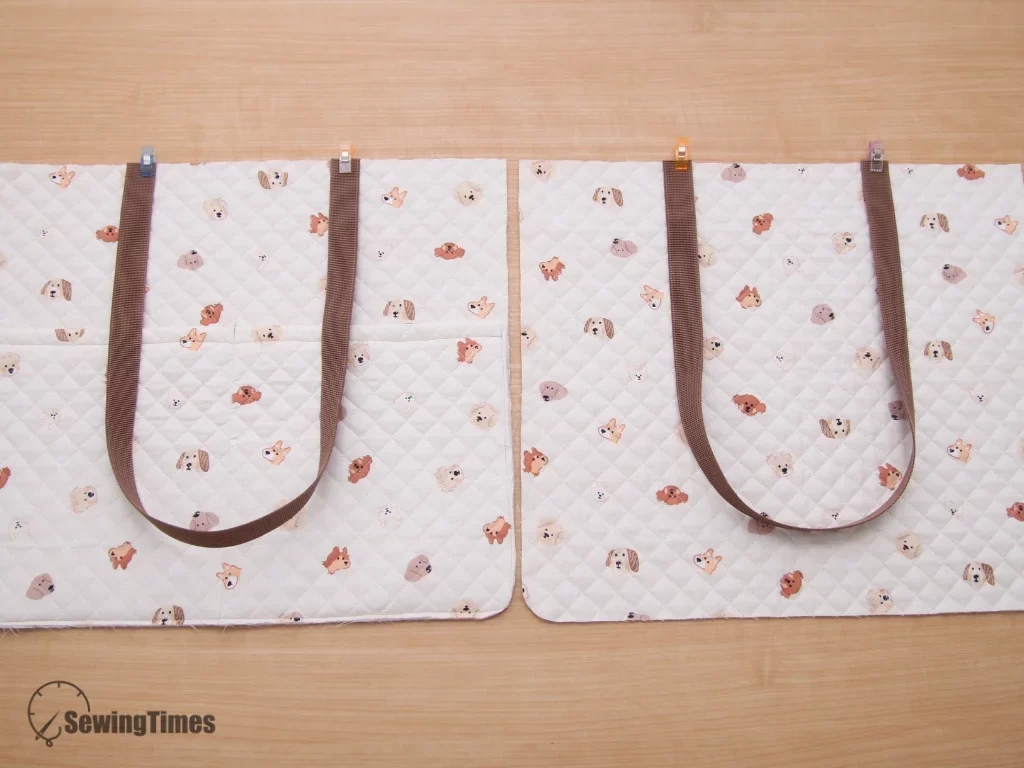
Mark the tote strap placement lines on the top edge of both exterior main panels. Align the webbing ends with these marked lines to form a loop extending downwards, and stitch them securely in place.
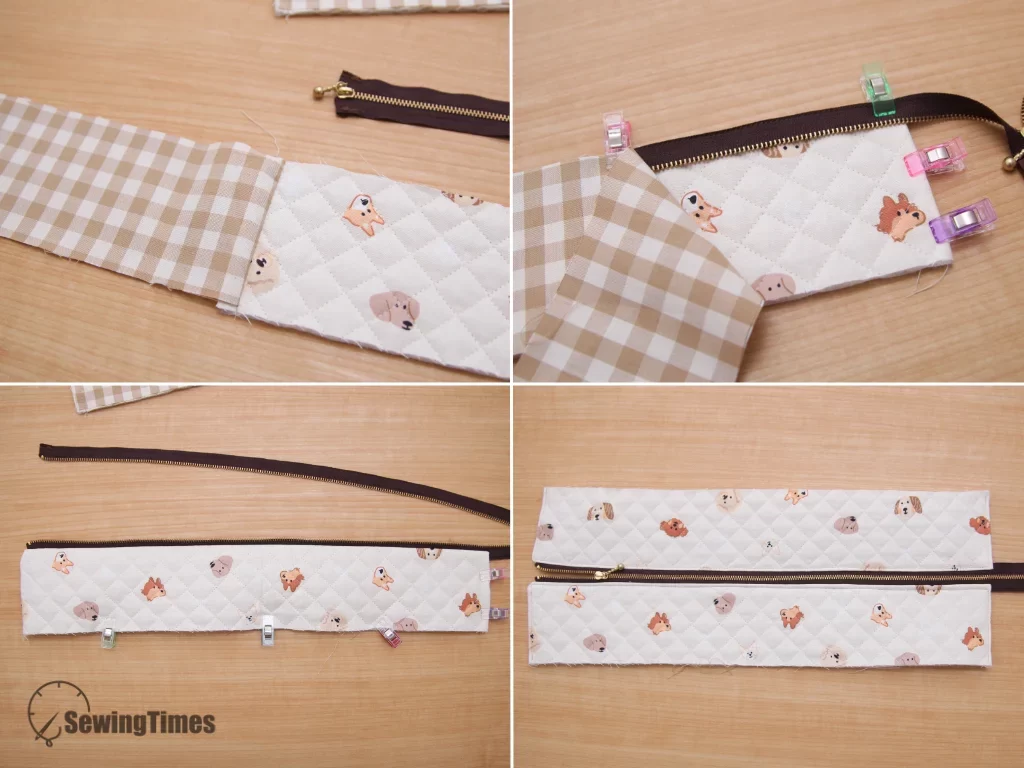
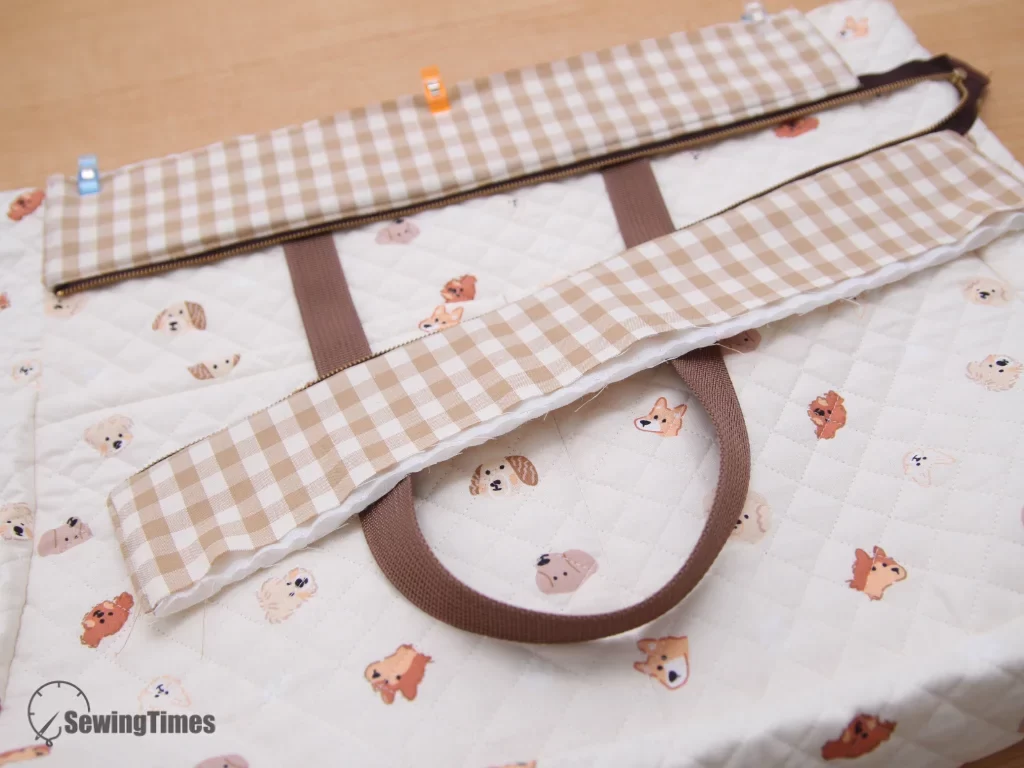
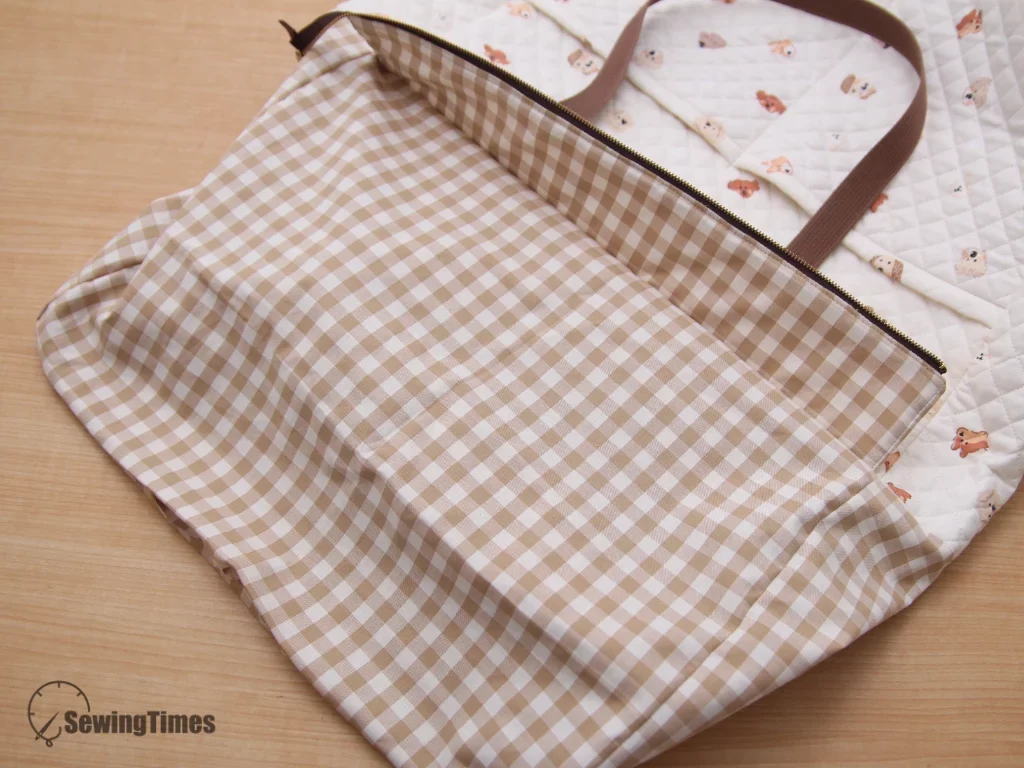
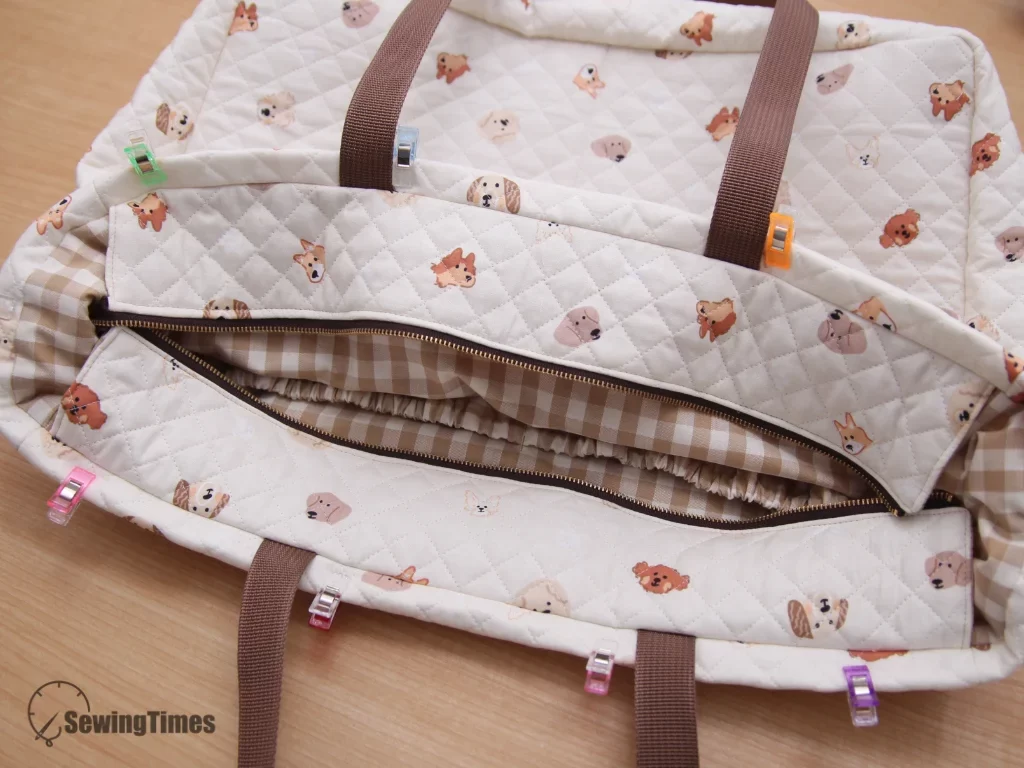
For the recessed zipper panels, sandwich the zipper right sides together between the exterior and lining pieces, starting 3/16″ from the edge. Fold the opposite ends of the panel fabrics inward by 3/8″, sew along the top edge, turn right side out, and topstitch.
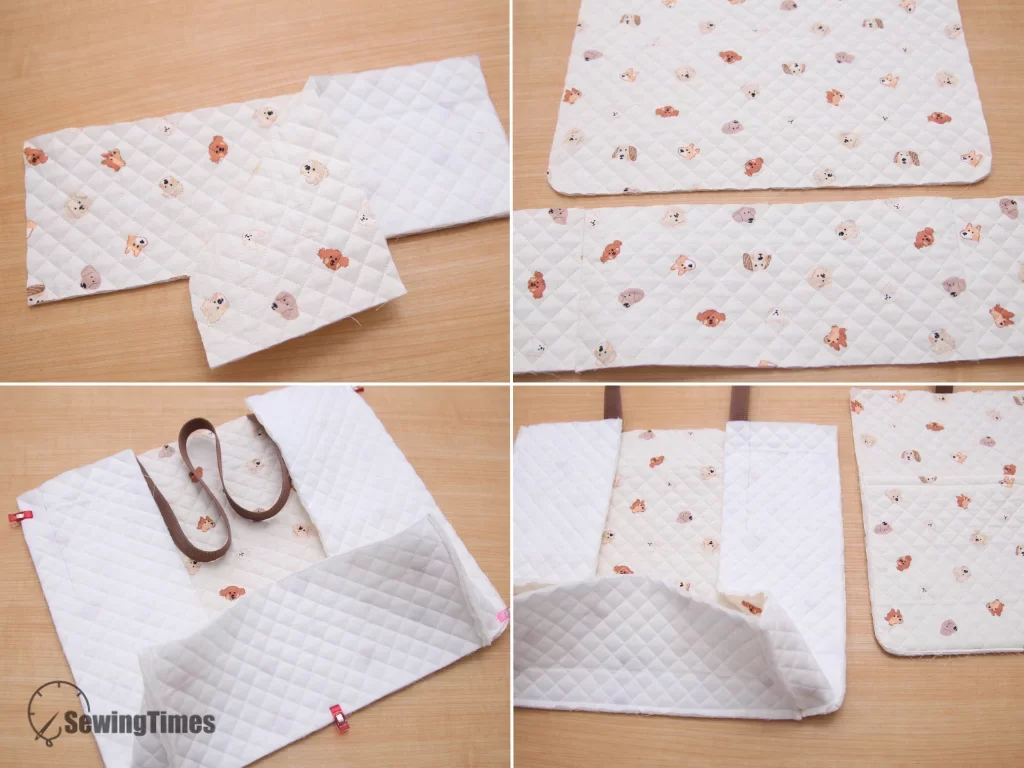
Assemble the exterior gusset by sewing the bottom edges of the side panels to the bottom panel. Align the centers of the exterior main panels with the gusset, and sew along the sides and bottom, making small snips in the curves for a smooth finish.
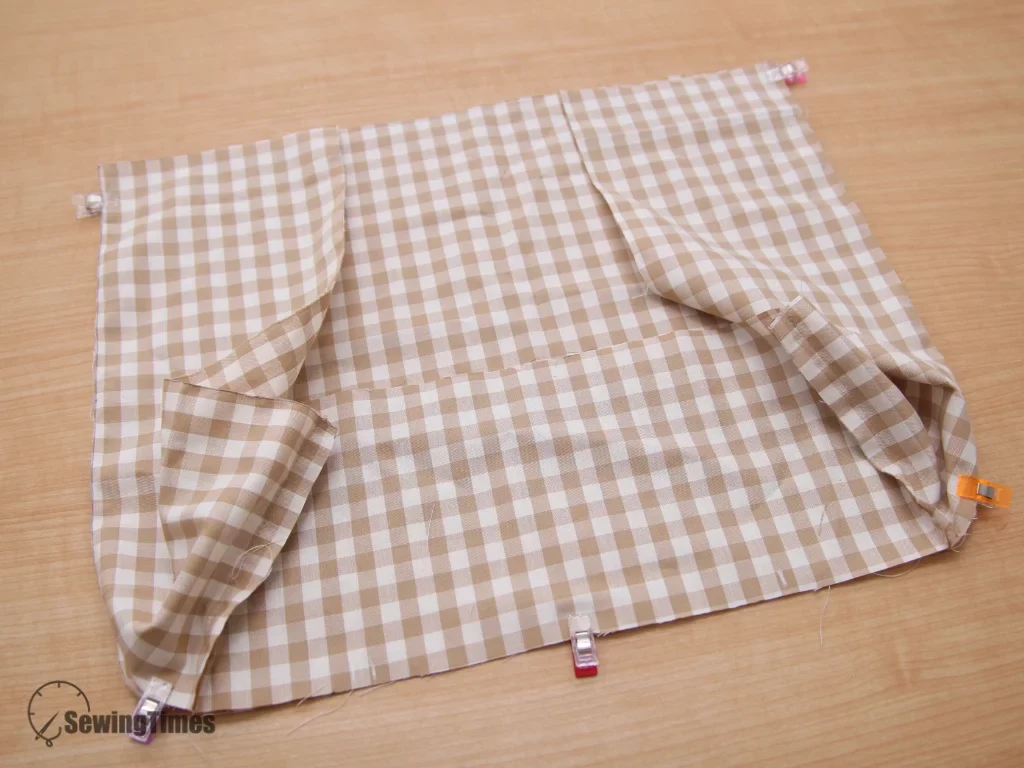
Repeat this gusset assembly process for the lining side and bottom panels. Attach the lining gusset to the lining main panels, making sure to leave a turning opening at the bottom.
Center and align the completed recessed zipper panels along the top edges of the exterior bag, and baste them in place.
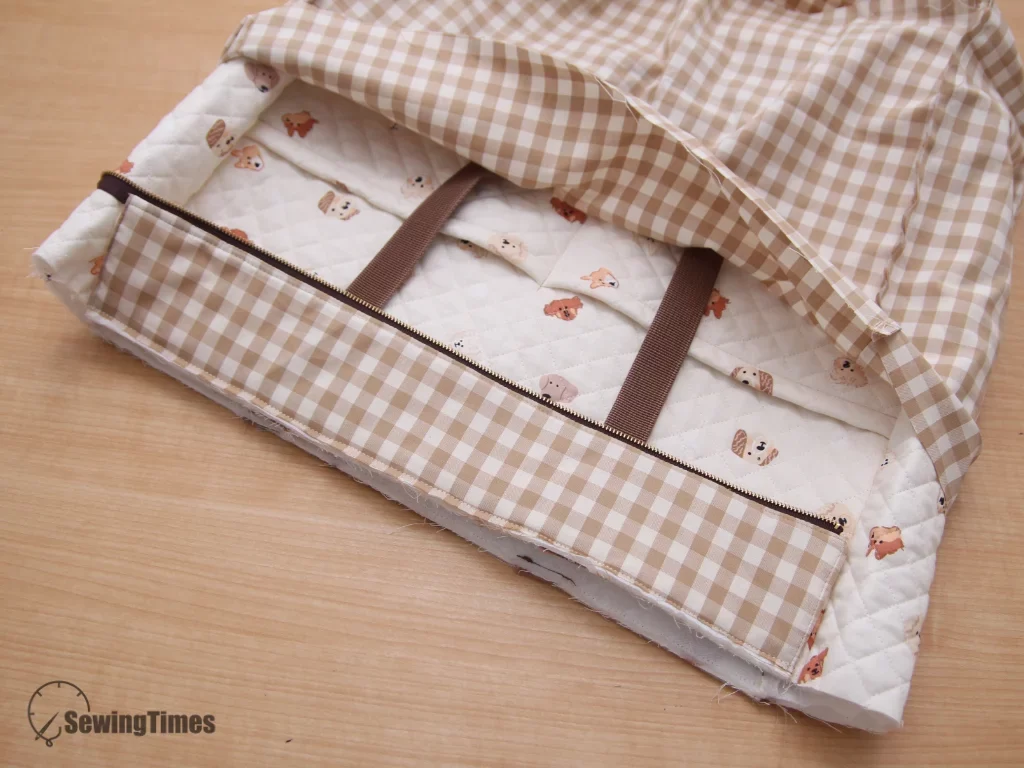
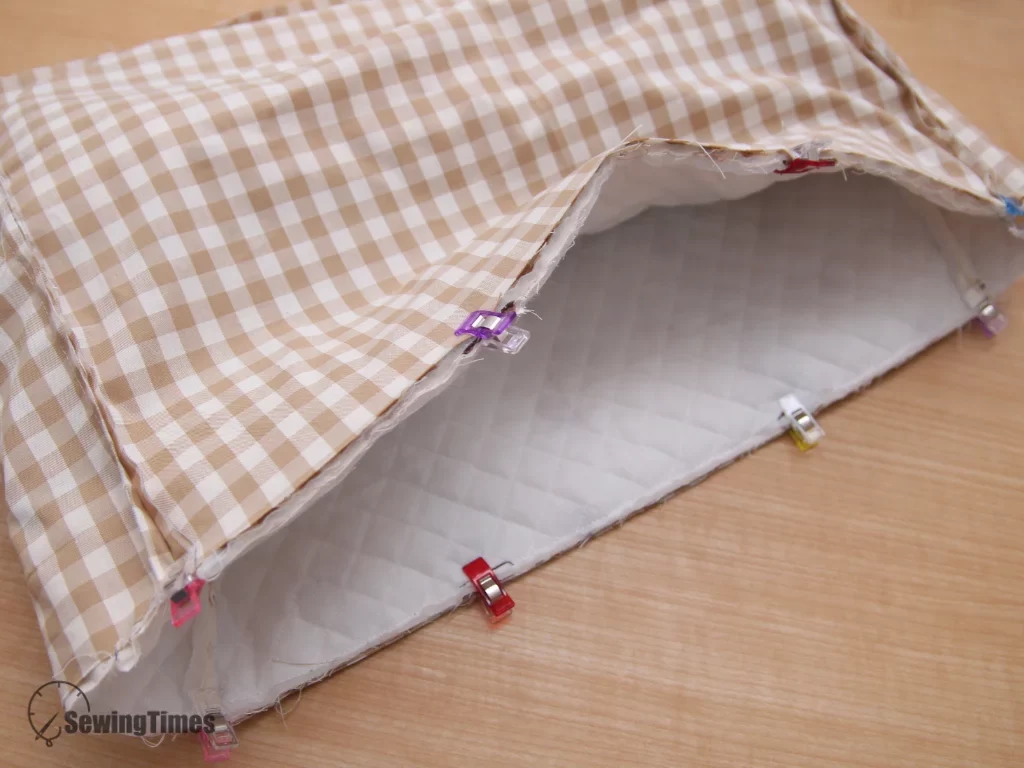
Insert the assembled exterior bag inside the lining bag so their right sides are facing together.
Sew completely around the aligned top edges with a 1/4″ seam allowance.
Pull the entire bag right side out through the opening left in the lining, and stitch the opening closed.
Push the lining down inside the bag, fold the exterior top edge inward by 5/8″, and topstitch around the top to finish securely.
If you loved this project, make sure to subscribe to the [Sewingtimes YouTube channel] for more smart, functional sewing patterns. See you in the next project!”