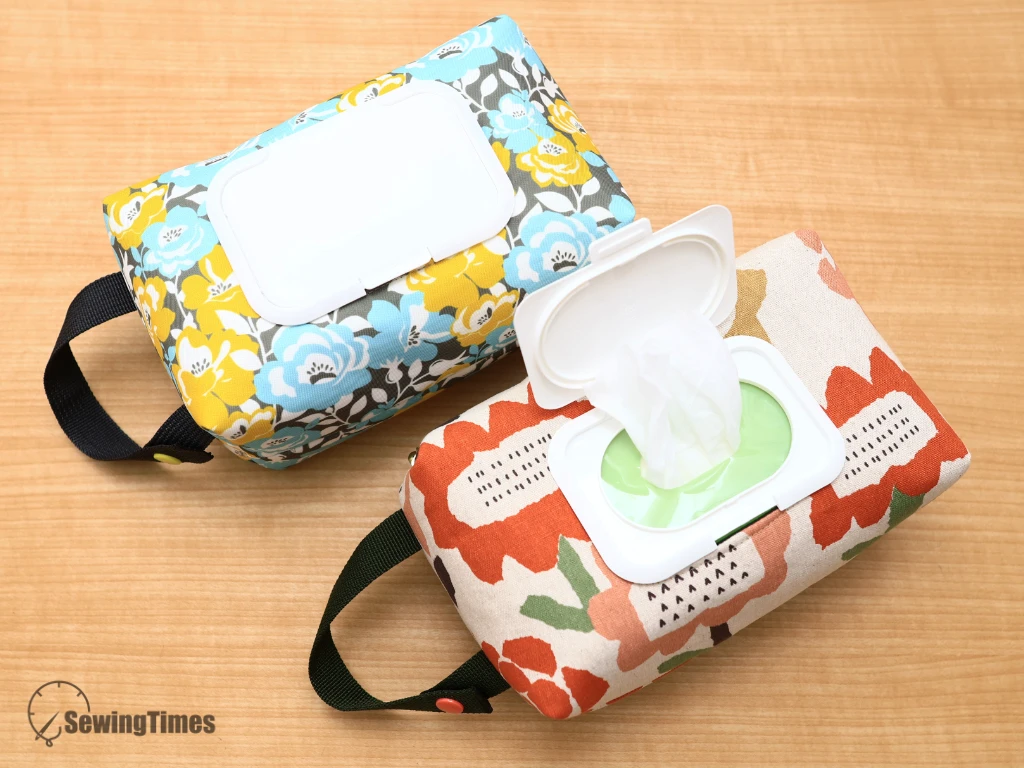
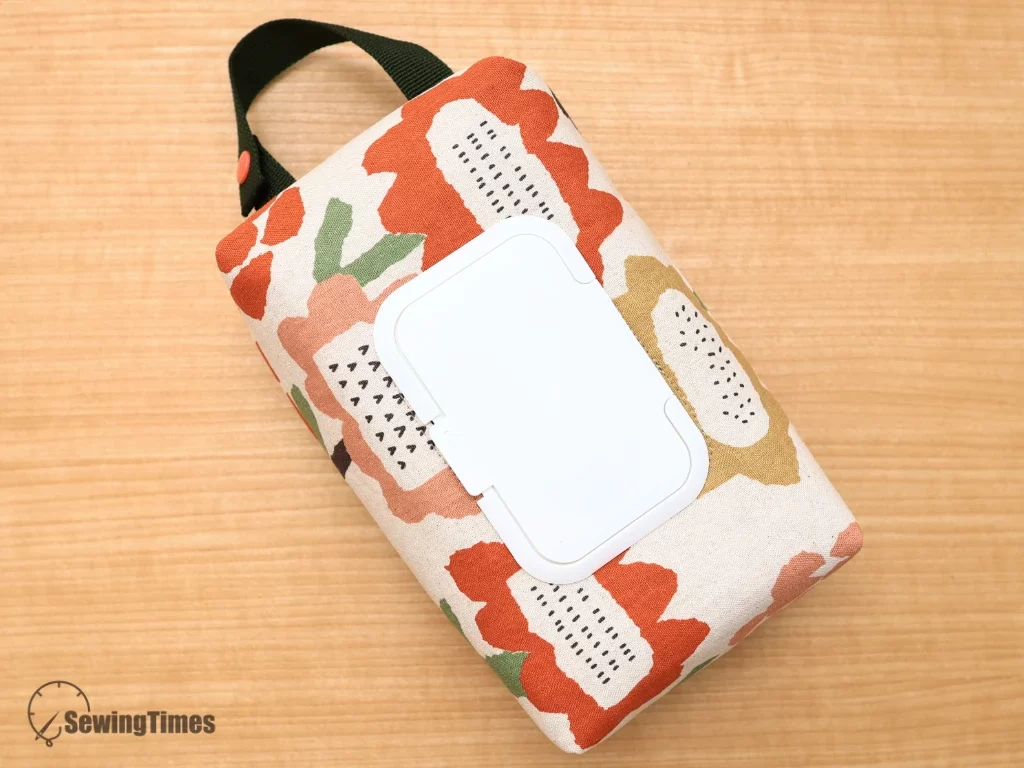
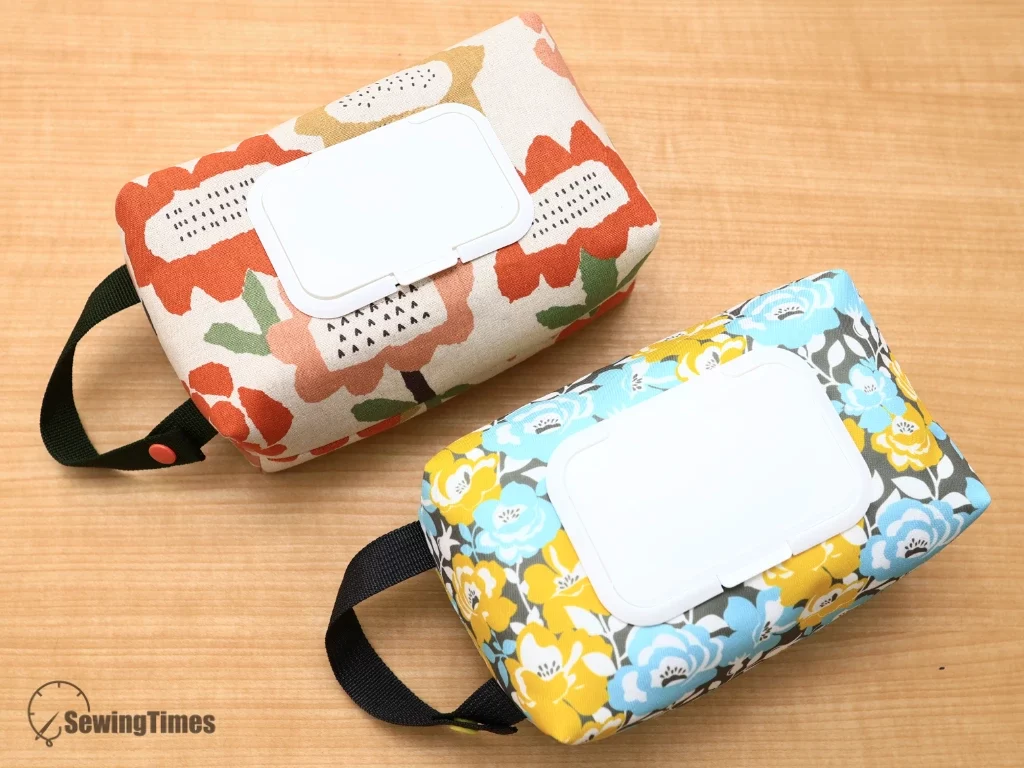
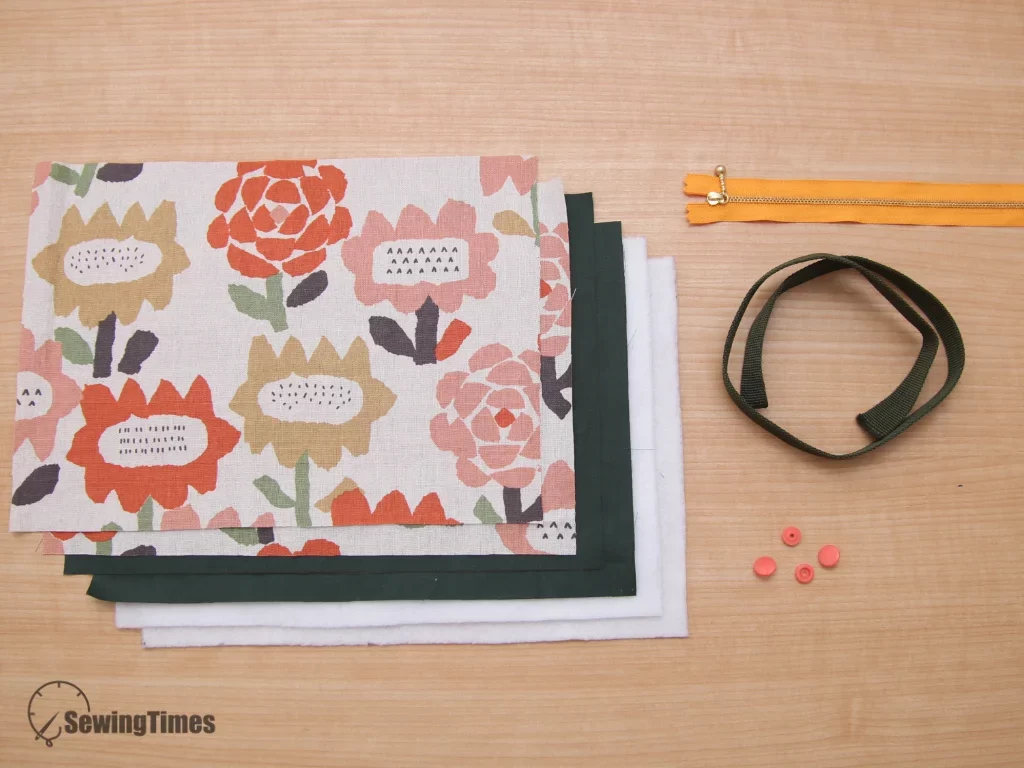
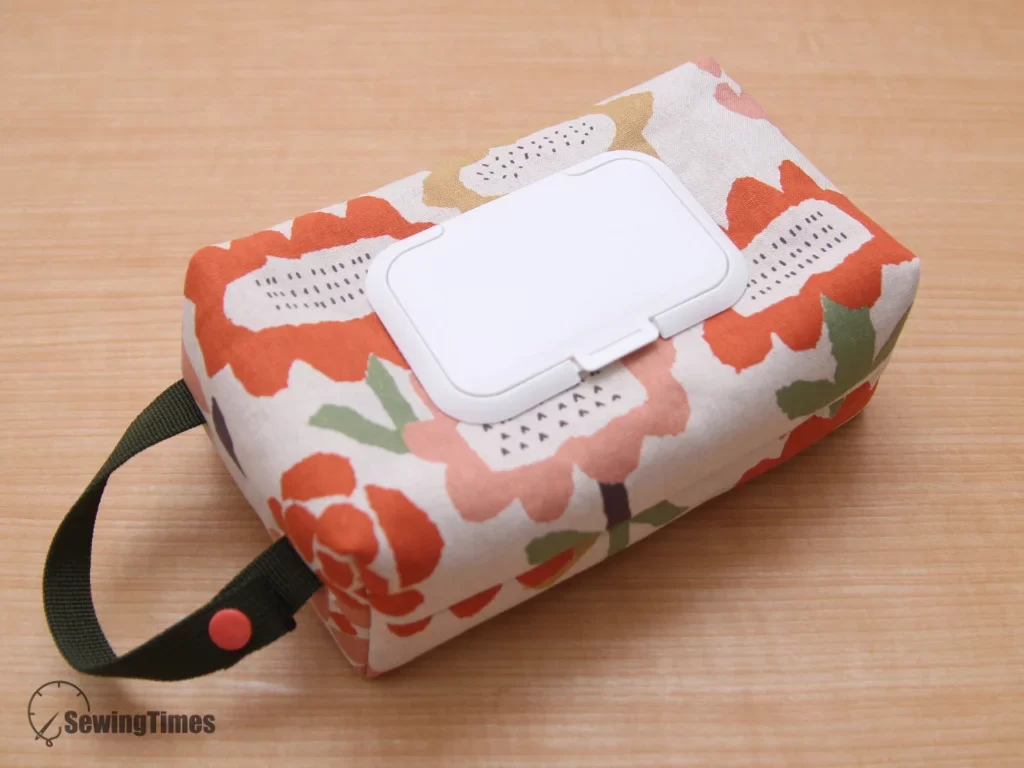
Ever find yourself digging through a messy diaper bag for wipes while holding a wiggly baby? I’ve totally been there! Today, I’m sharing my absolute favorite quick-sew project: a DIY baby wipes holder with a super convenient hanging strap. It perfectly fits those standard plastic flip-caps so your wipes never dry out. Grab your favorite fabric scraps, and let’s sew something genuinely useful together!
The finished measurements of this SPROUT BABY WIPES HOLDER are approximately 8″(20cm) W × 4¾”(12cm) H × 3¼”(8cm) D.
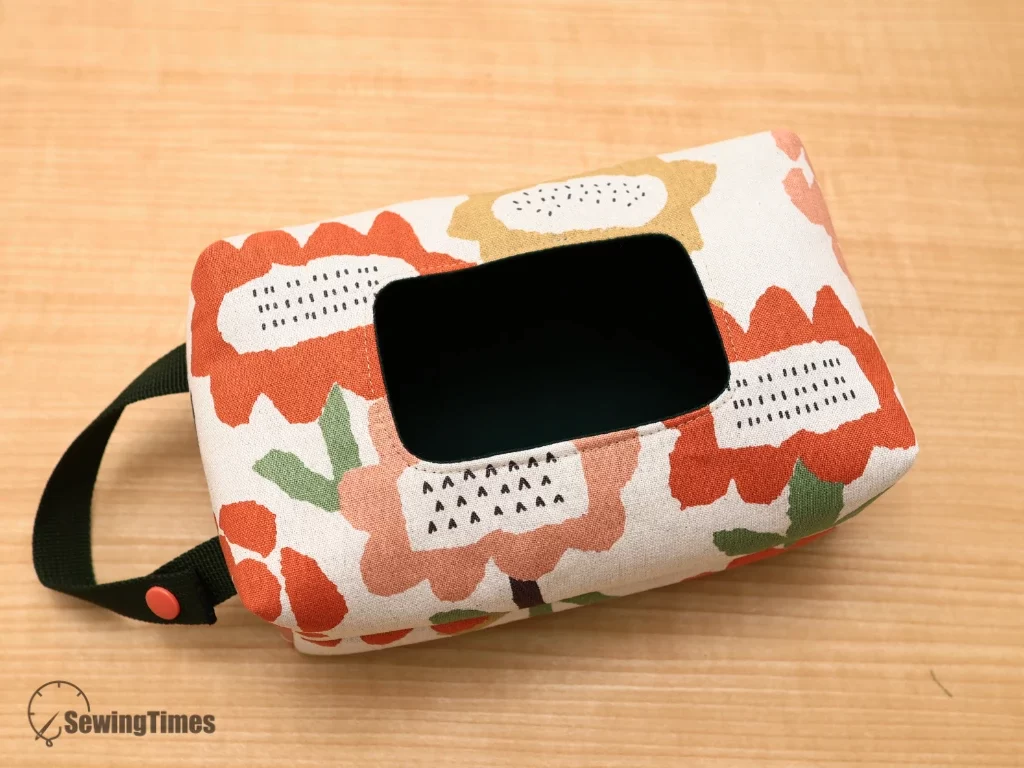
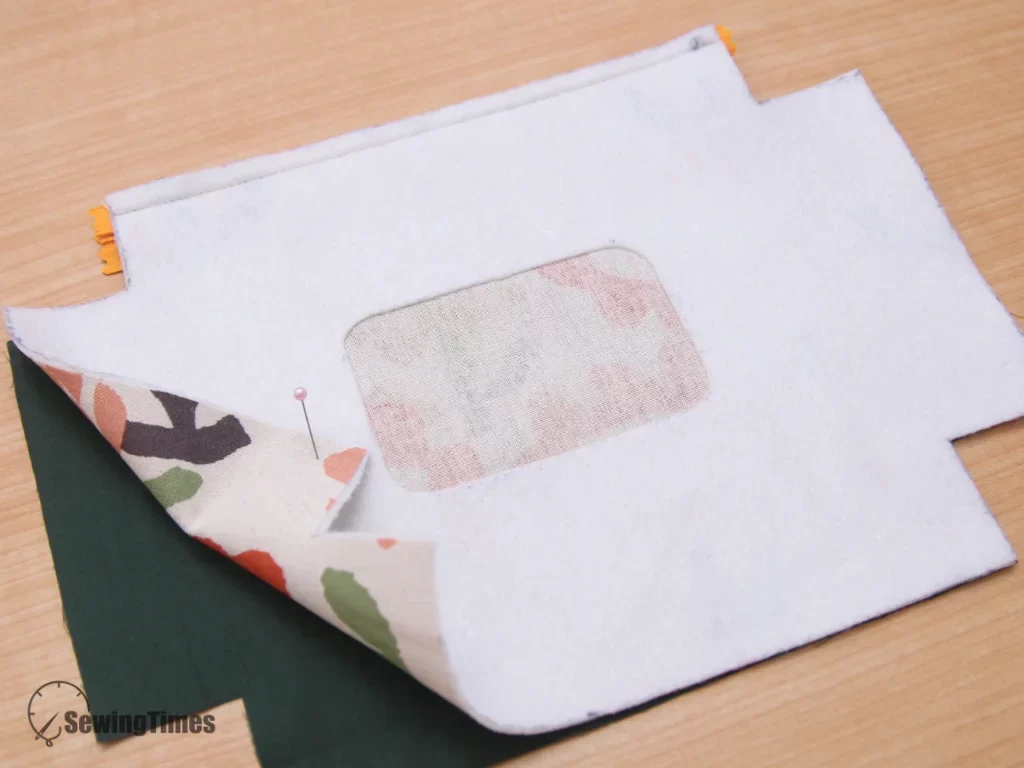
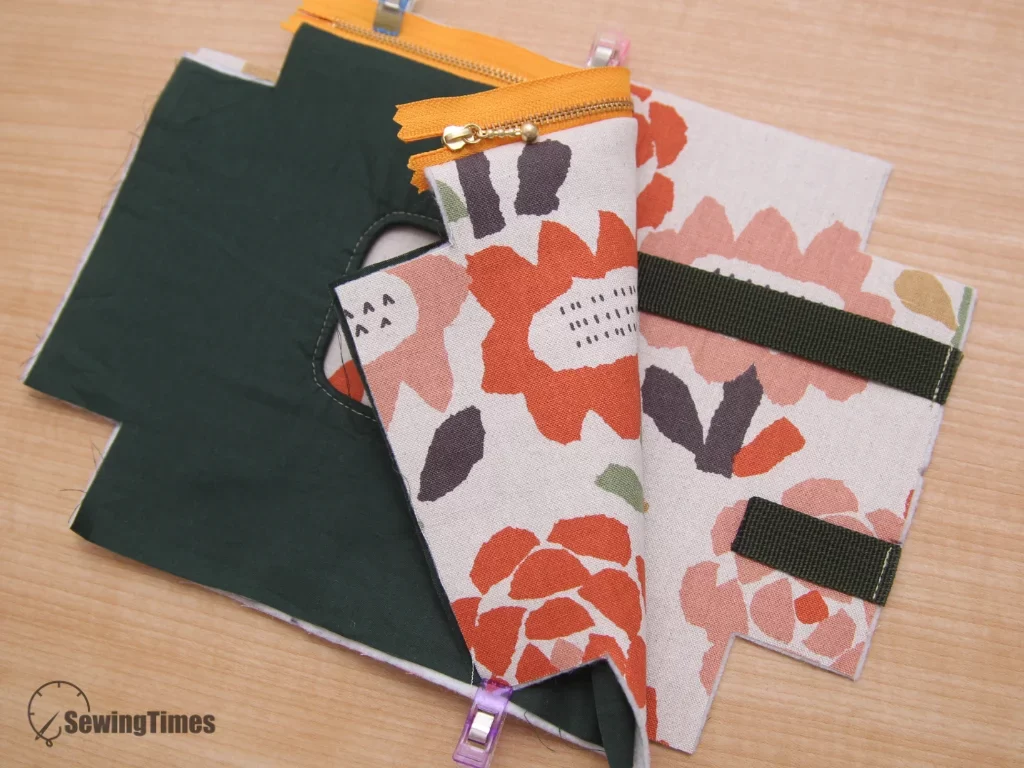
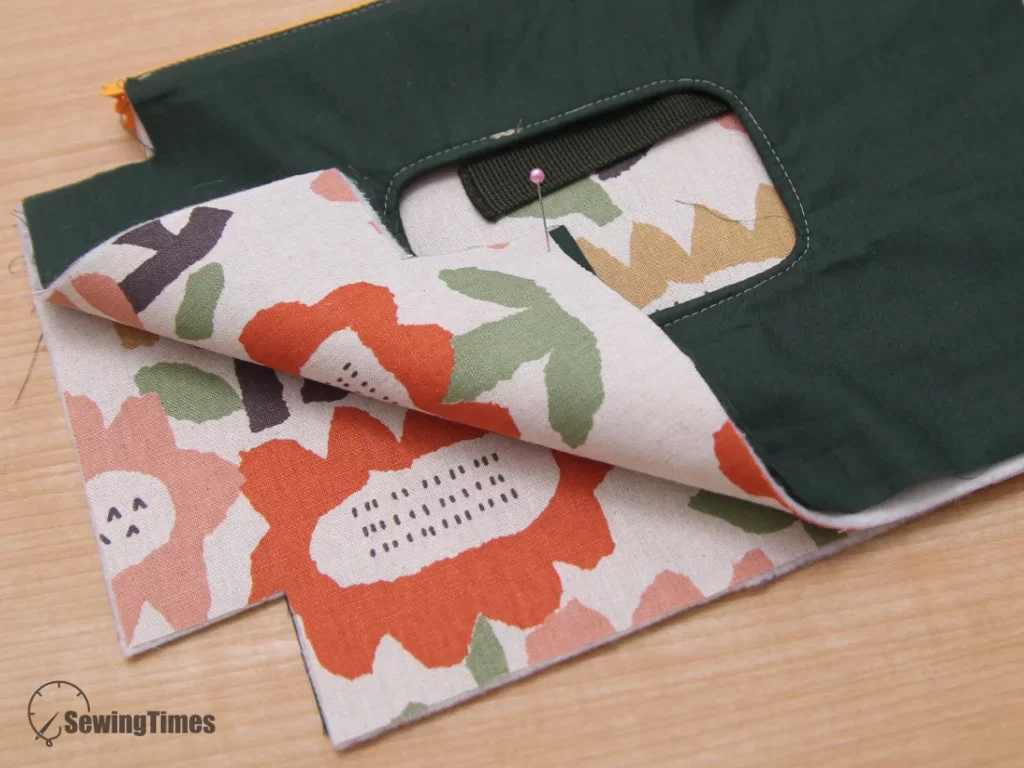
Place the front Lining and Exterior right sides together and stitch around the marked wipe lid opening.
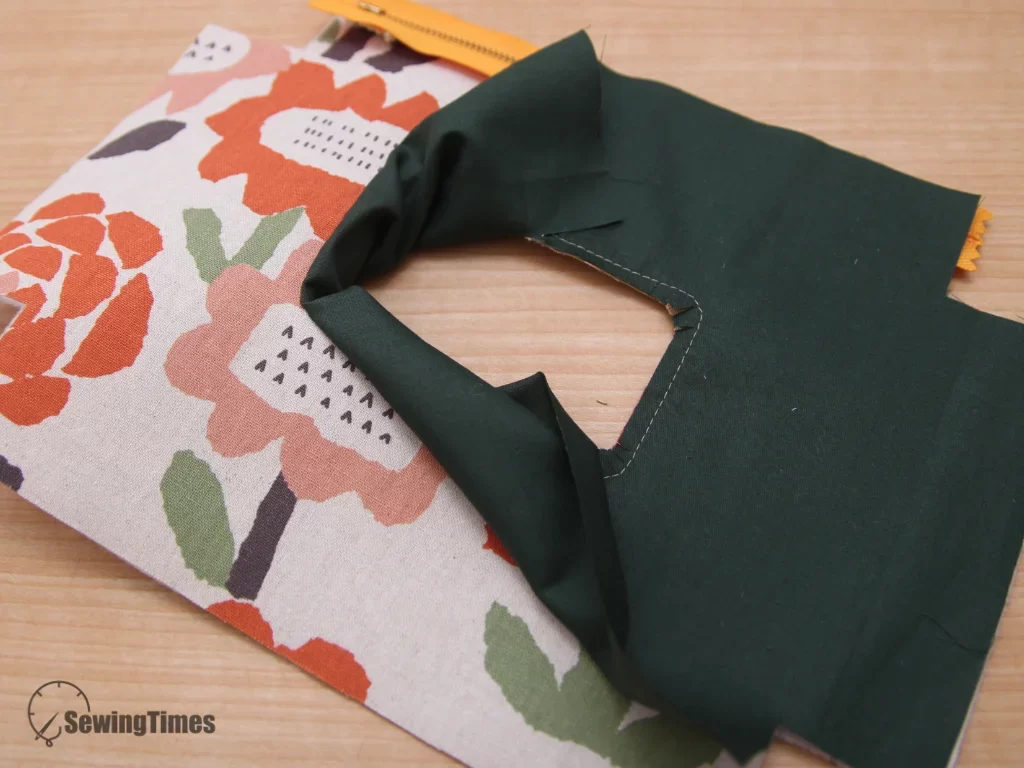
Cut out the center of the opening, clip the curved seam allowance, and push the Lining through the opening. Press the wipe lid opening flat and topstitch neatly around the edge.
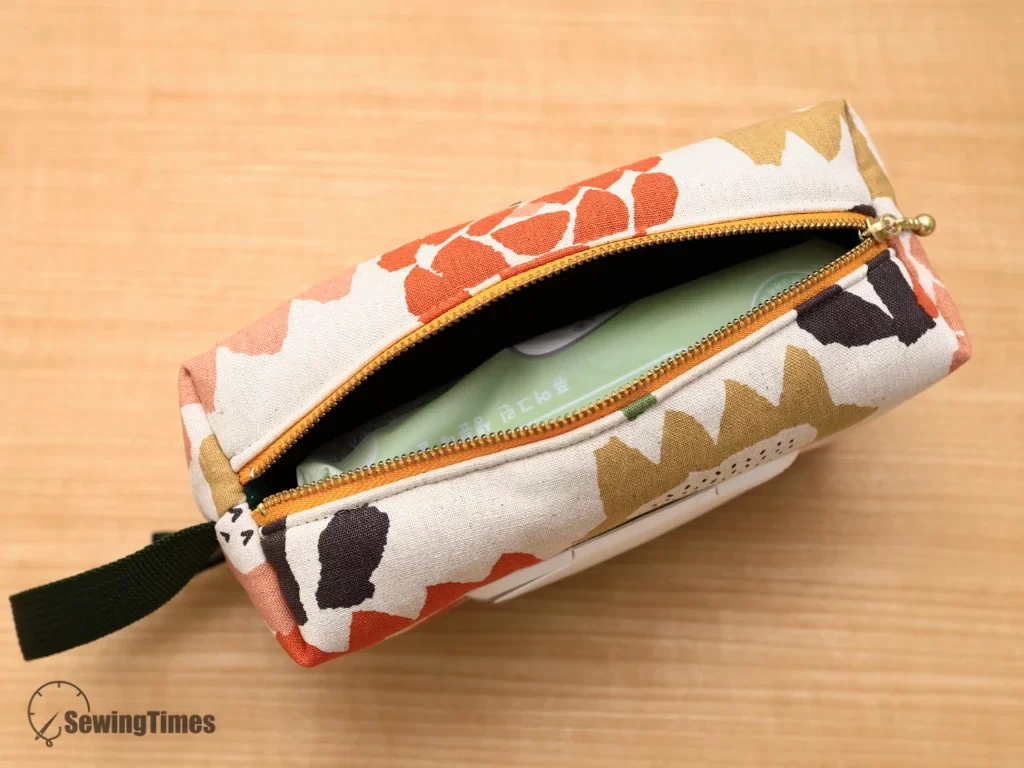
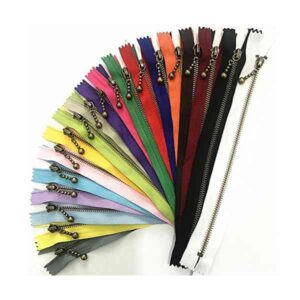
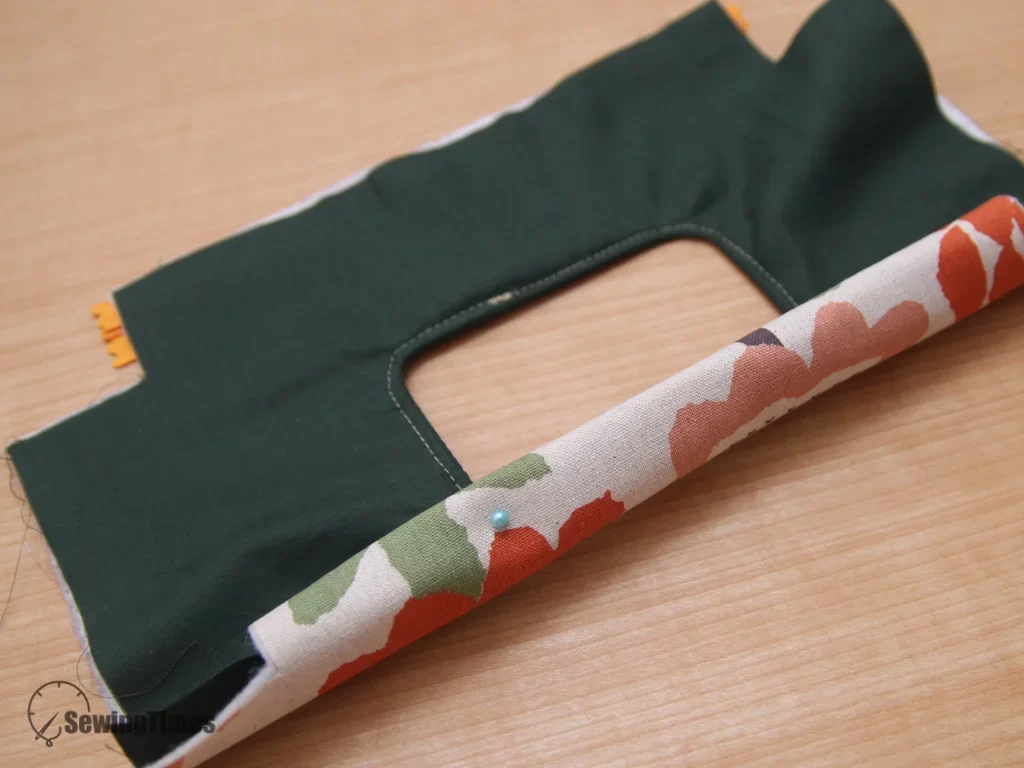
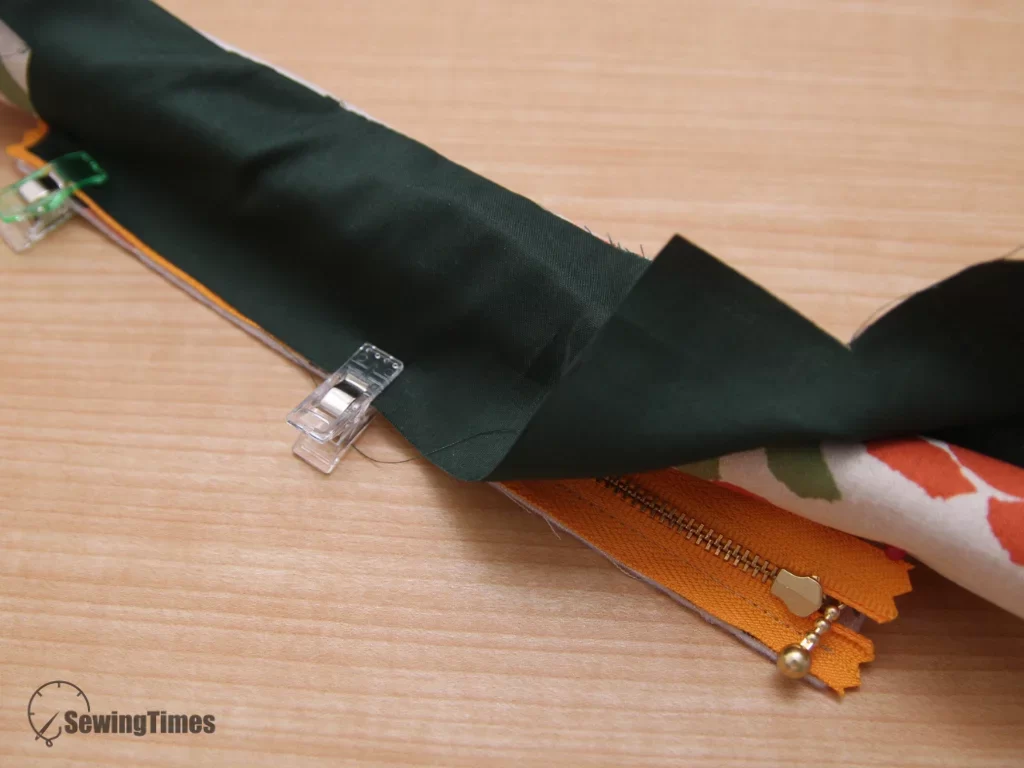
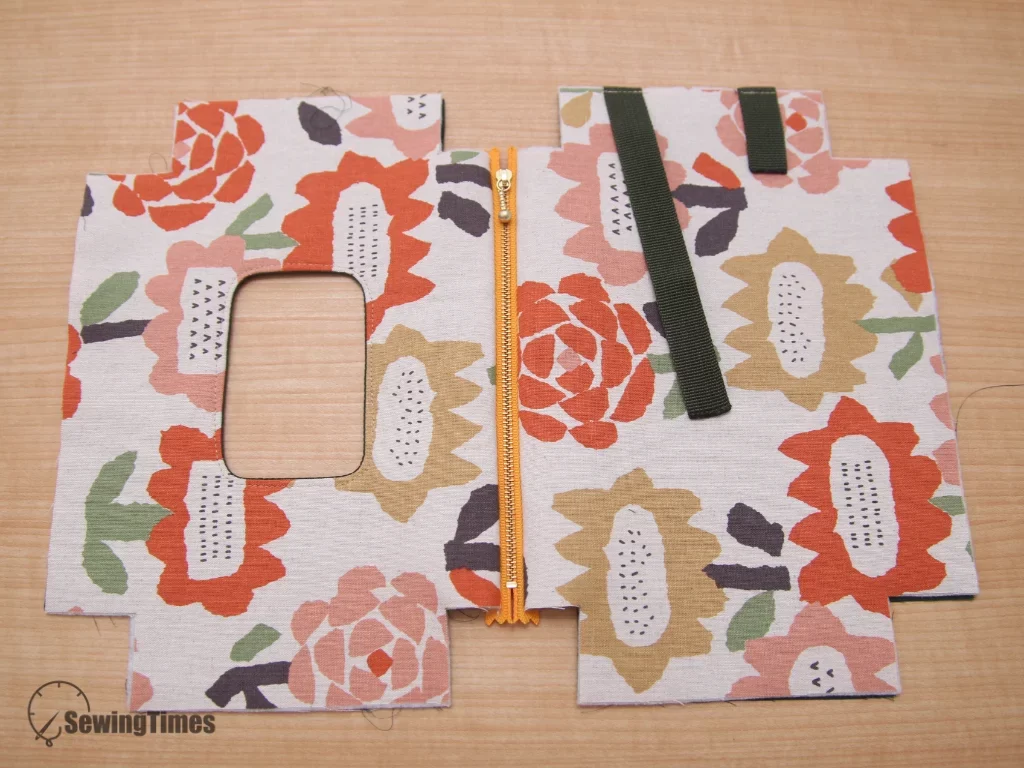
Attach the zipper to the top edge of the front Exterior panel, aligning the center marks and positioning the zipper slider on the left. Attach the front Lining to the zipper, keeping the lower portion of the panel out of the way while stitching.
Attach the back Exterior and Lining to the zipper and topstitch along the zipper.
Place the two Exterior panels right sides together and stitch the side and bottom seams. Stitch the side and bottom seams of the Lining, leaving an opening at the bottom for turning.
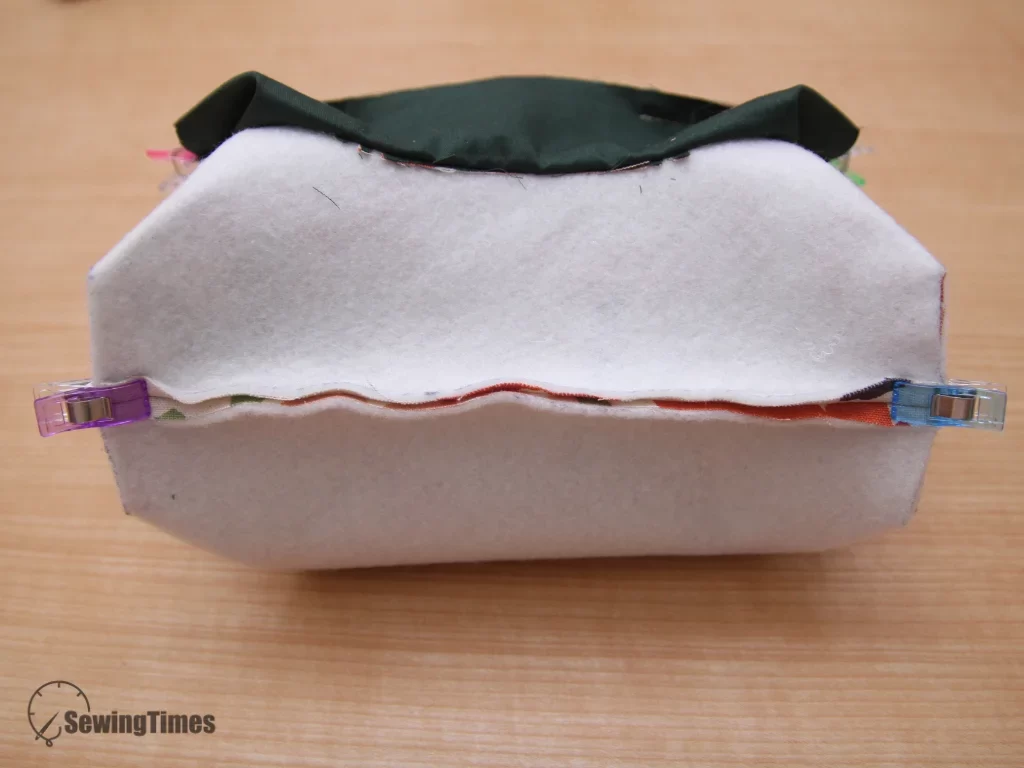
Box the bottom corners of both the Exterior and Lining by aligning the side and bottom seams and stitching across the corners.
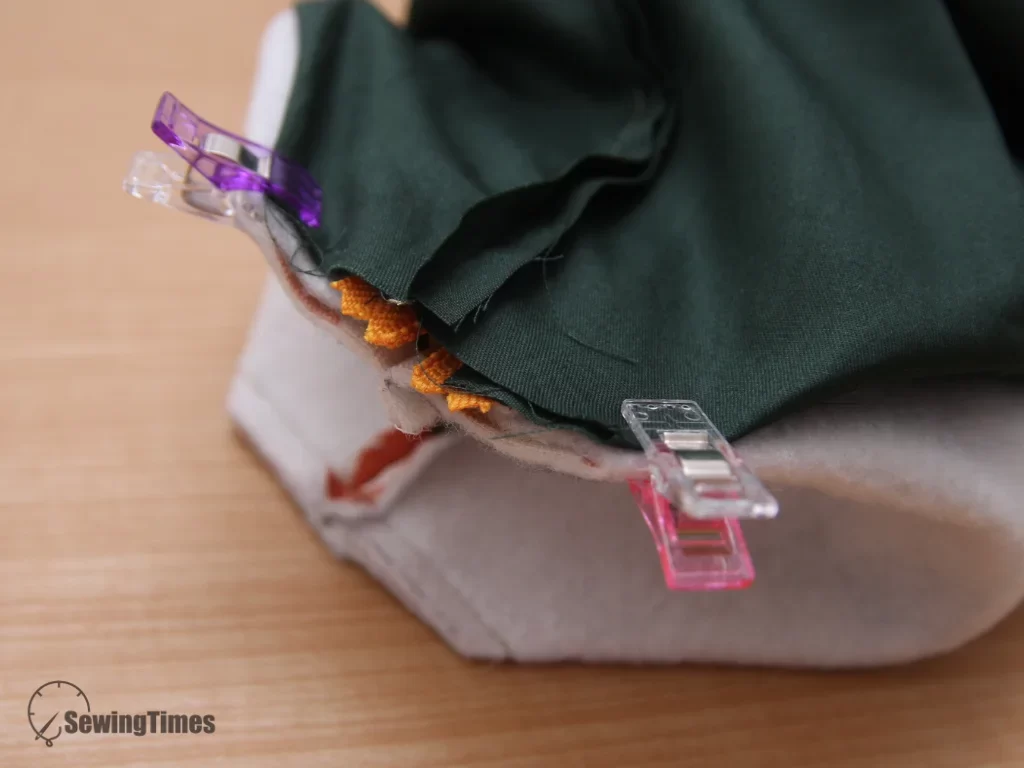
Box the corners near both ends of the zipper, carefully aligning the side seams with the zipper teeth.
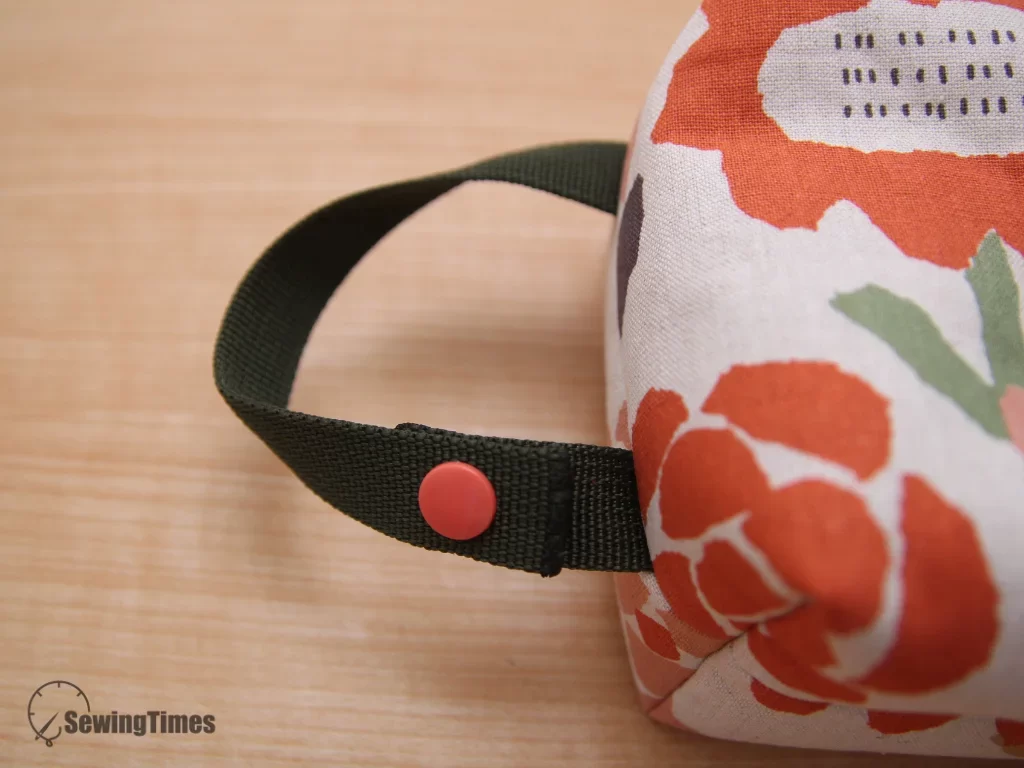
Turn the project right side out through the opening in the Lining. Fold the raw edges of the turning opening inward and stitch close to the edge to close it. Attach the snap socket to the short strap and the snap cap to the long strap, with both facing outward. Fasten the snaps together to create the convenient hanging handle for the wipes holder.
All done! If you hit a tricky spot or want more creative inspiration, head over to the [Sewingtimes YouTube channel] for the full video tutorial.