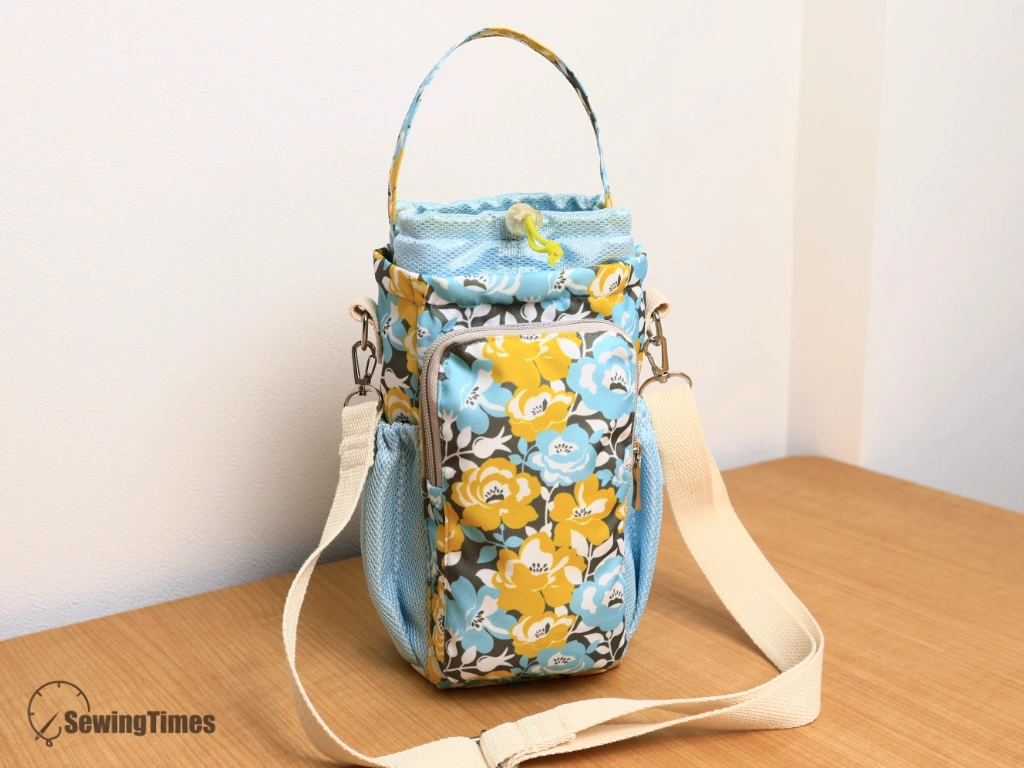
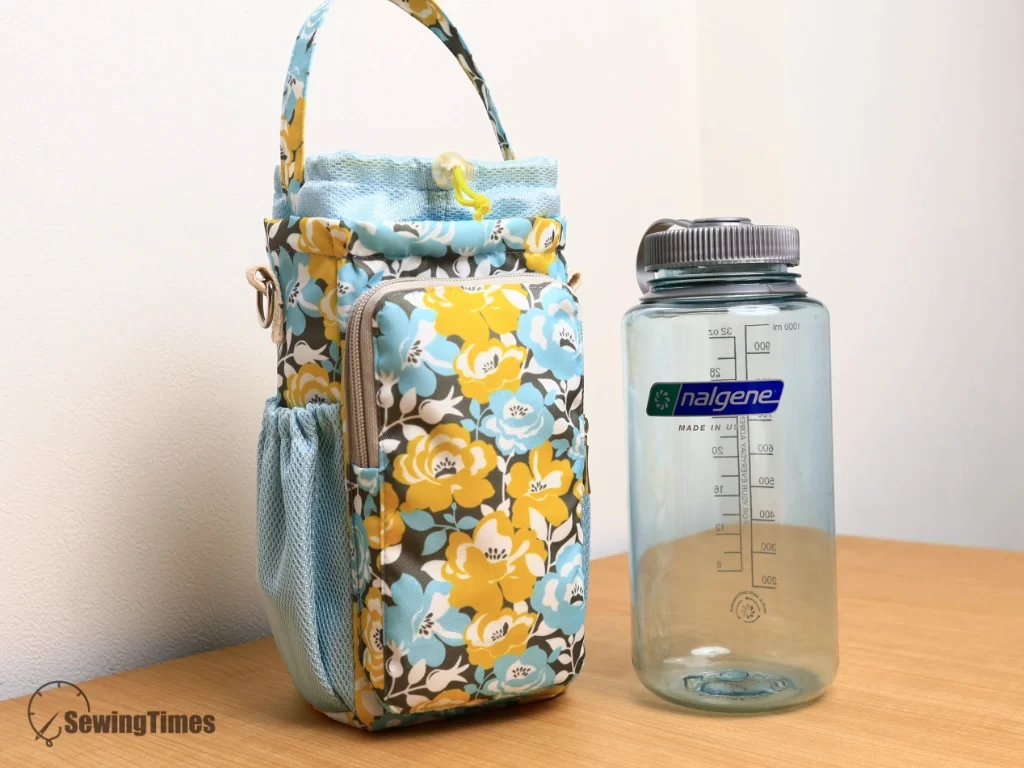
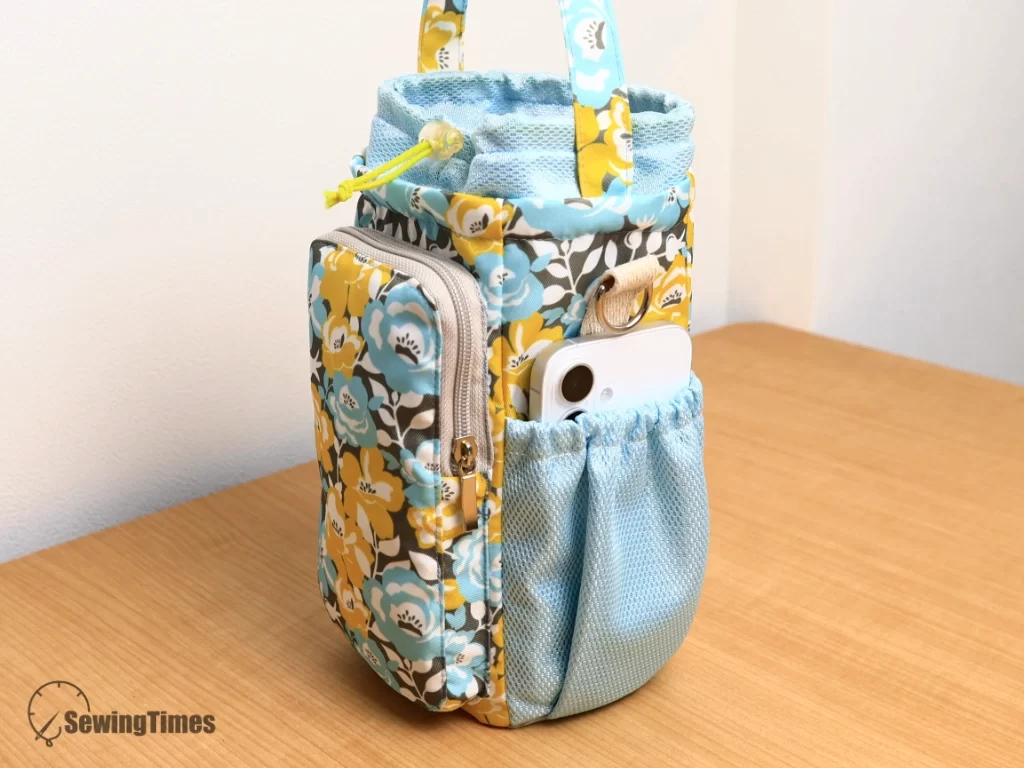
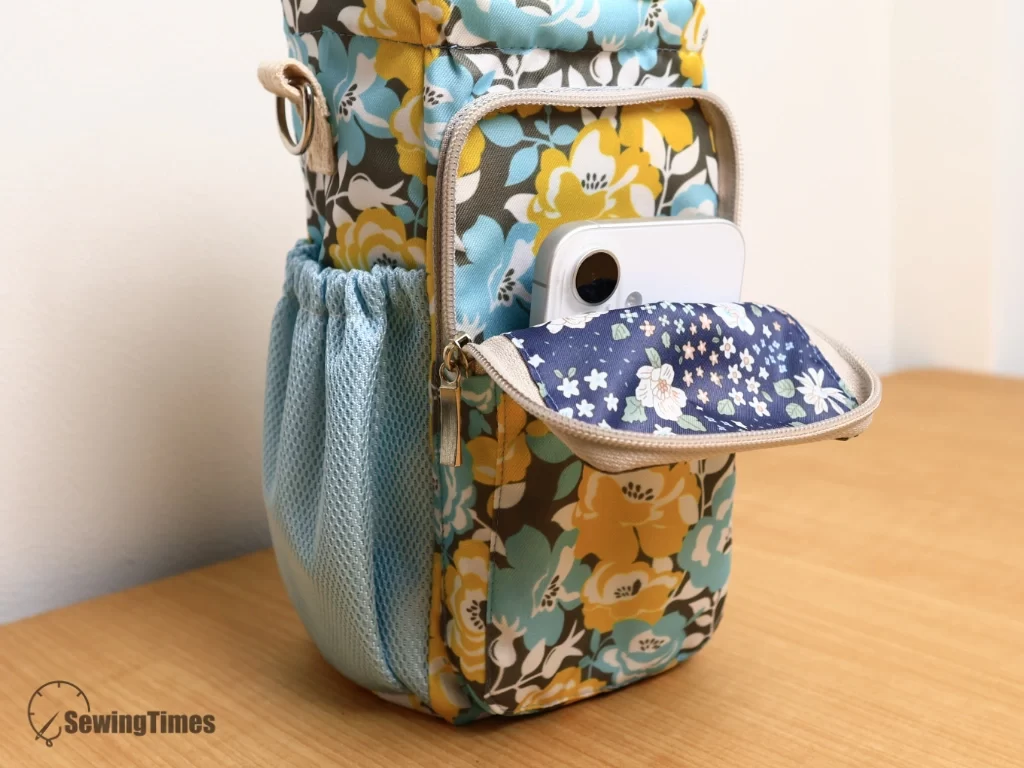
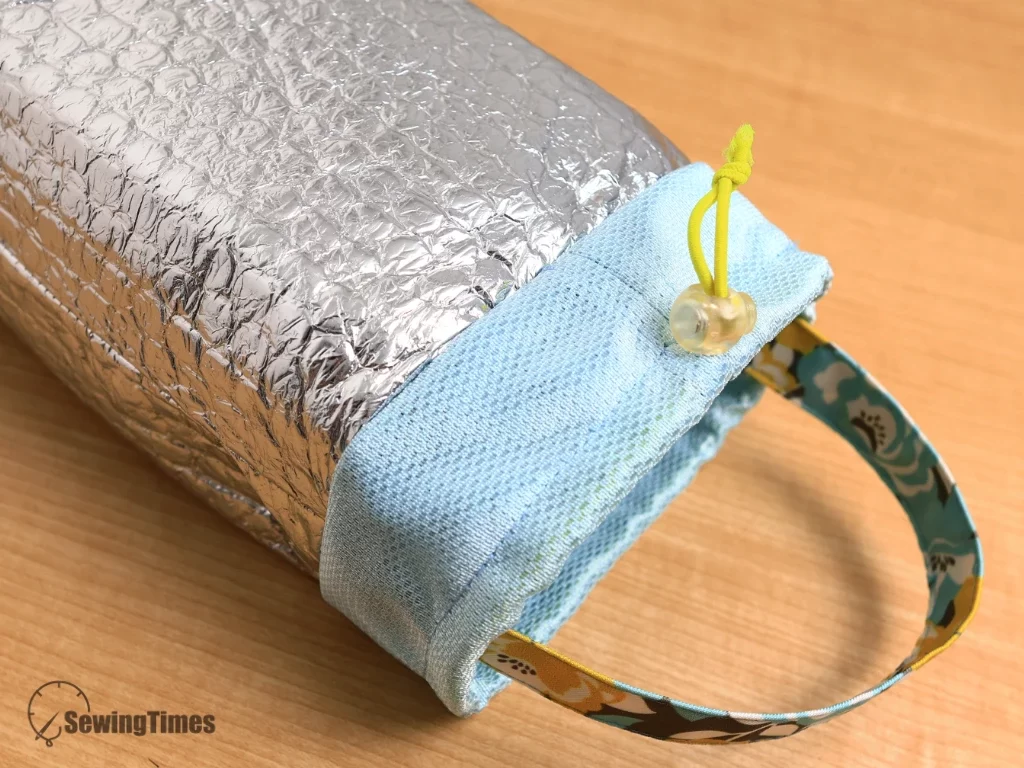
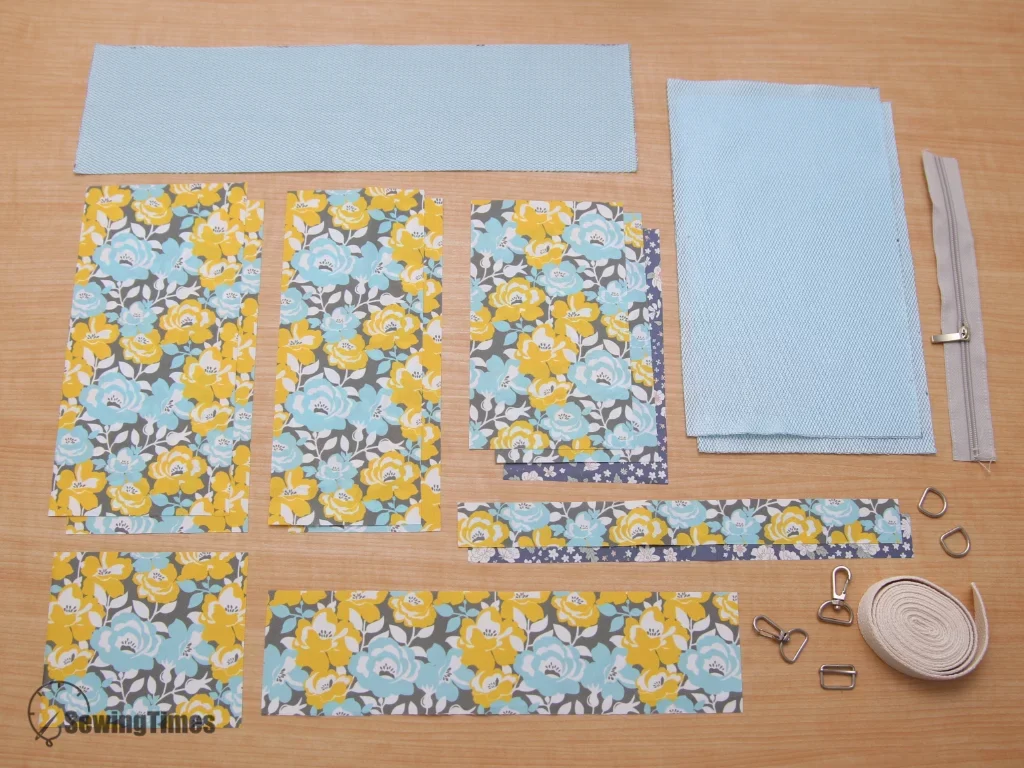
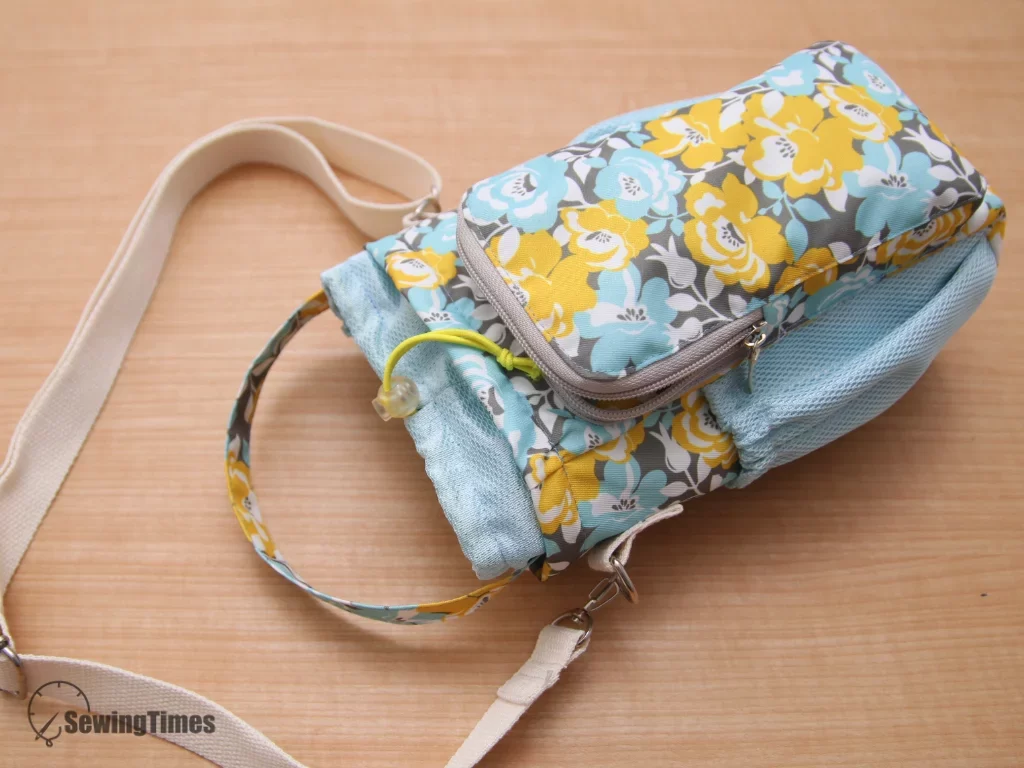
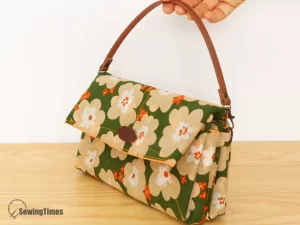
I don’t know about you, but I was getting so tired of juggling my water bottle, phone, and keys every time I went out for a walk! That’s why I designed this all-in-one insulated bottle bag. It keeps your drinks cold for hours while holding your phone and small essentials right at your fingertips. Grab your favorite fabric scrap and sew along with me today—you’ll wonder how you ever lived without it!
The finished measurements of this Frost Bottle Bag are approximately 4¾”(12cm) W × 9⅛”(23cm) H × 4″(10cm) D.
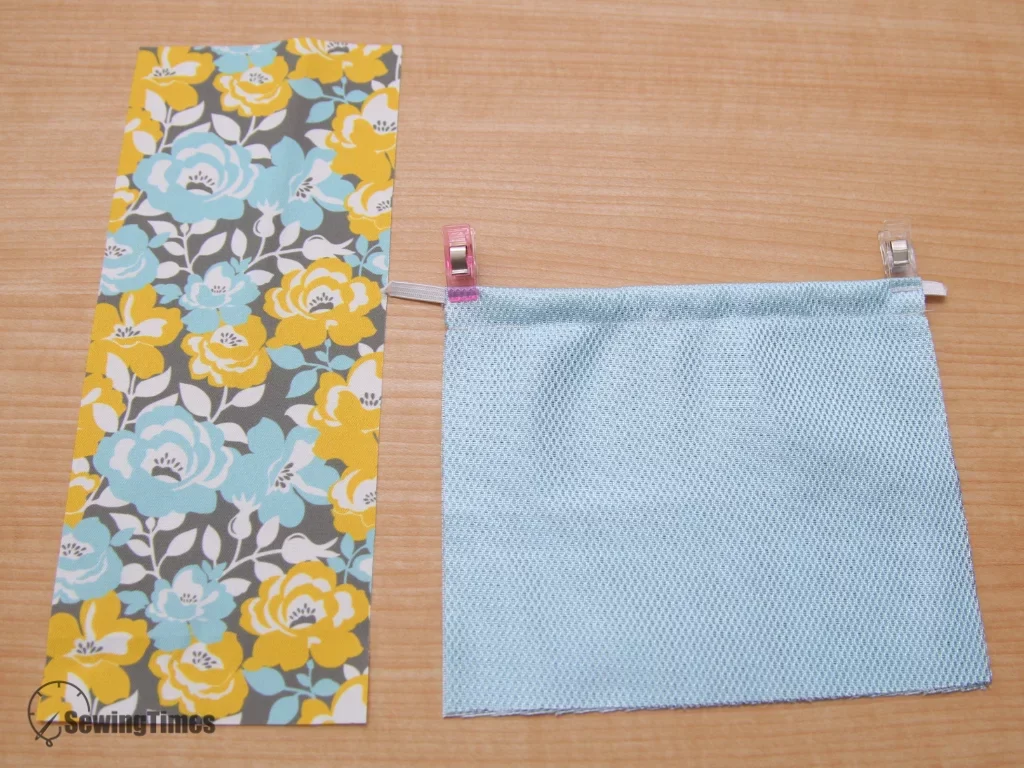
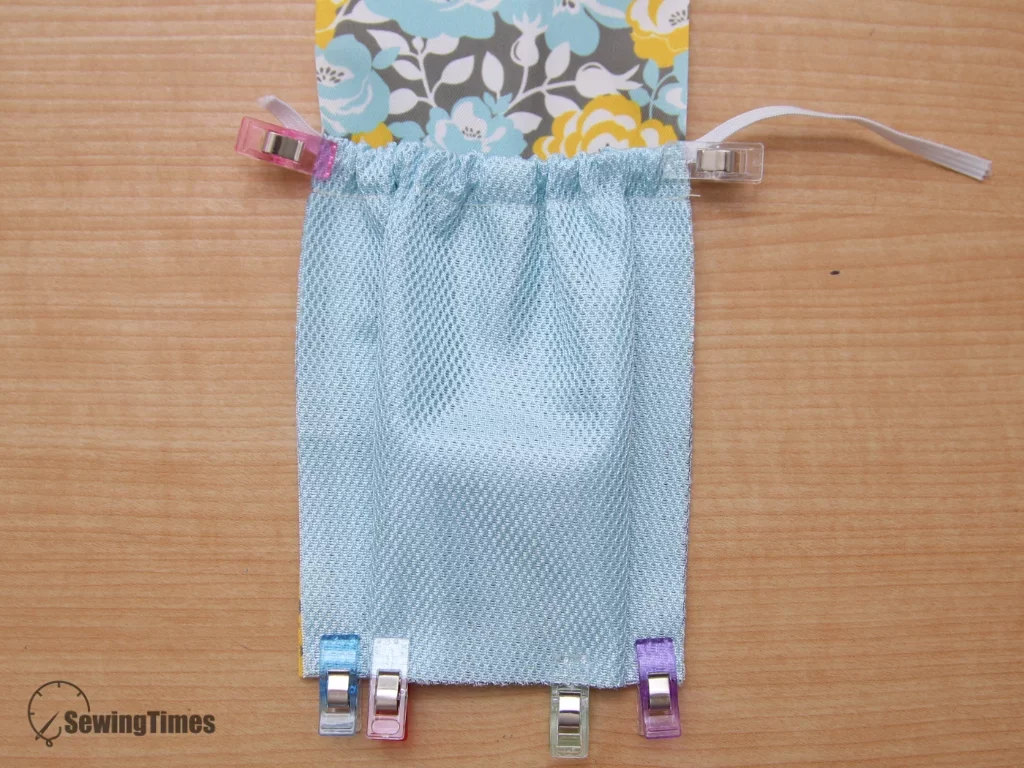
Fold the side pocket piece in half, wrong sides together, aligning the raw edges. Topstitch 5/8″ down from the top fold to create an elastic sleeve, then thread the elastic through the sleeve.
Gently pull the elastic to gather the pocket until its width matches the Side Panel. Baste along the three raw edges of the pocket with a 1/4″ seam allowance to secure it to the Side Panel.
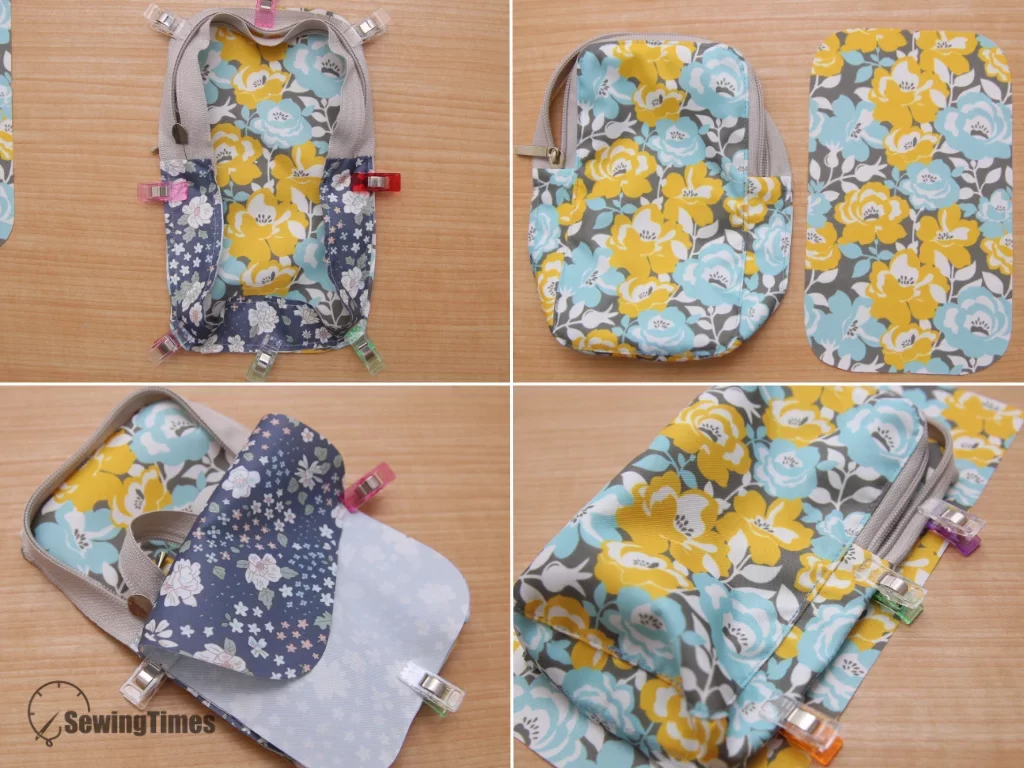
Align and stitch the zipper panel around the perimeter of the front pocket piece using a 1/4″ seam allowance. Fold the outer raw edges of the zipper panel 1/4″ inward toward the wrong side, place it onto the Main Panel Exterior, and topstitch around the folded edge to secure.
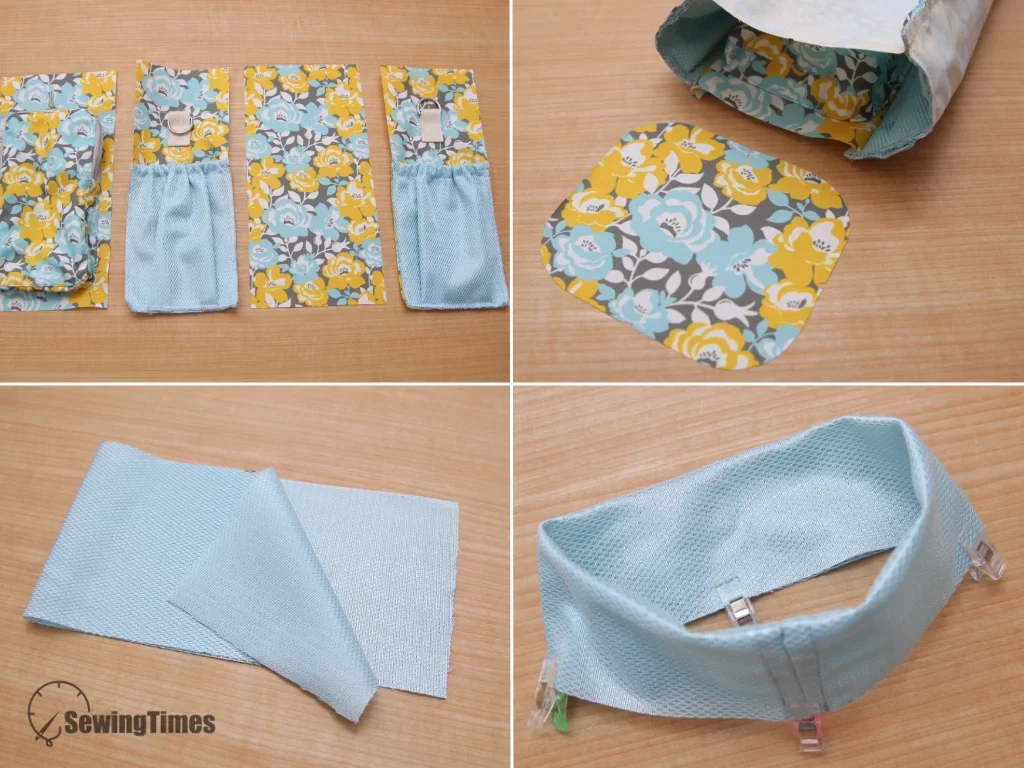
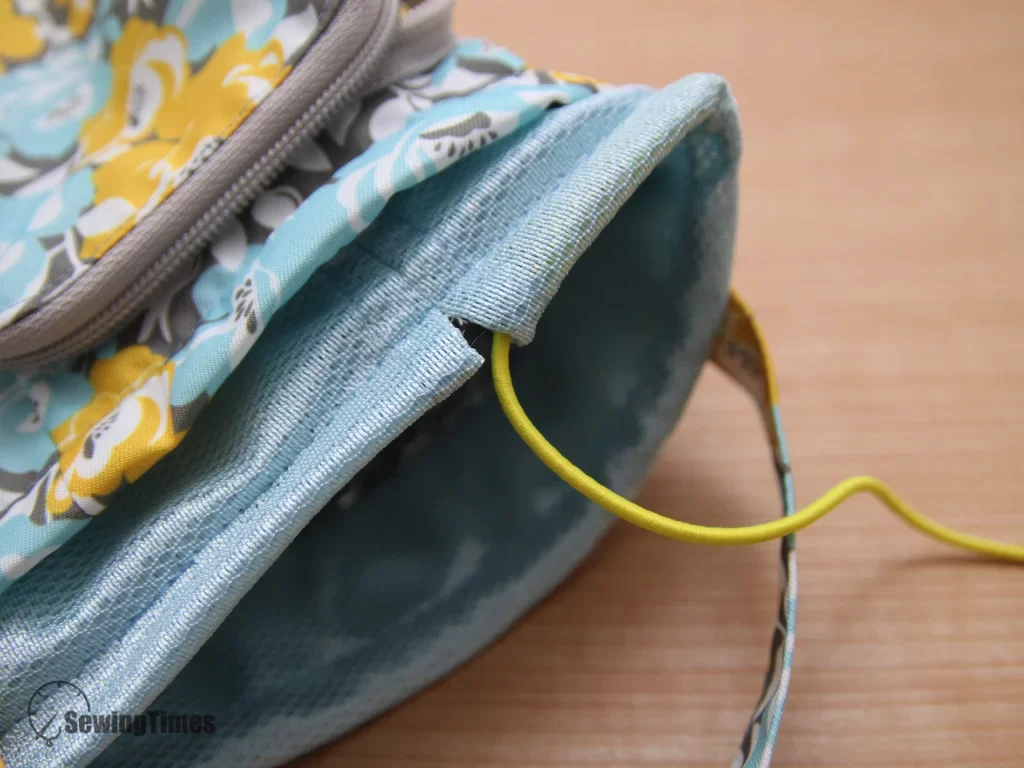
Stitch the side edges of the Main Panels and Side Panels together, alternating them to form a continuous cylindrical main body. Place the Bottom Panel and the main body cylinder with right sides together, match the alignment points, and stitch around the perimeter using a 1/4″ seam allowance. Fold the string sleeve fabric in half horizontally with right sides together. Stitch the side seam leaving a 1¼″ opening in the center. Fold the sleeve in half vertically with wrong sides together, and stitch 5/8″ down from the top folded edge to create the drawstring casing.
Position the raw edges of the string sleeve along the top raw edge of the Main Panel Exterior, right sides facing, and baste in place with a 1/4″ seam allowance.
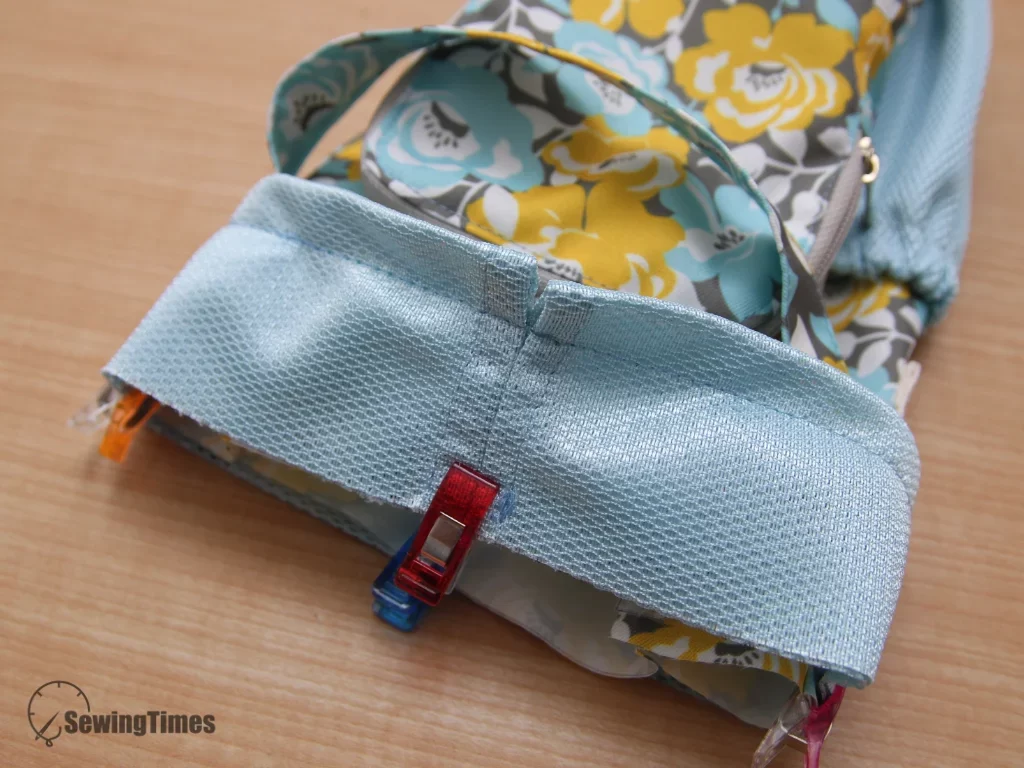
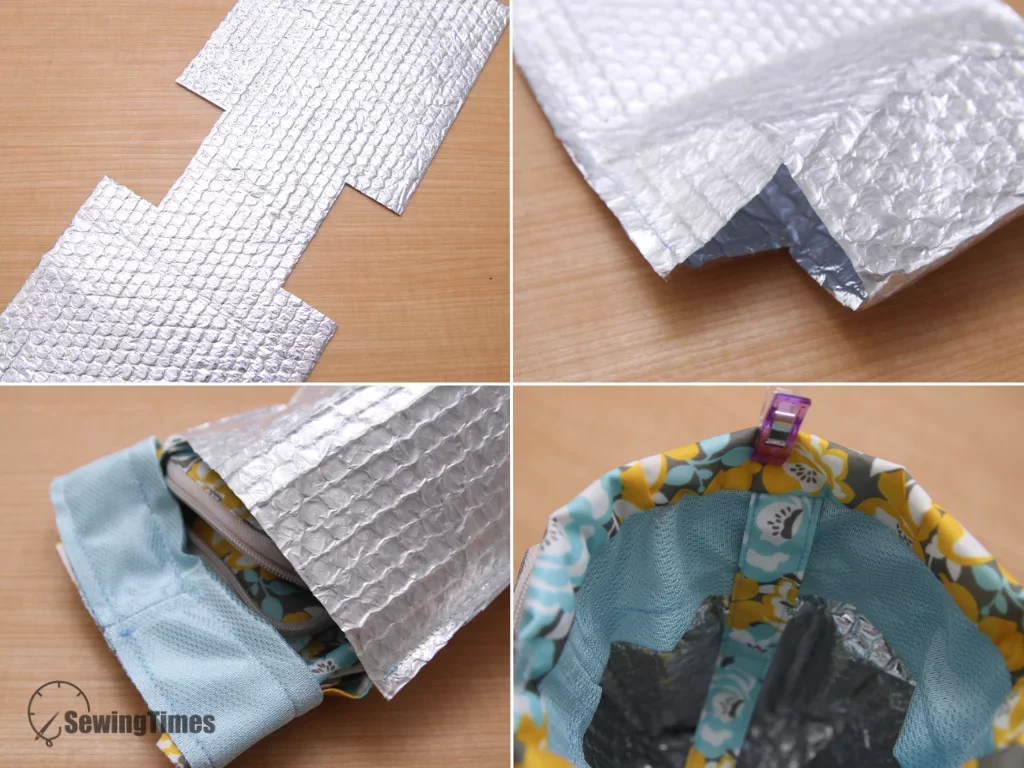
Fold the Insulated Lining piece in half with right sides together. Stitch both side seams using a 1/4″ seam allowance, leaving a turning opening on one side. Insert the Exterior body into the Insulated Lining with right sides together. Align the top raw edges and stitch around the top opening using a 1/4″ seam allowance. Turn the bag right side out through the turning opening in the lining. Fold the upper edge of the Exterior 5/8″ inward toward the lining, tucking the lining, string sleeve, and handles neatly inside, then topstitch around the entire top opening 5/8″ down from the fold. Pull the handle and string sleeve upward out of the bag opening into their functional positions.
Thread the drawstring through the casing opening of the string sleeve, circling all the way around and back out through the same opening. Thread both ends of the drawstring through a cord stopper (string stopper) and tie a secure knot at the ends.
All done! We hope you enjoy creating your own wonderful piece. 🎁 And be sure to check out the [Sewingtimes YouTube channel] for more creative projects.